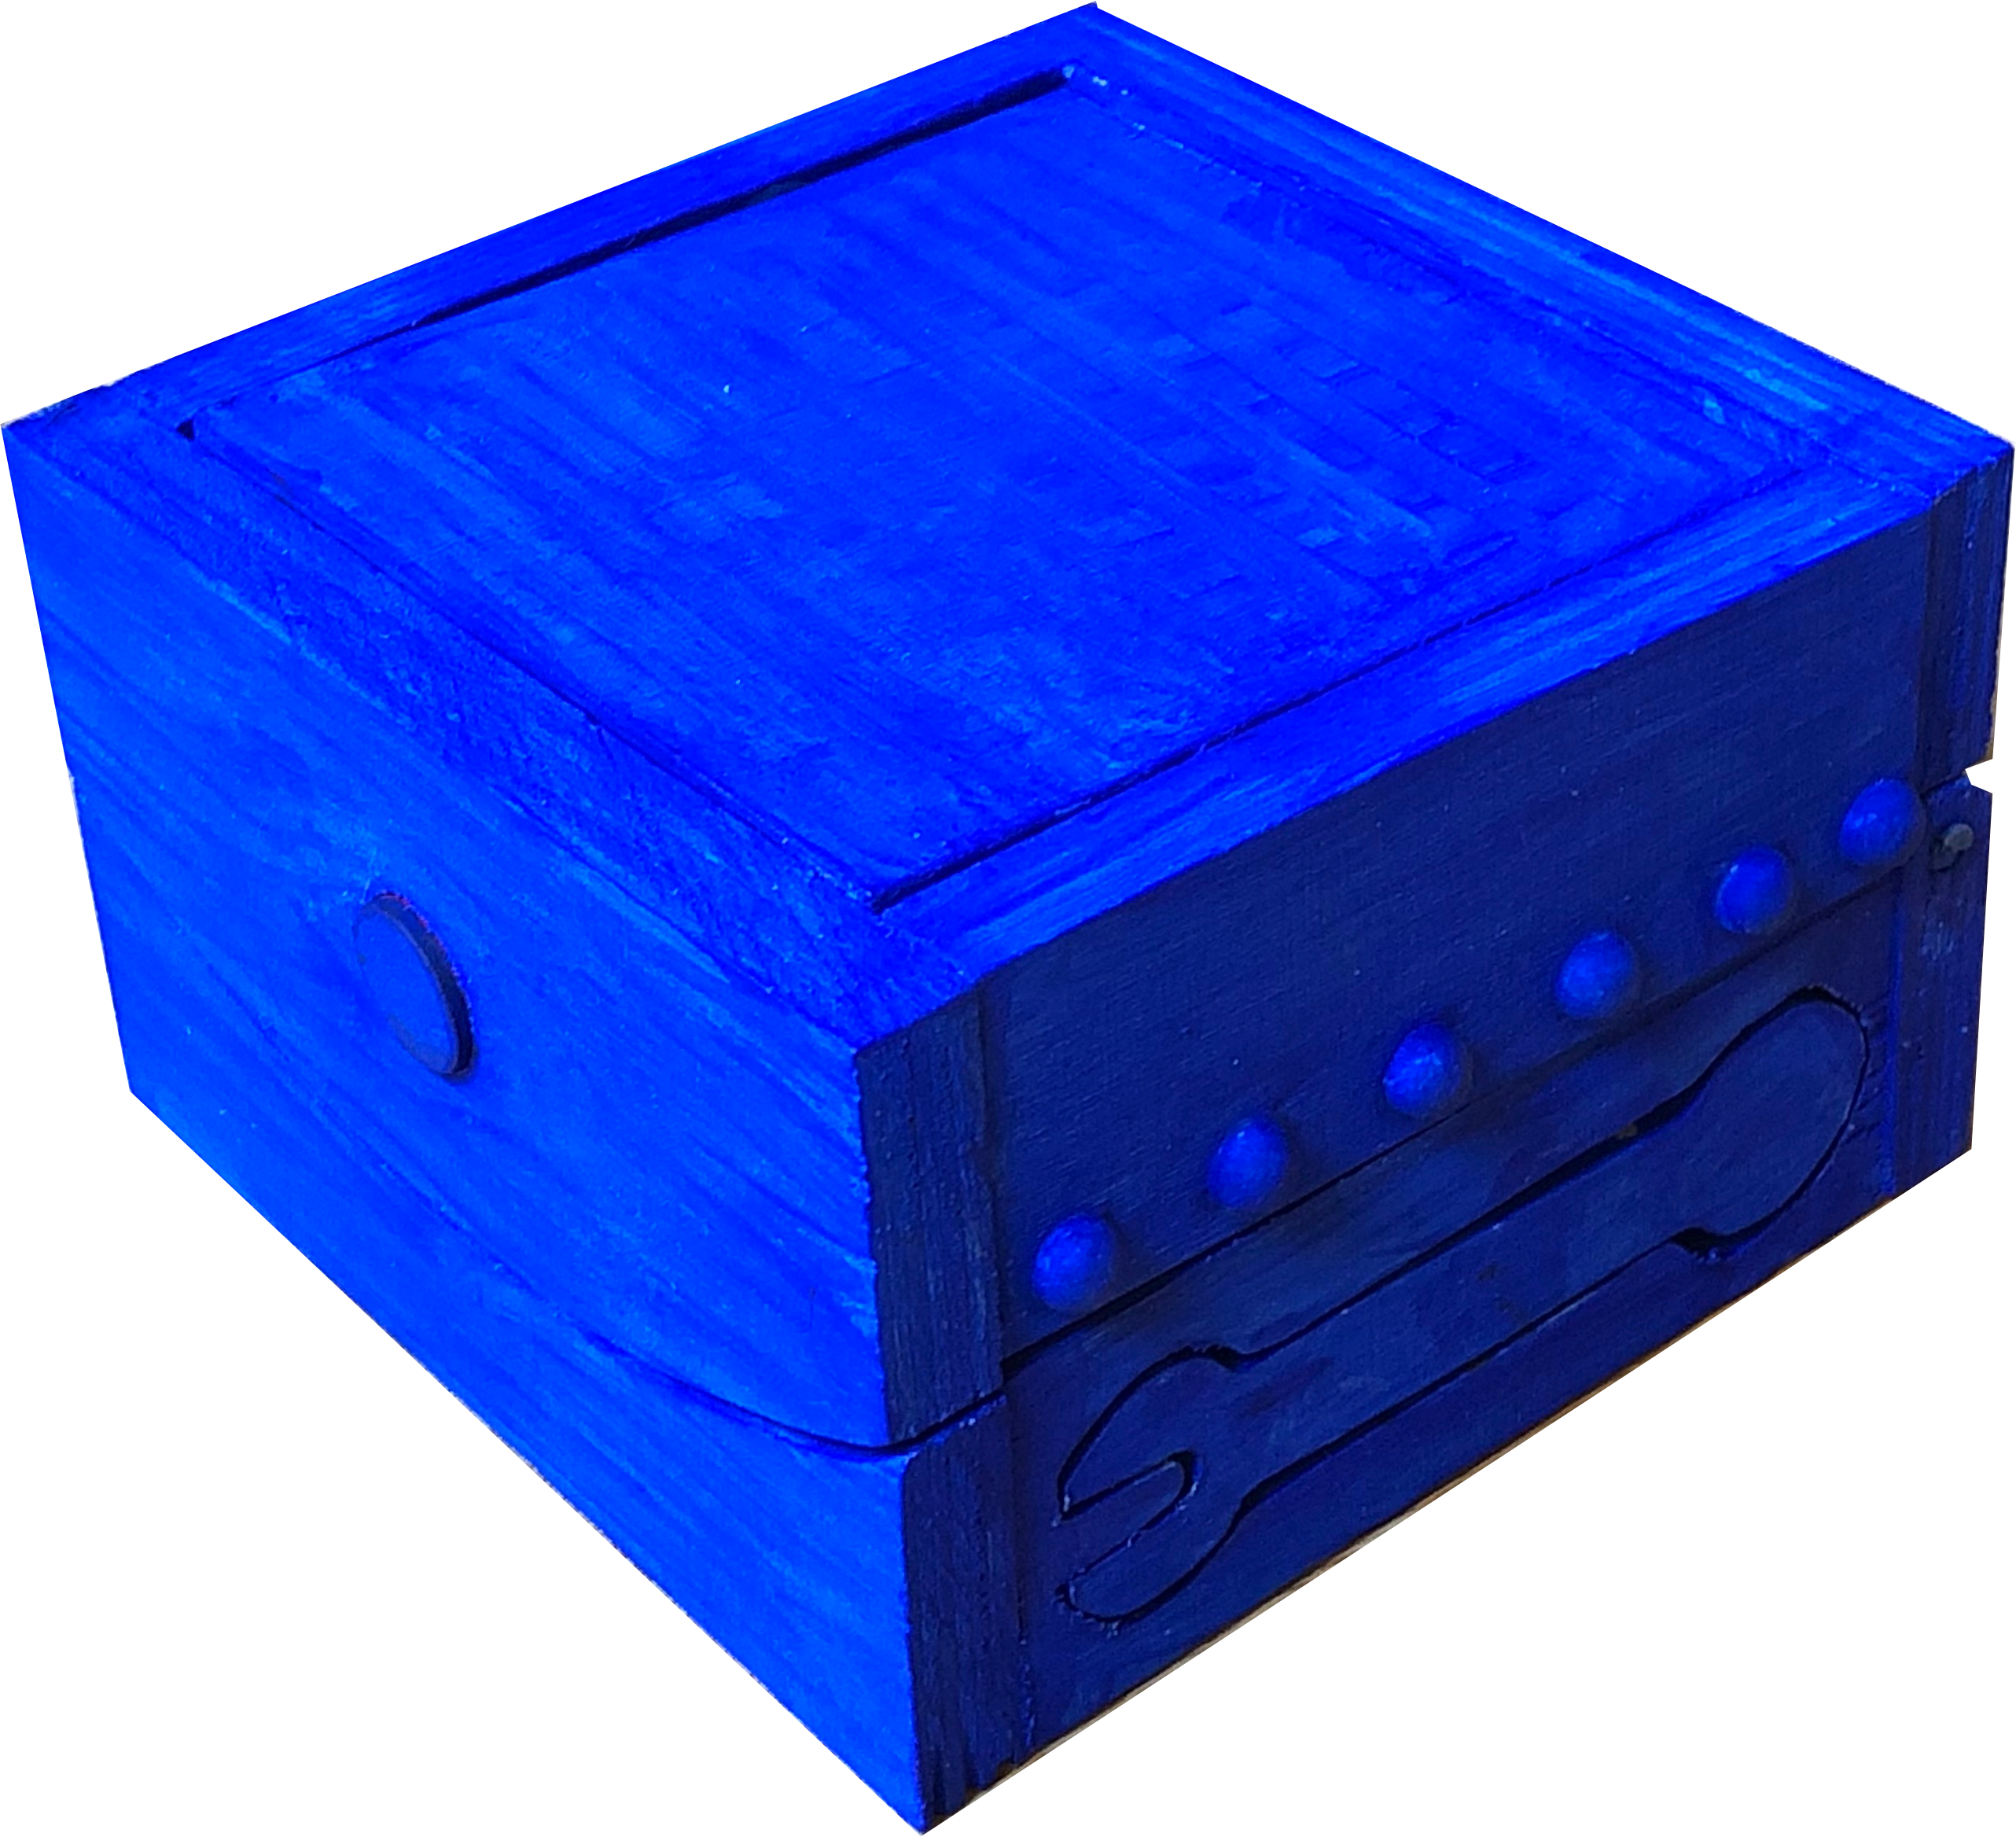
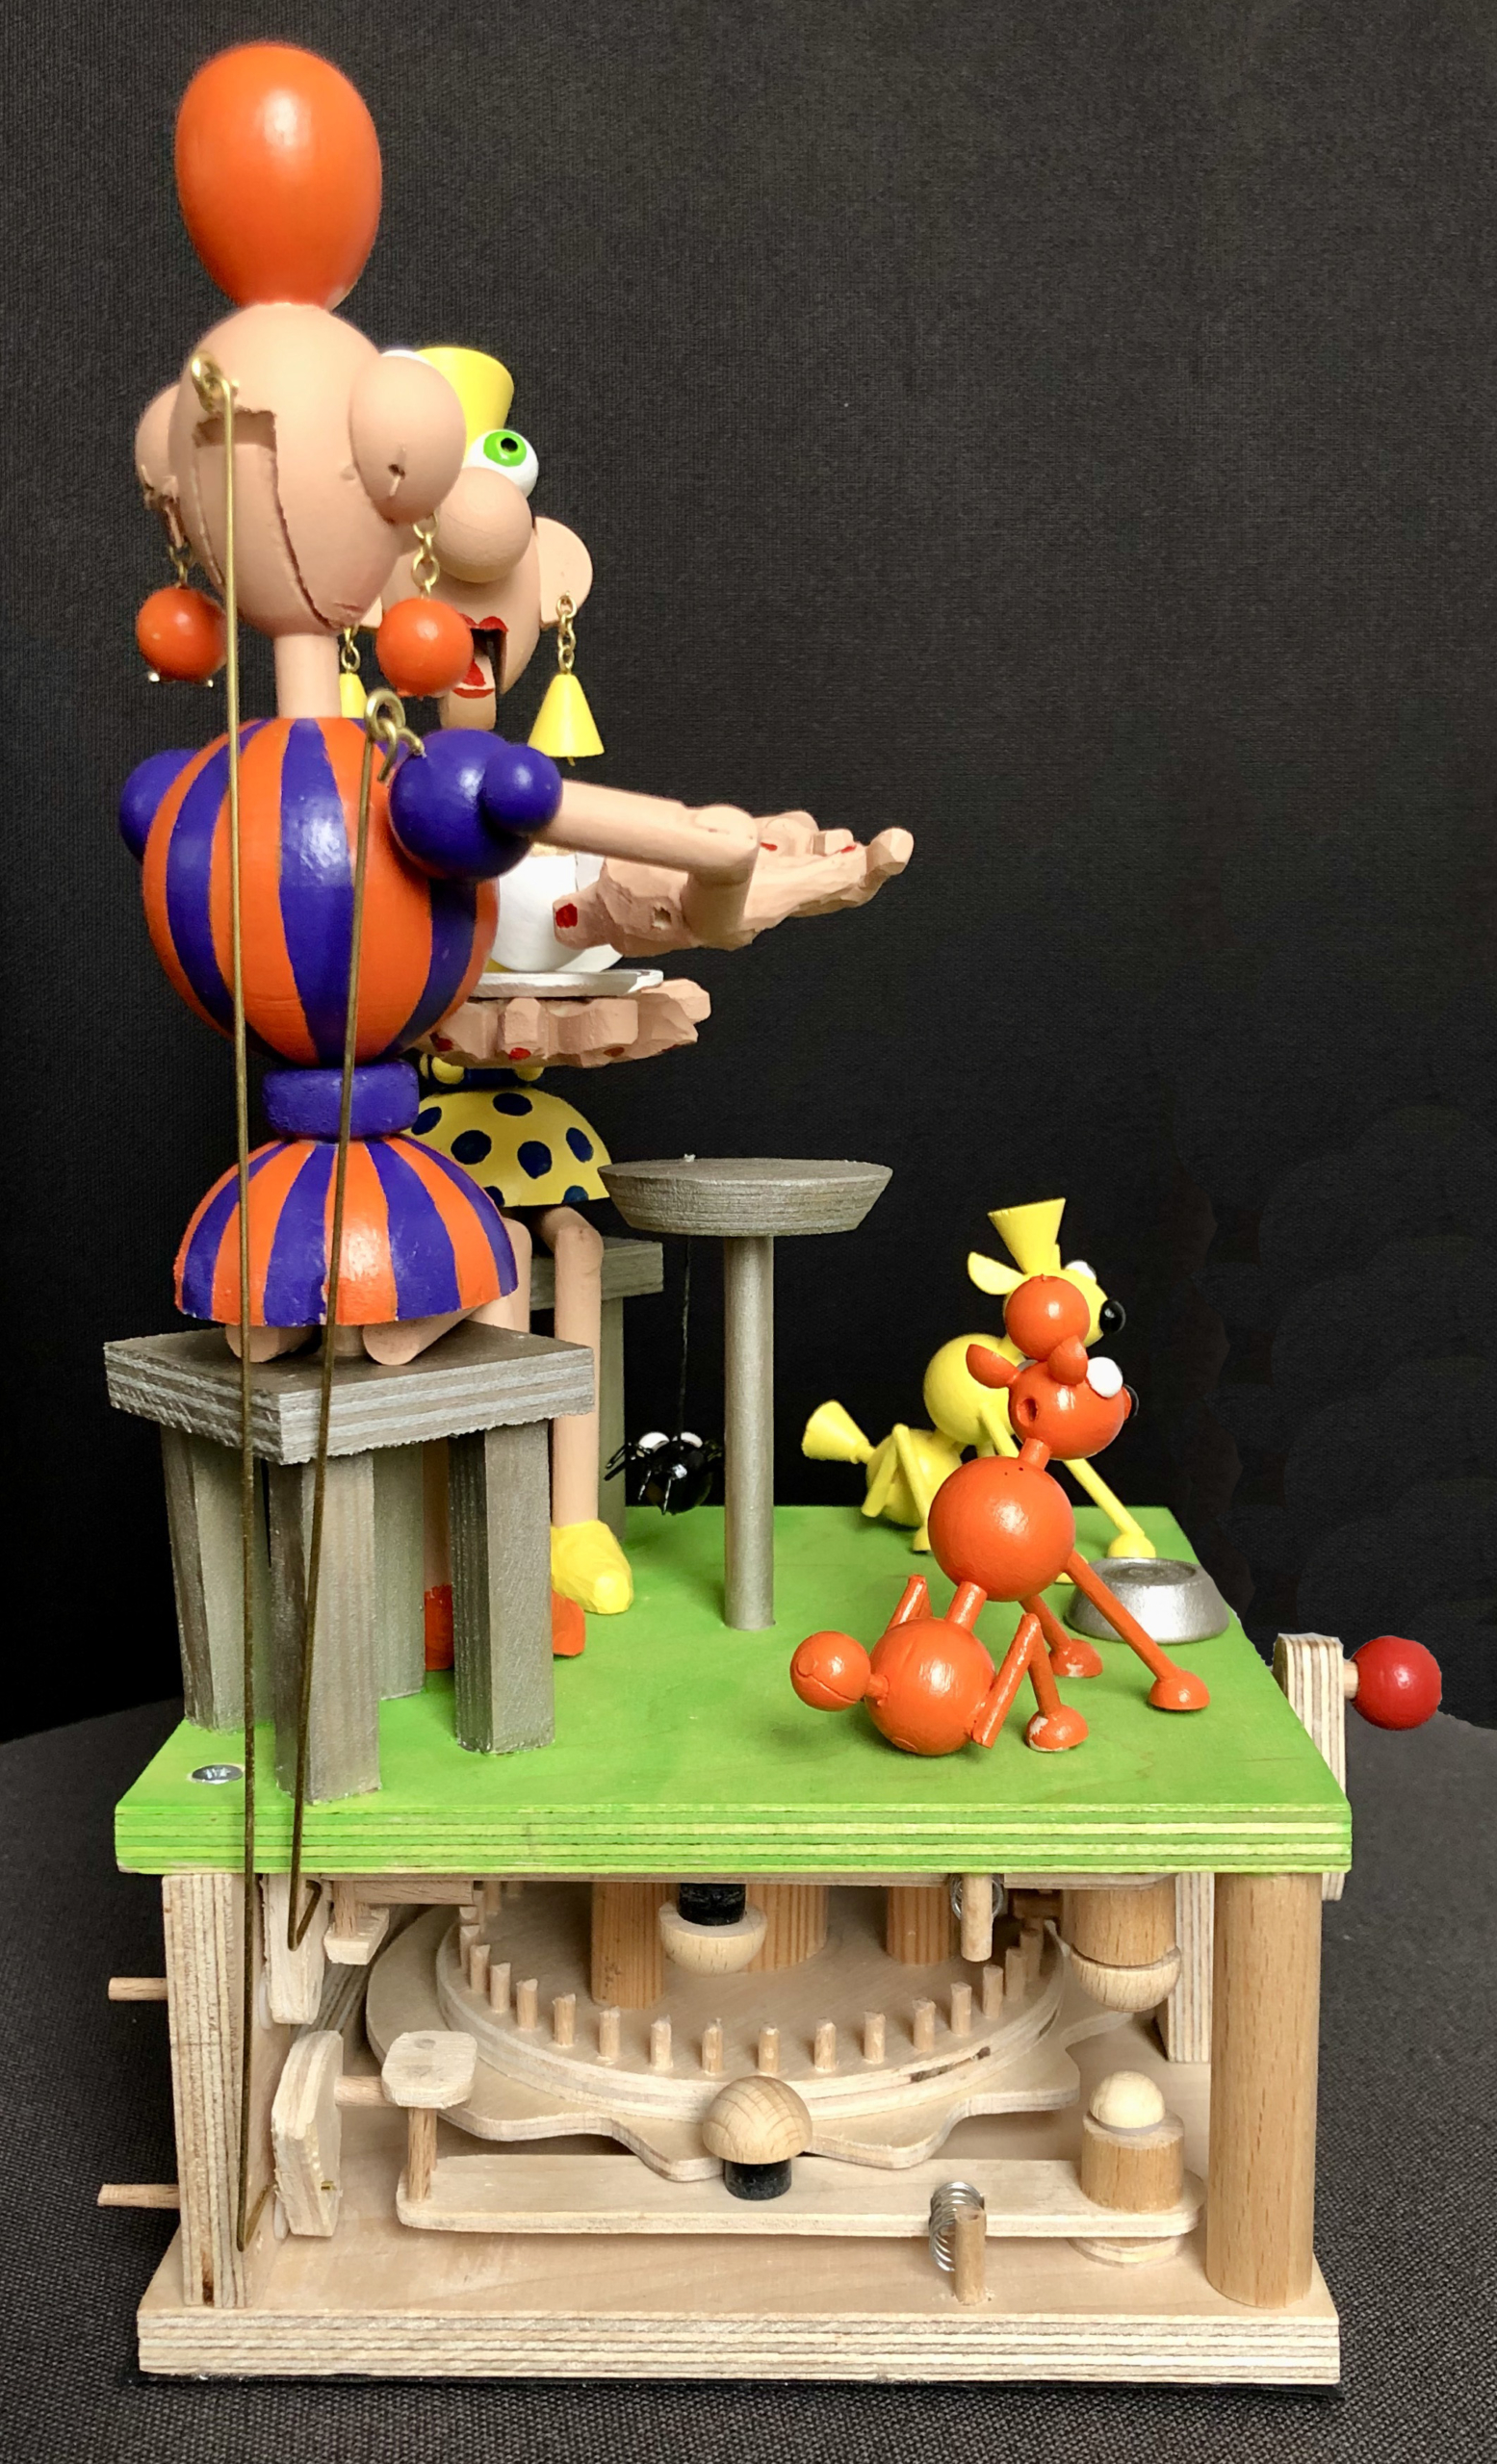
admin

About admin

This author has not yet filled in any details.
So far admin has created 673 entries.

Hair-Raising Girl

Hair-raising girl

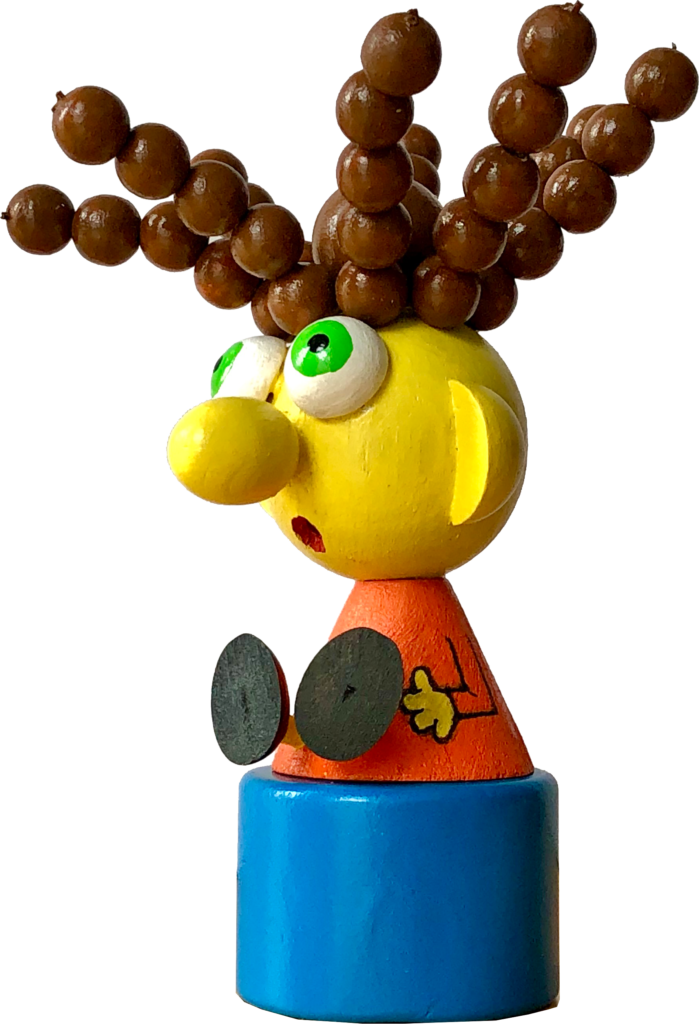
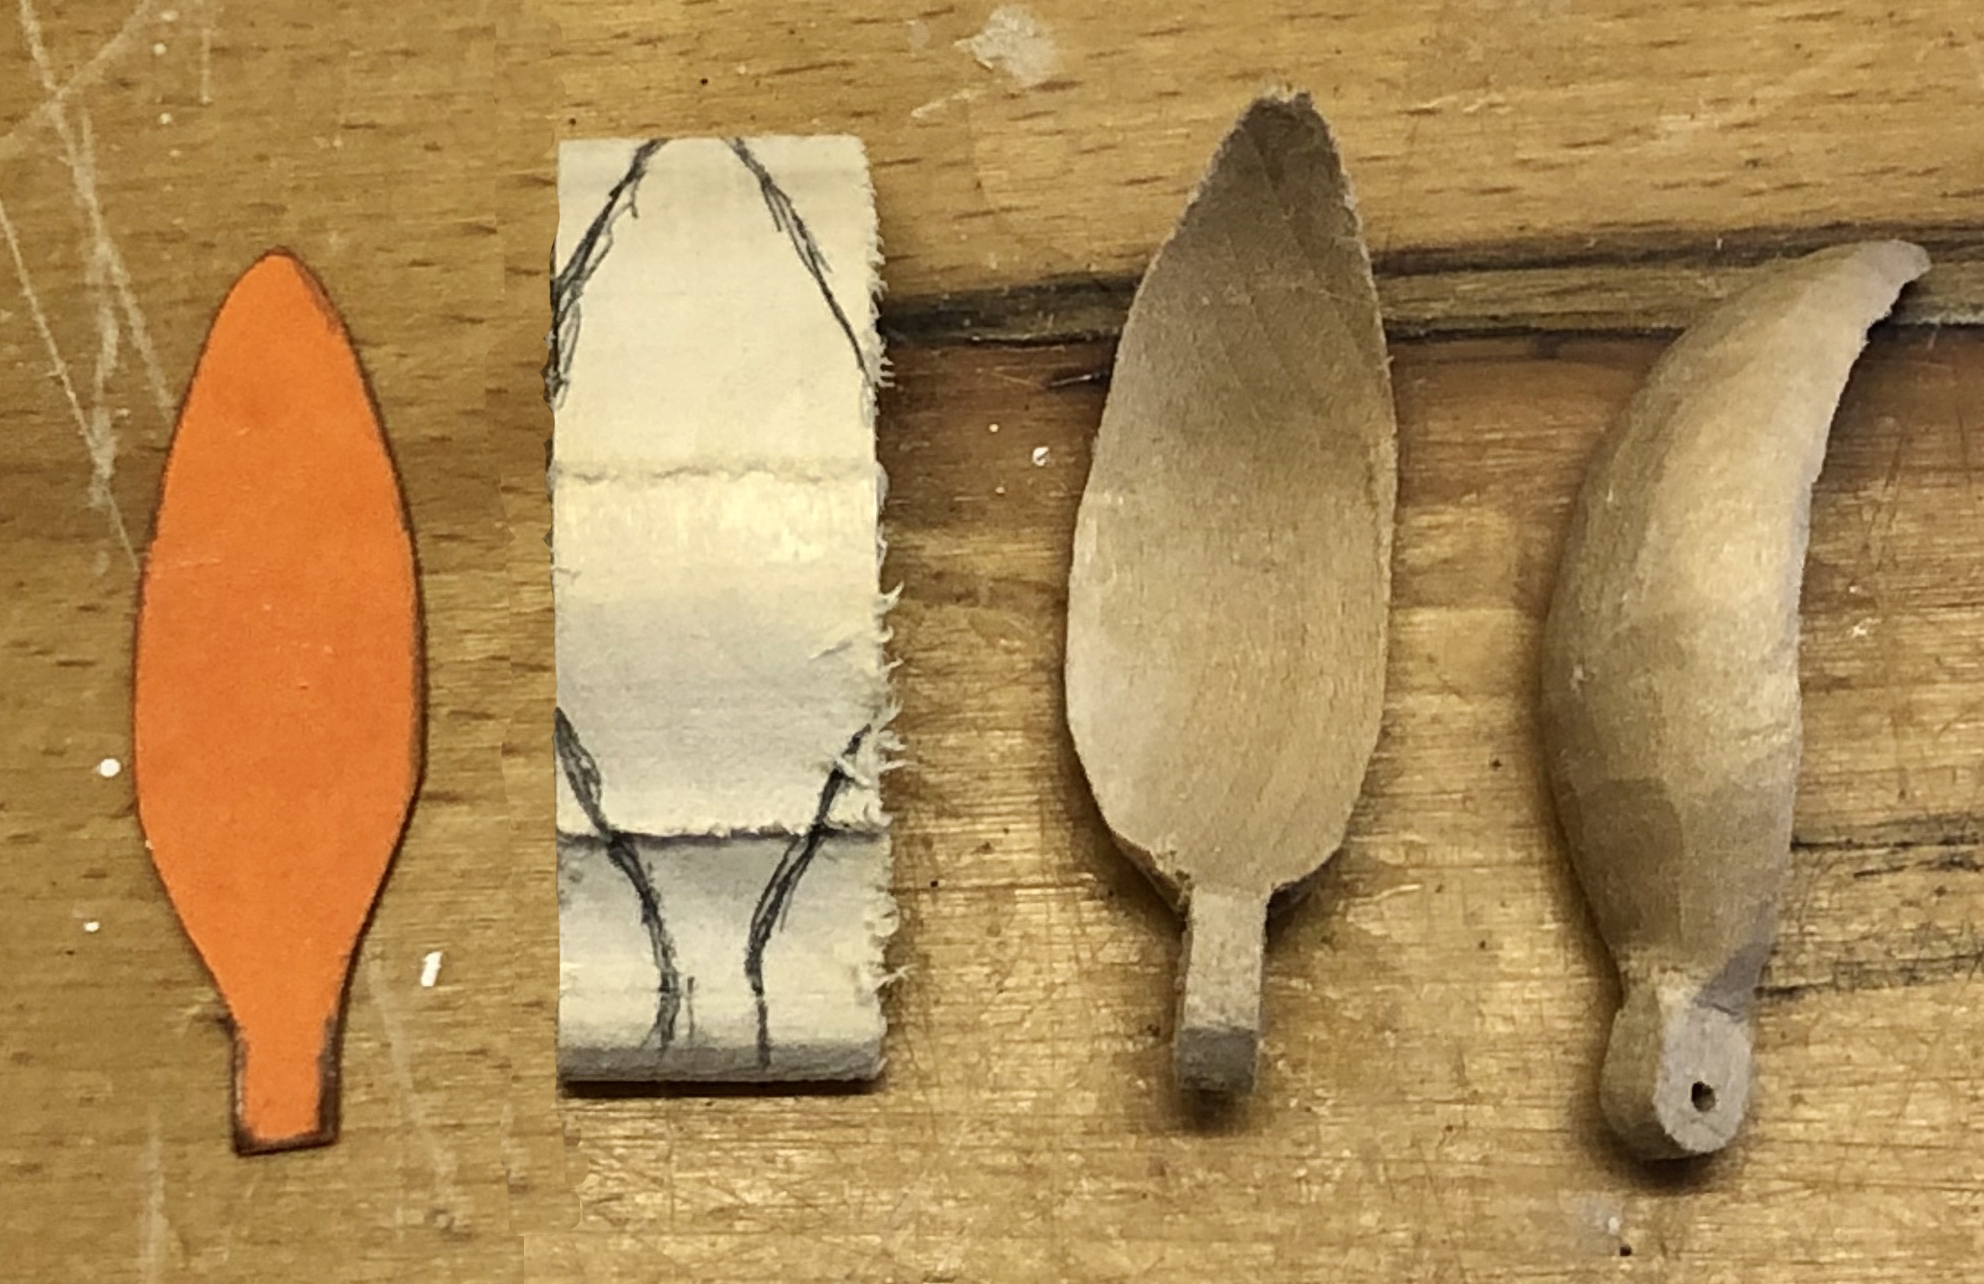
Have you ever thought how you can make hair move? Inspired, as so often, by an image from the Internet, I wondered first of all how to make triangles hanging from the circumference of a head stand up. It seemed pretty complex to me and I wasn’t sure that the result would be worth the effort. Then I noticed that I still had a few bases for thumb push puppets lying around so I decided to stretch the concept a little of what hair looks like.

The Requirements

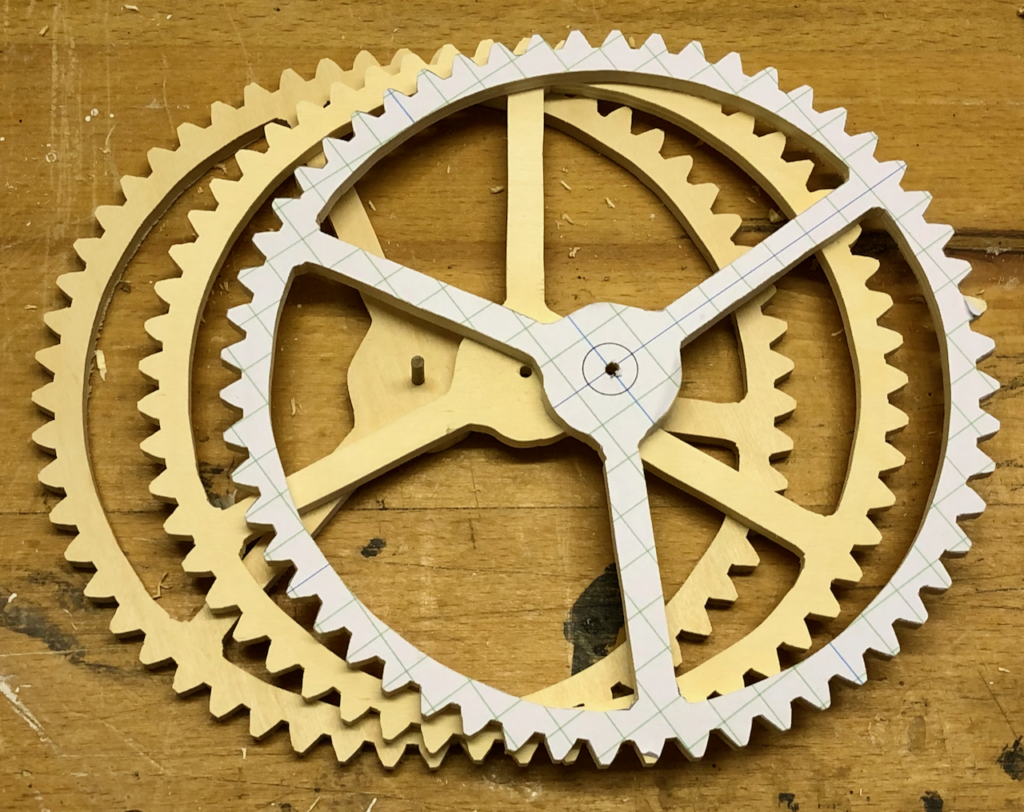
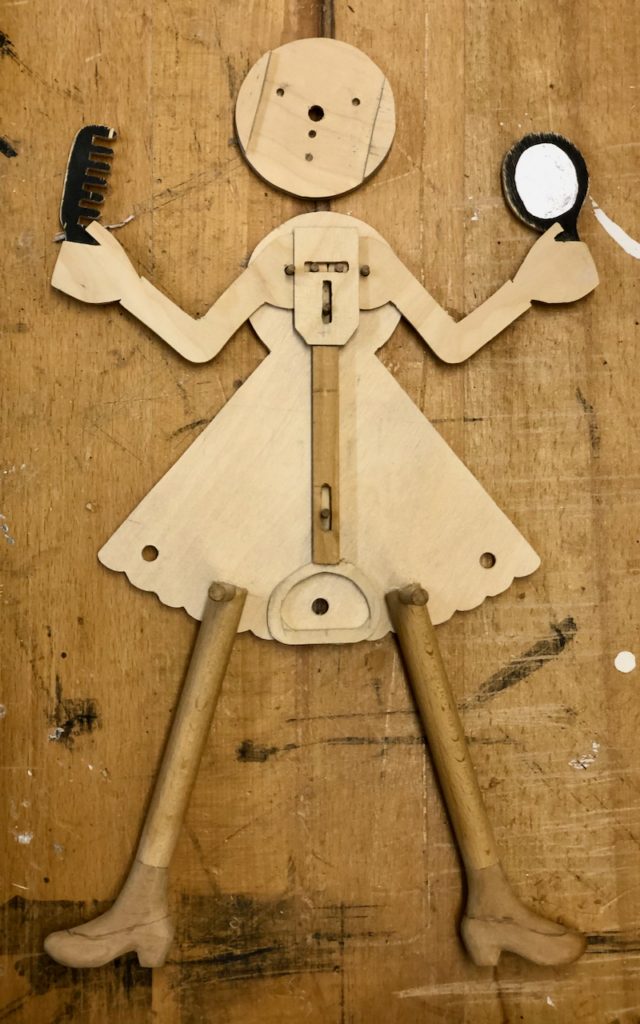
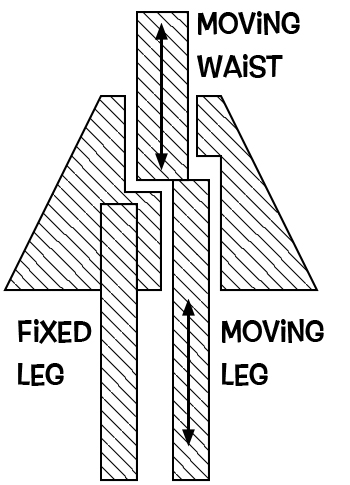
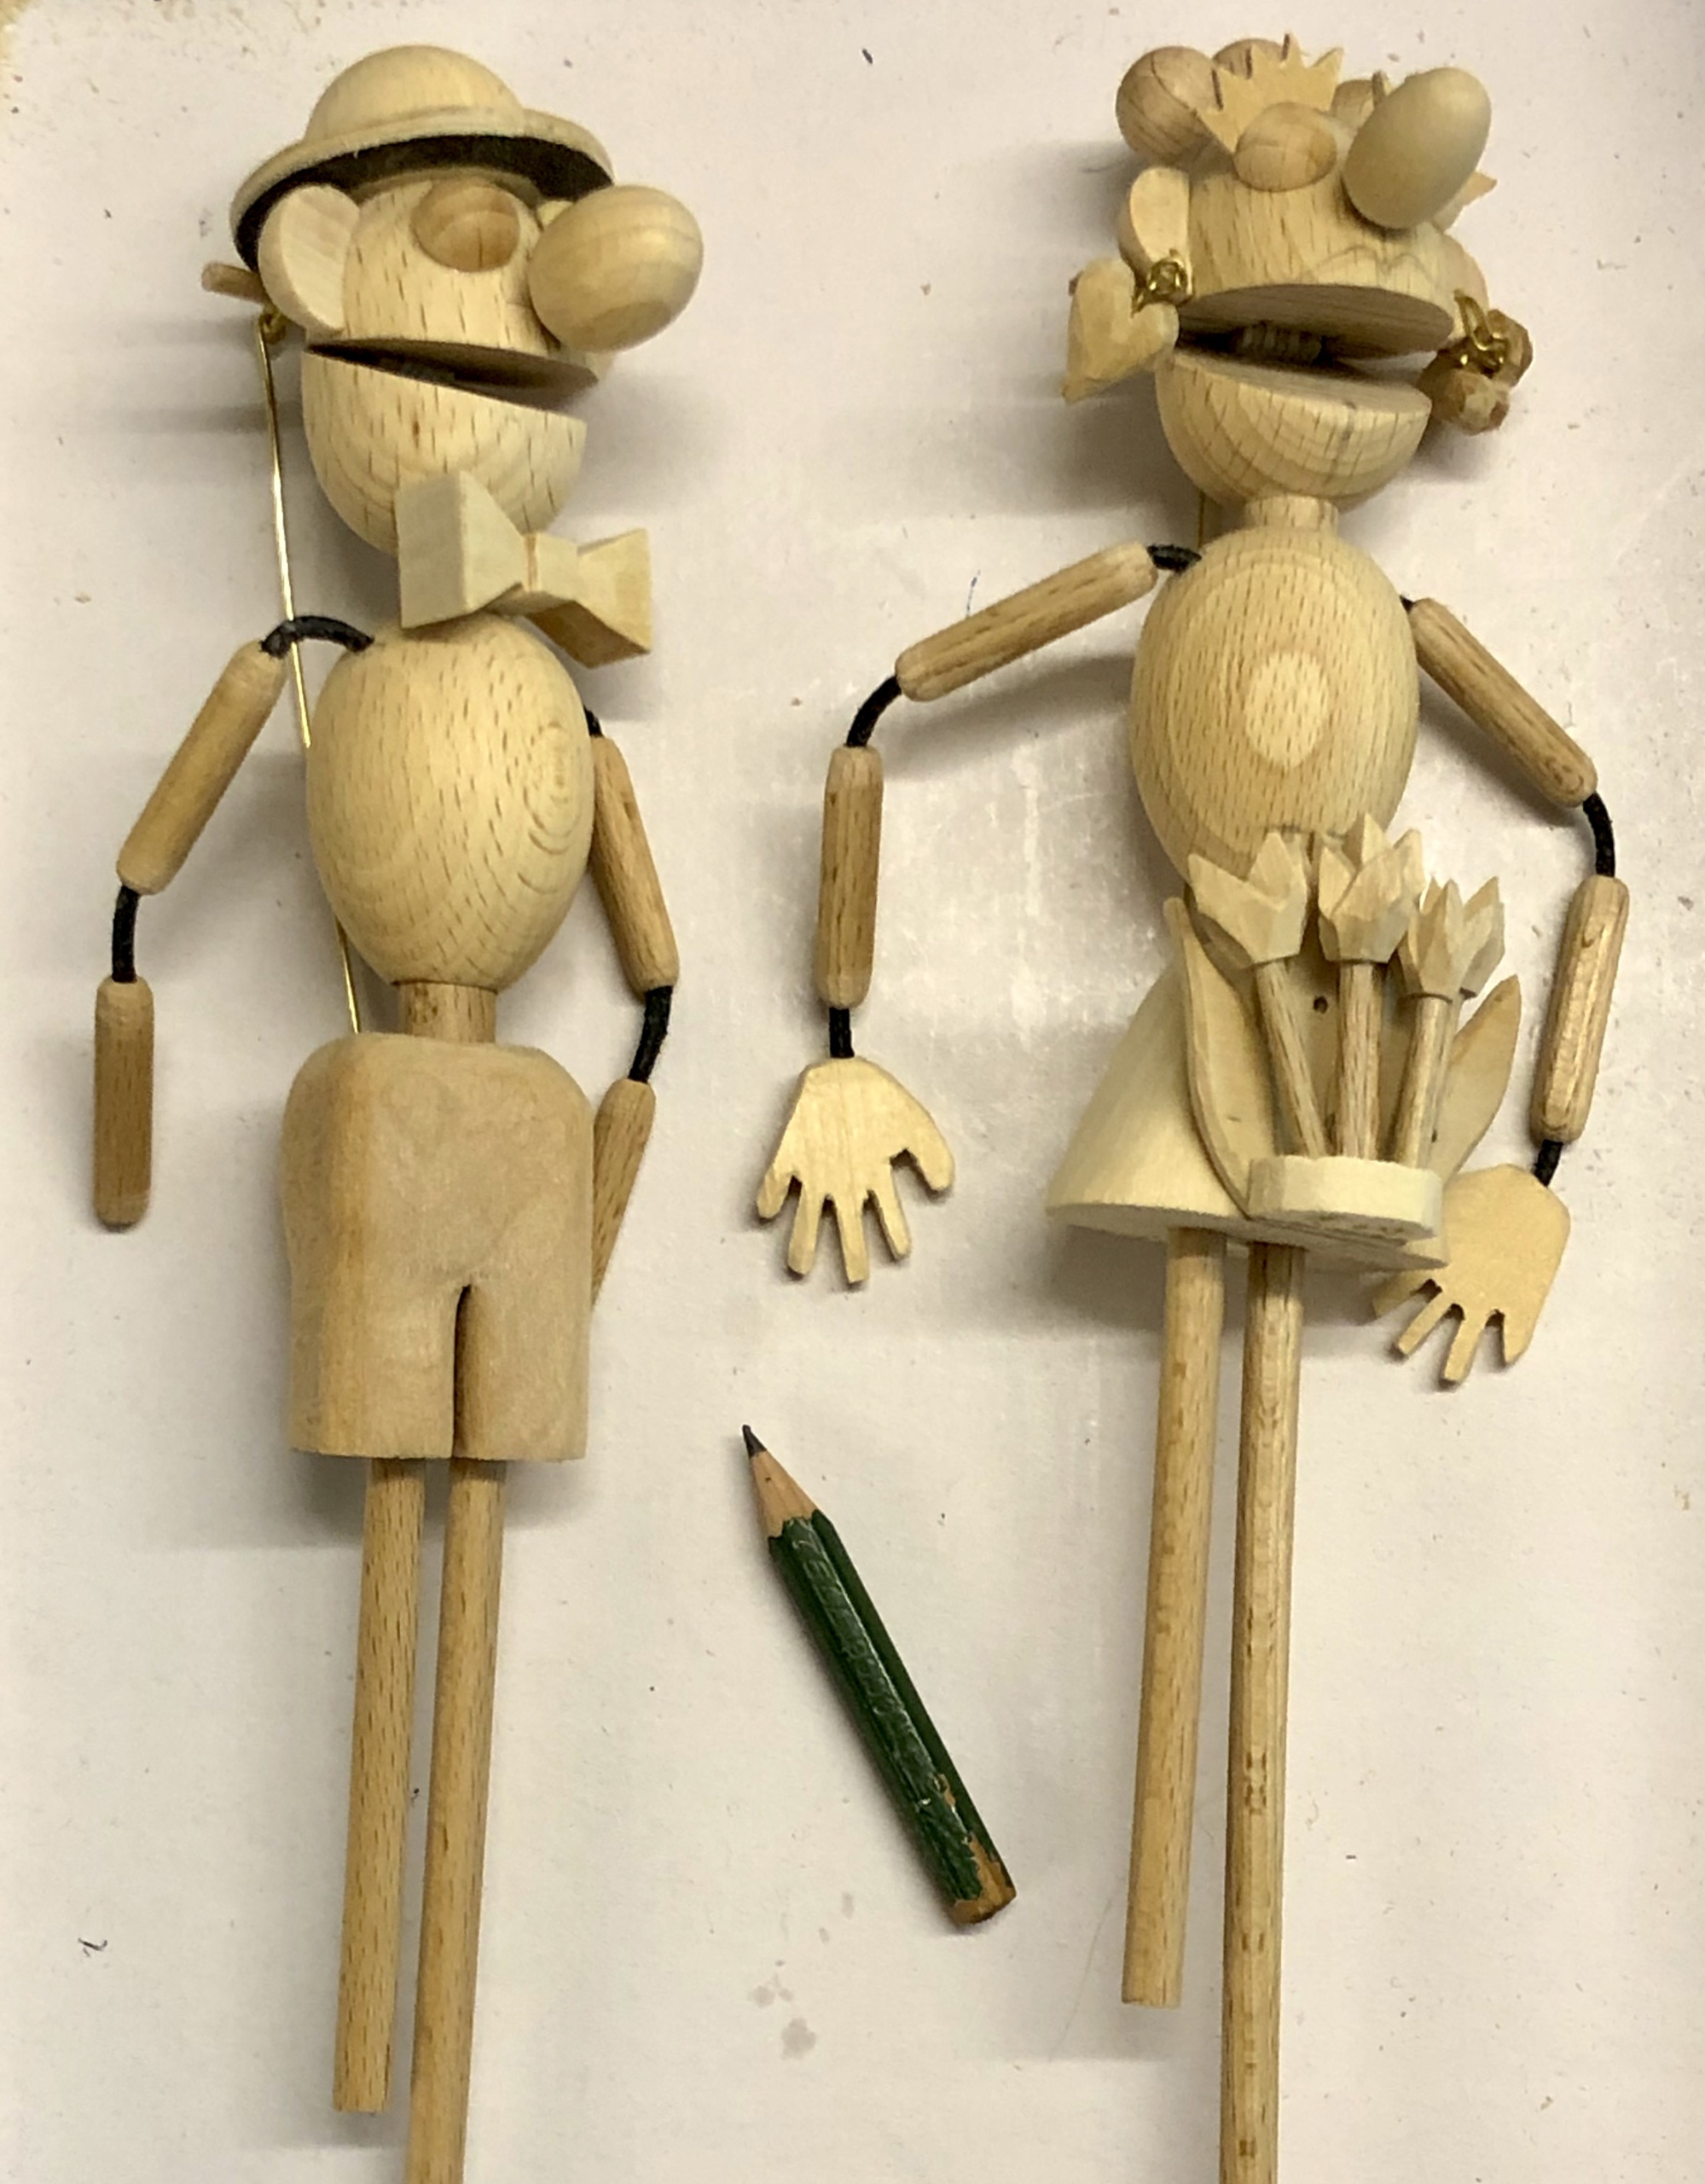
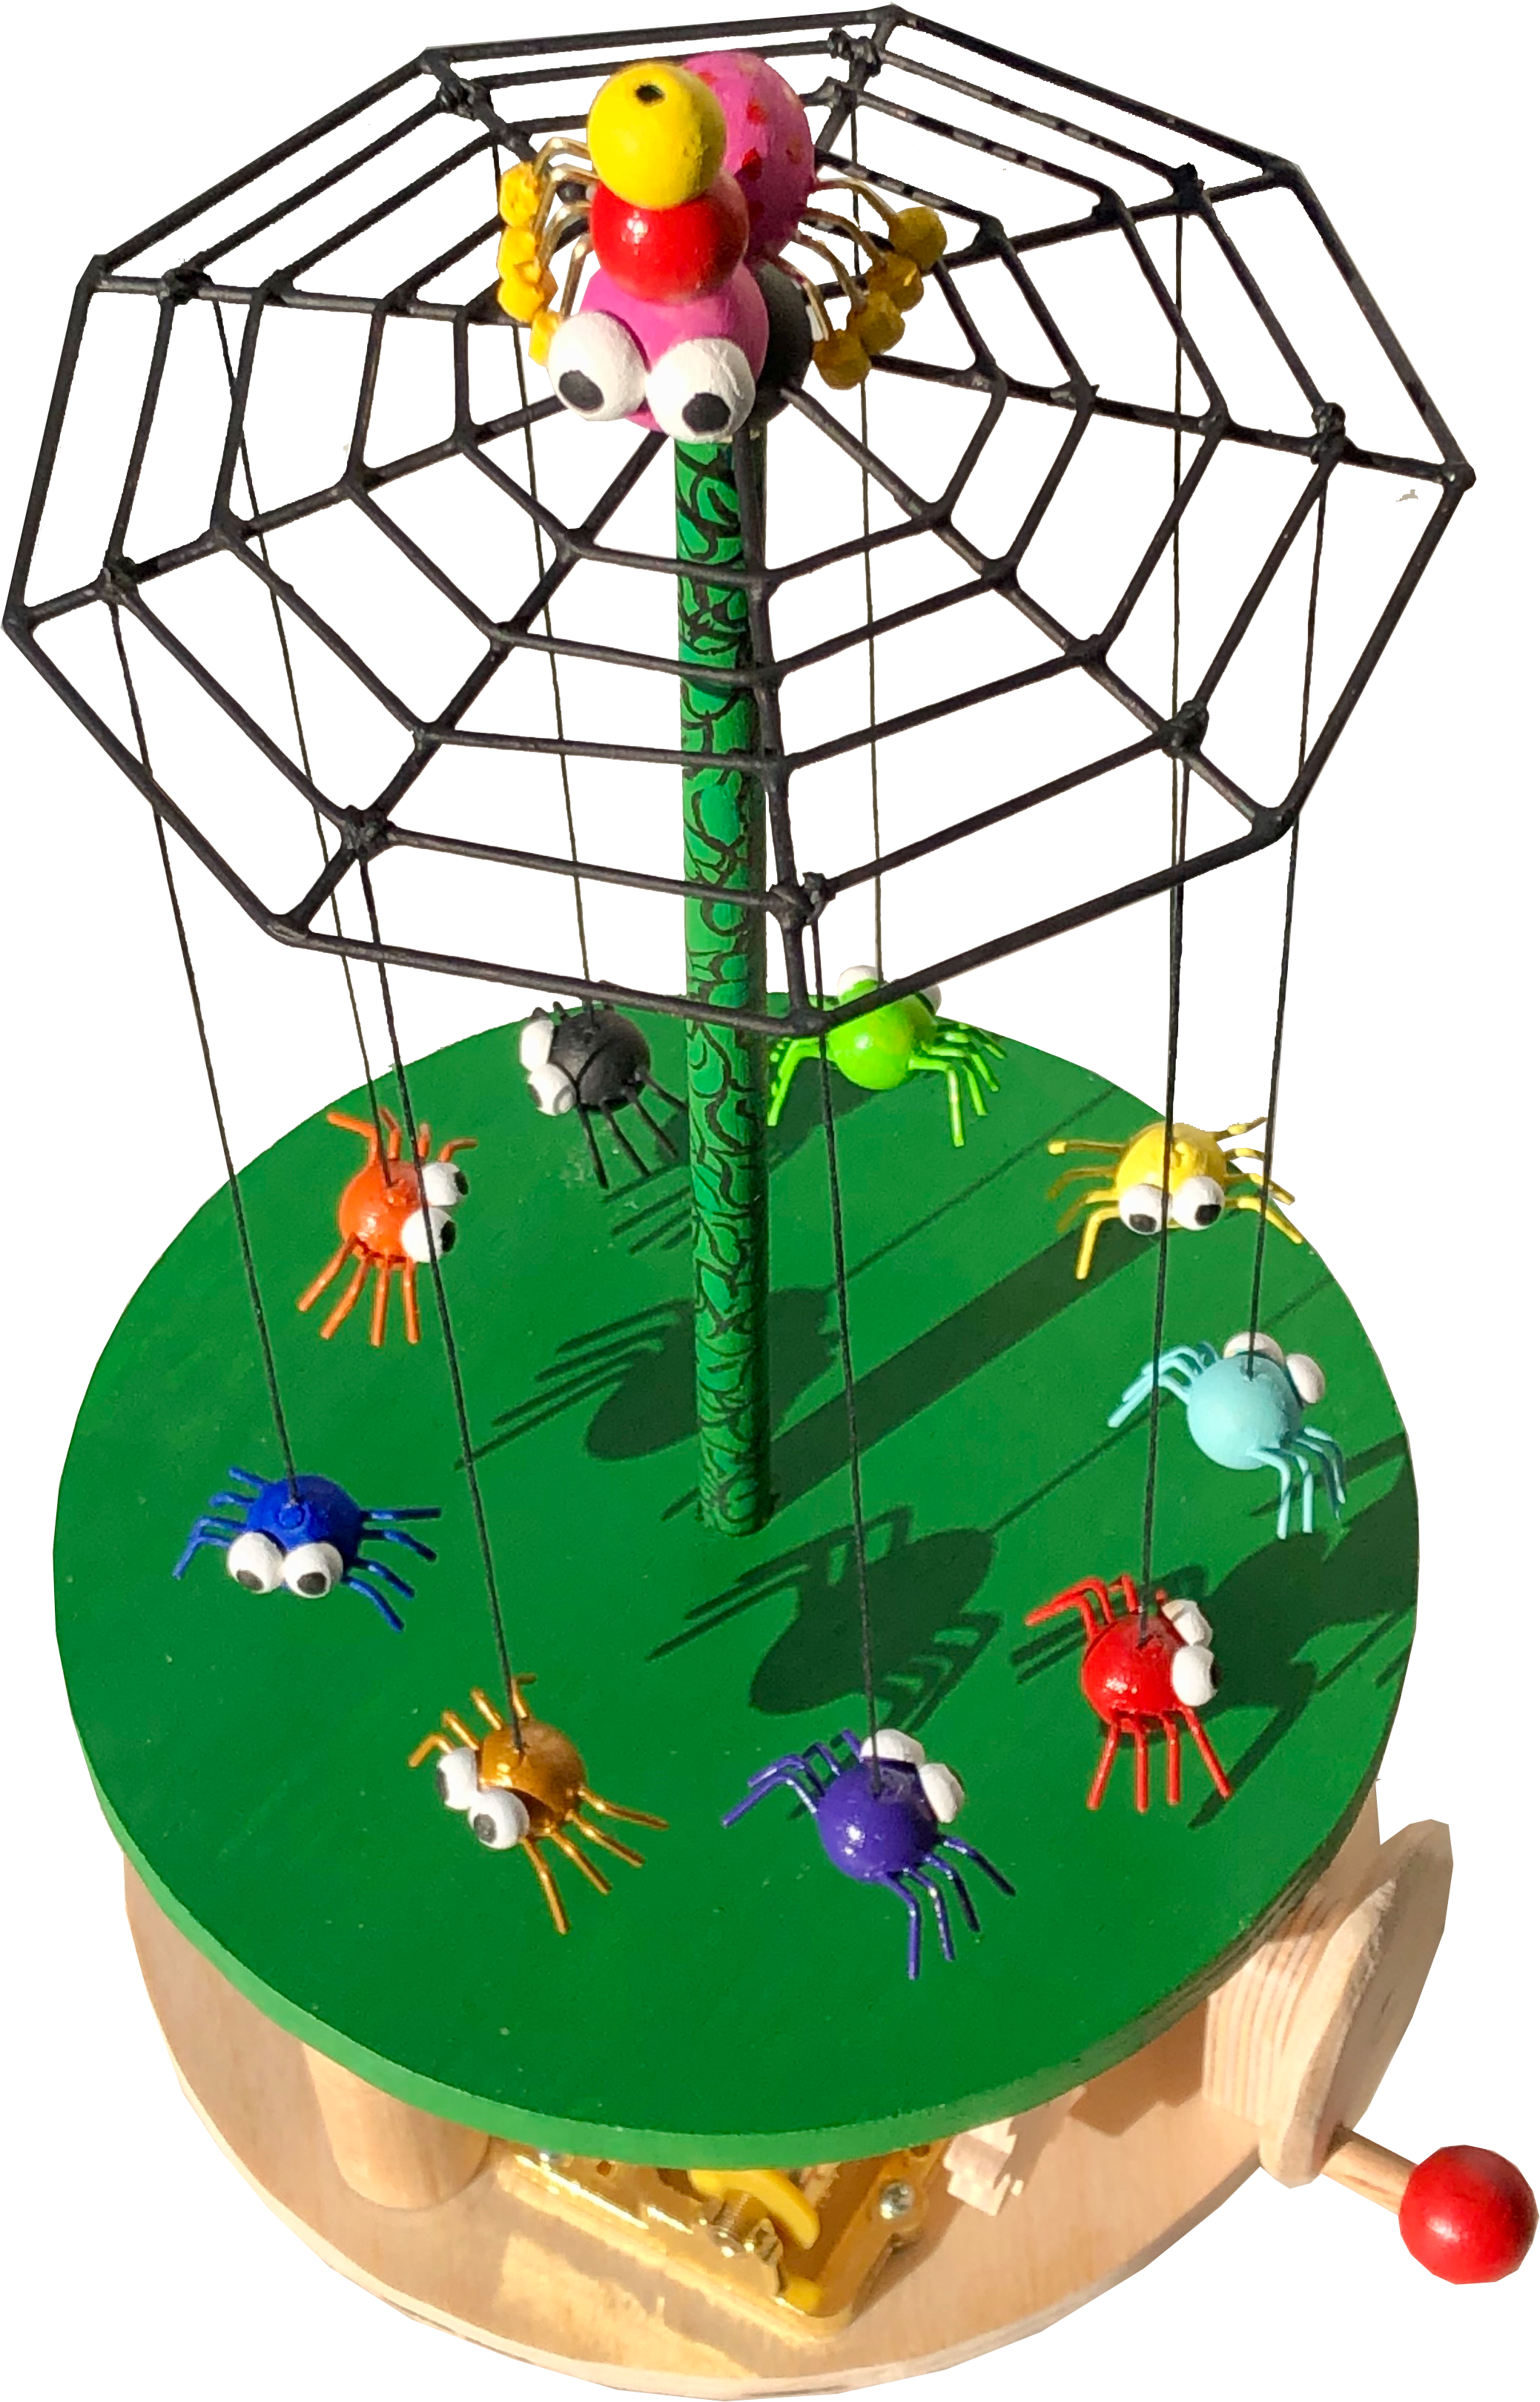
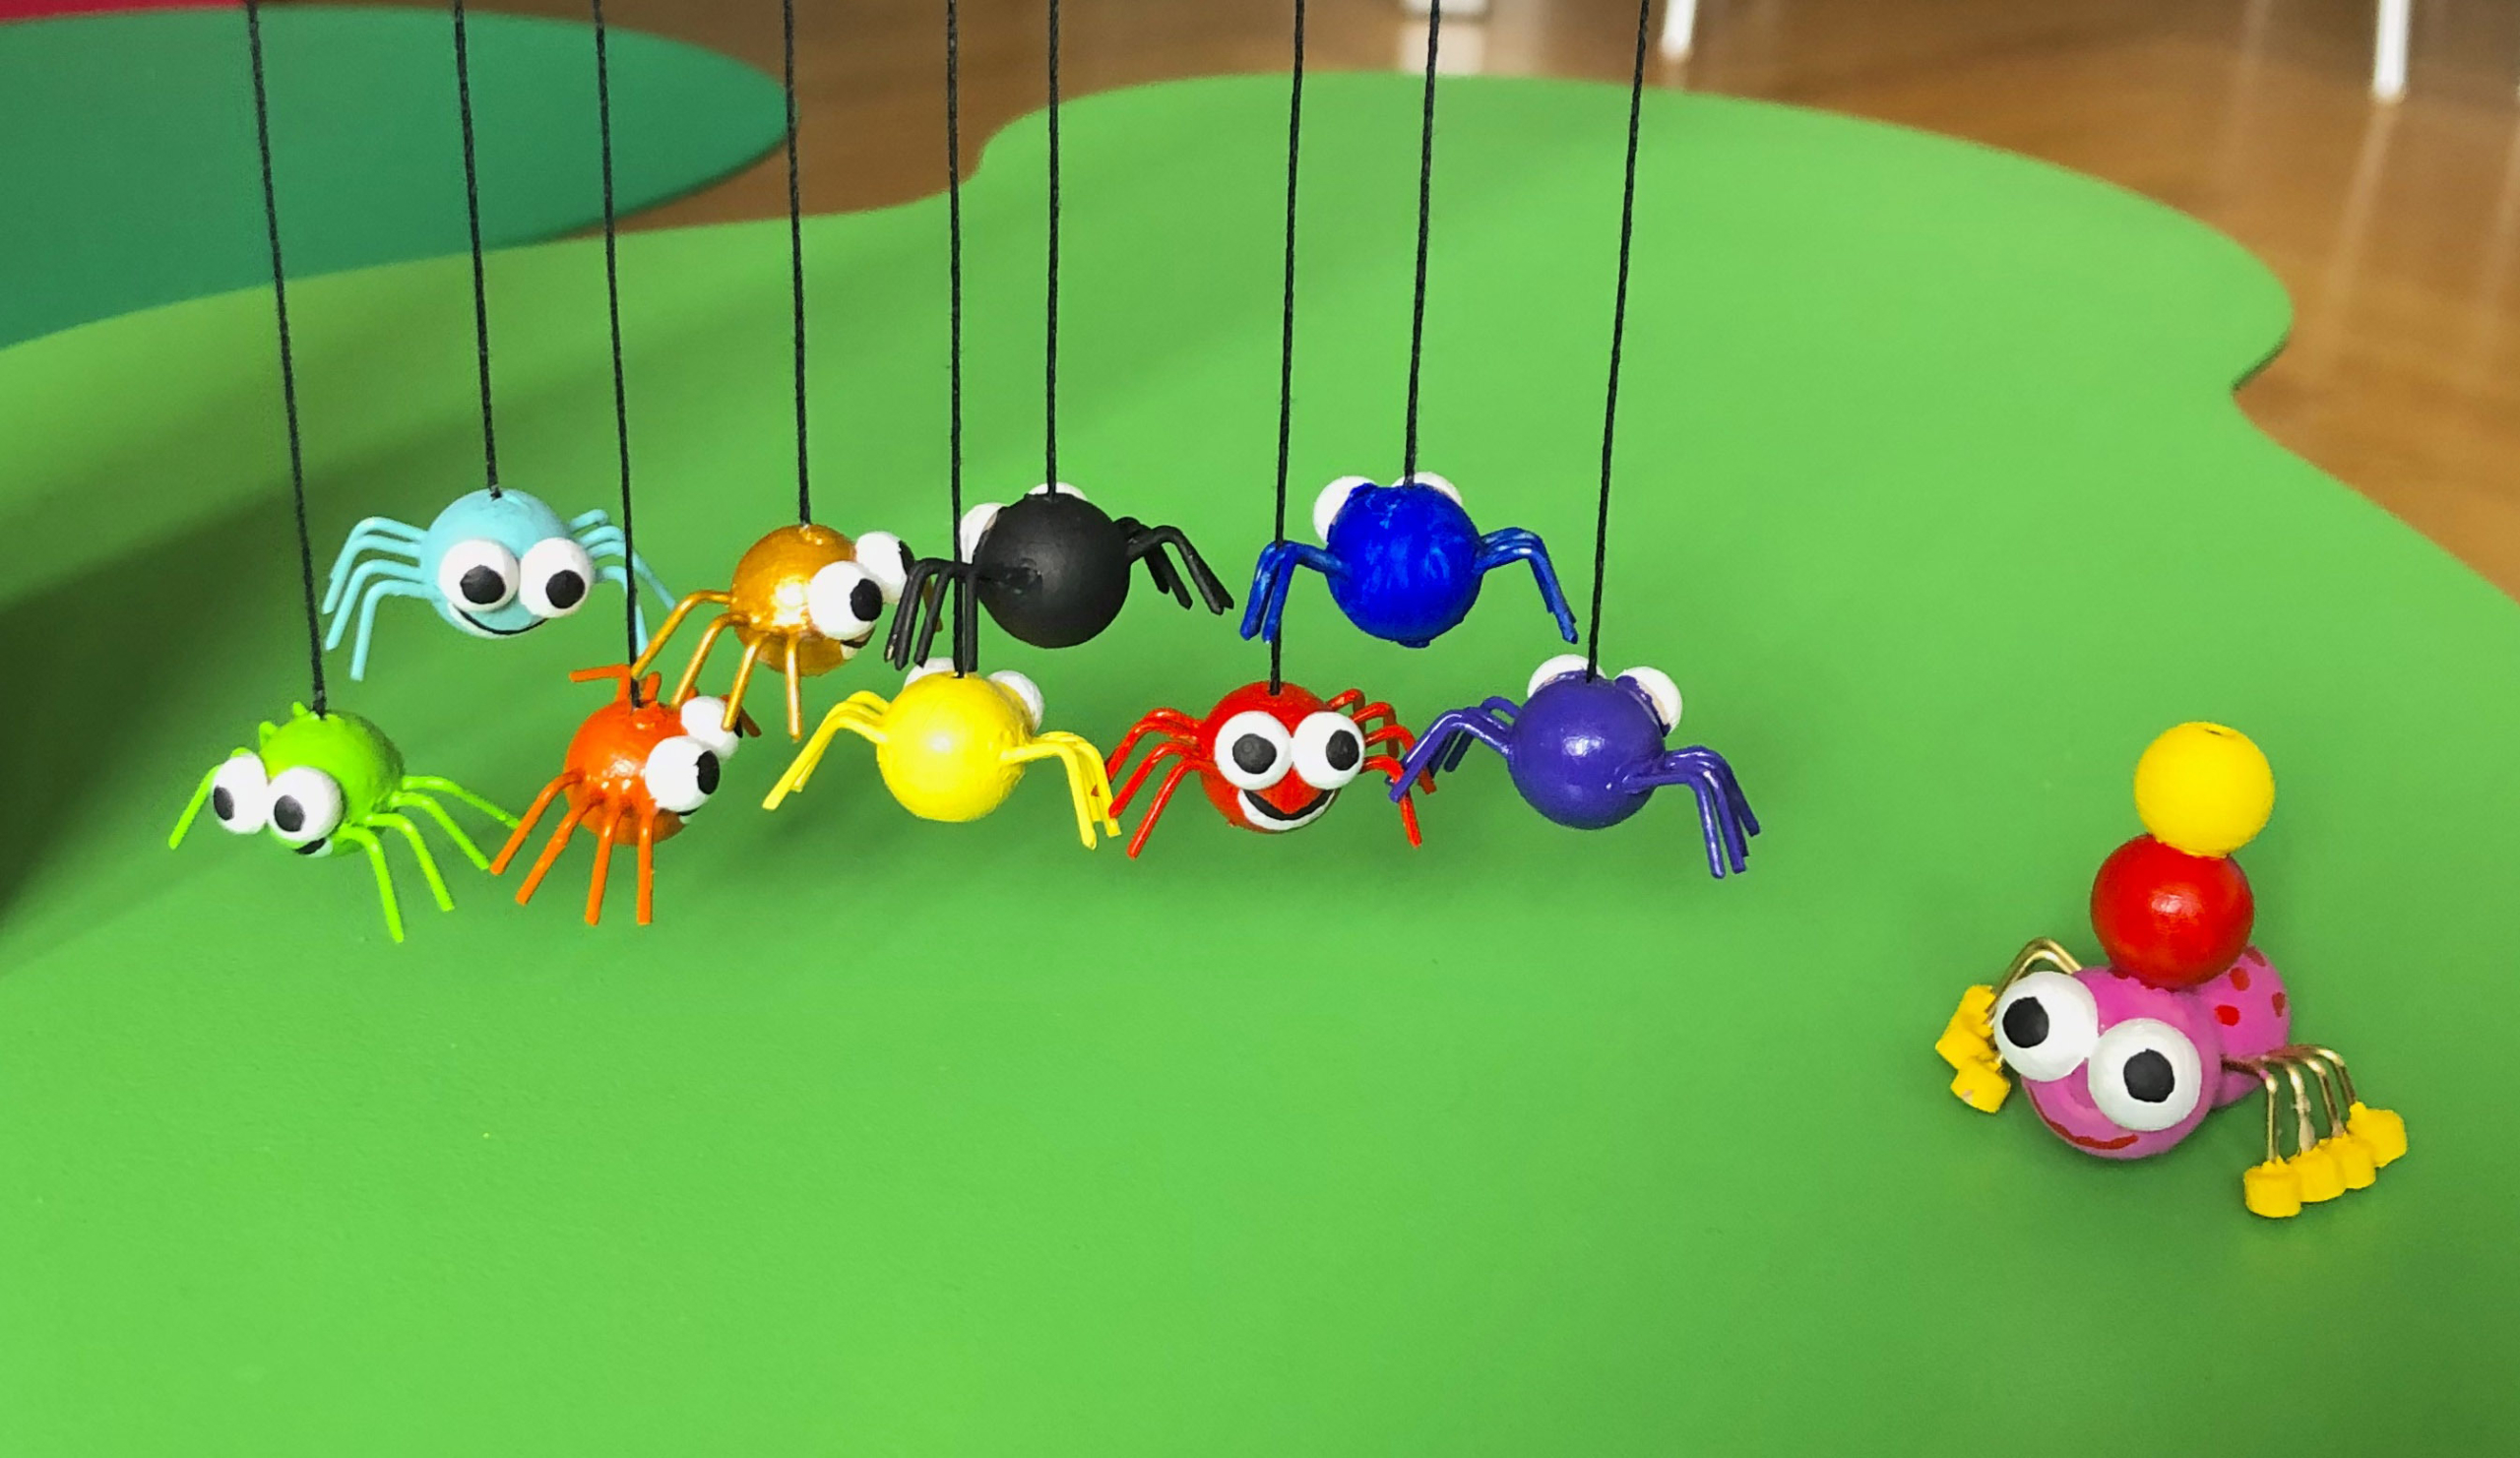
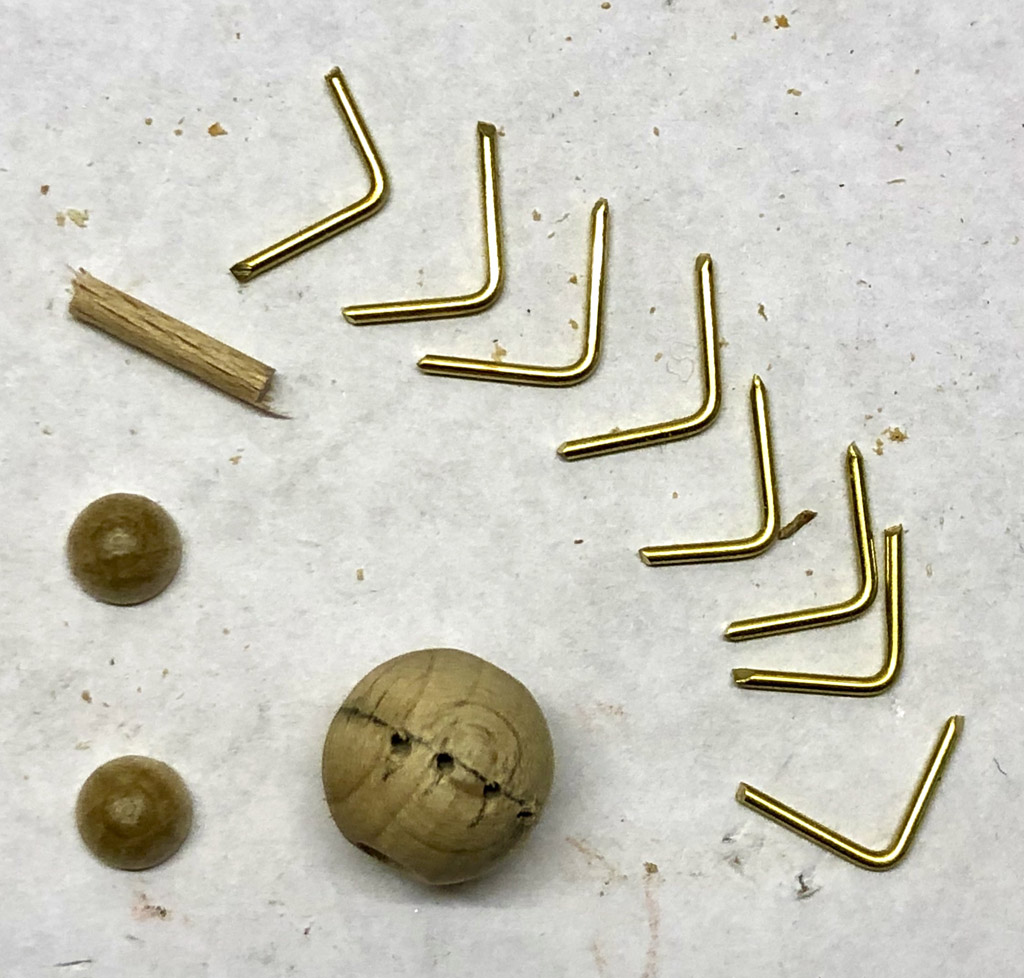
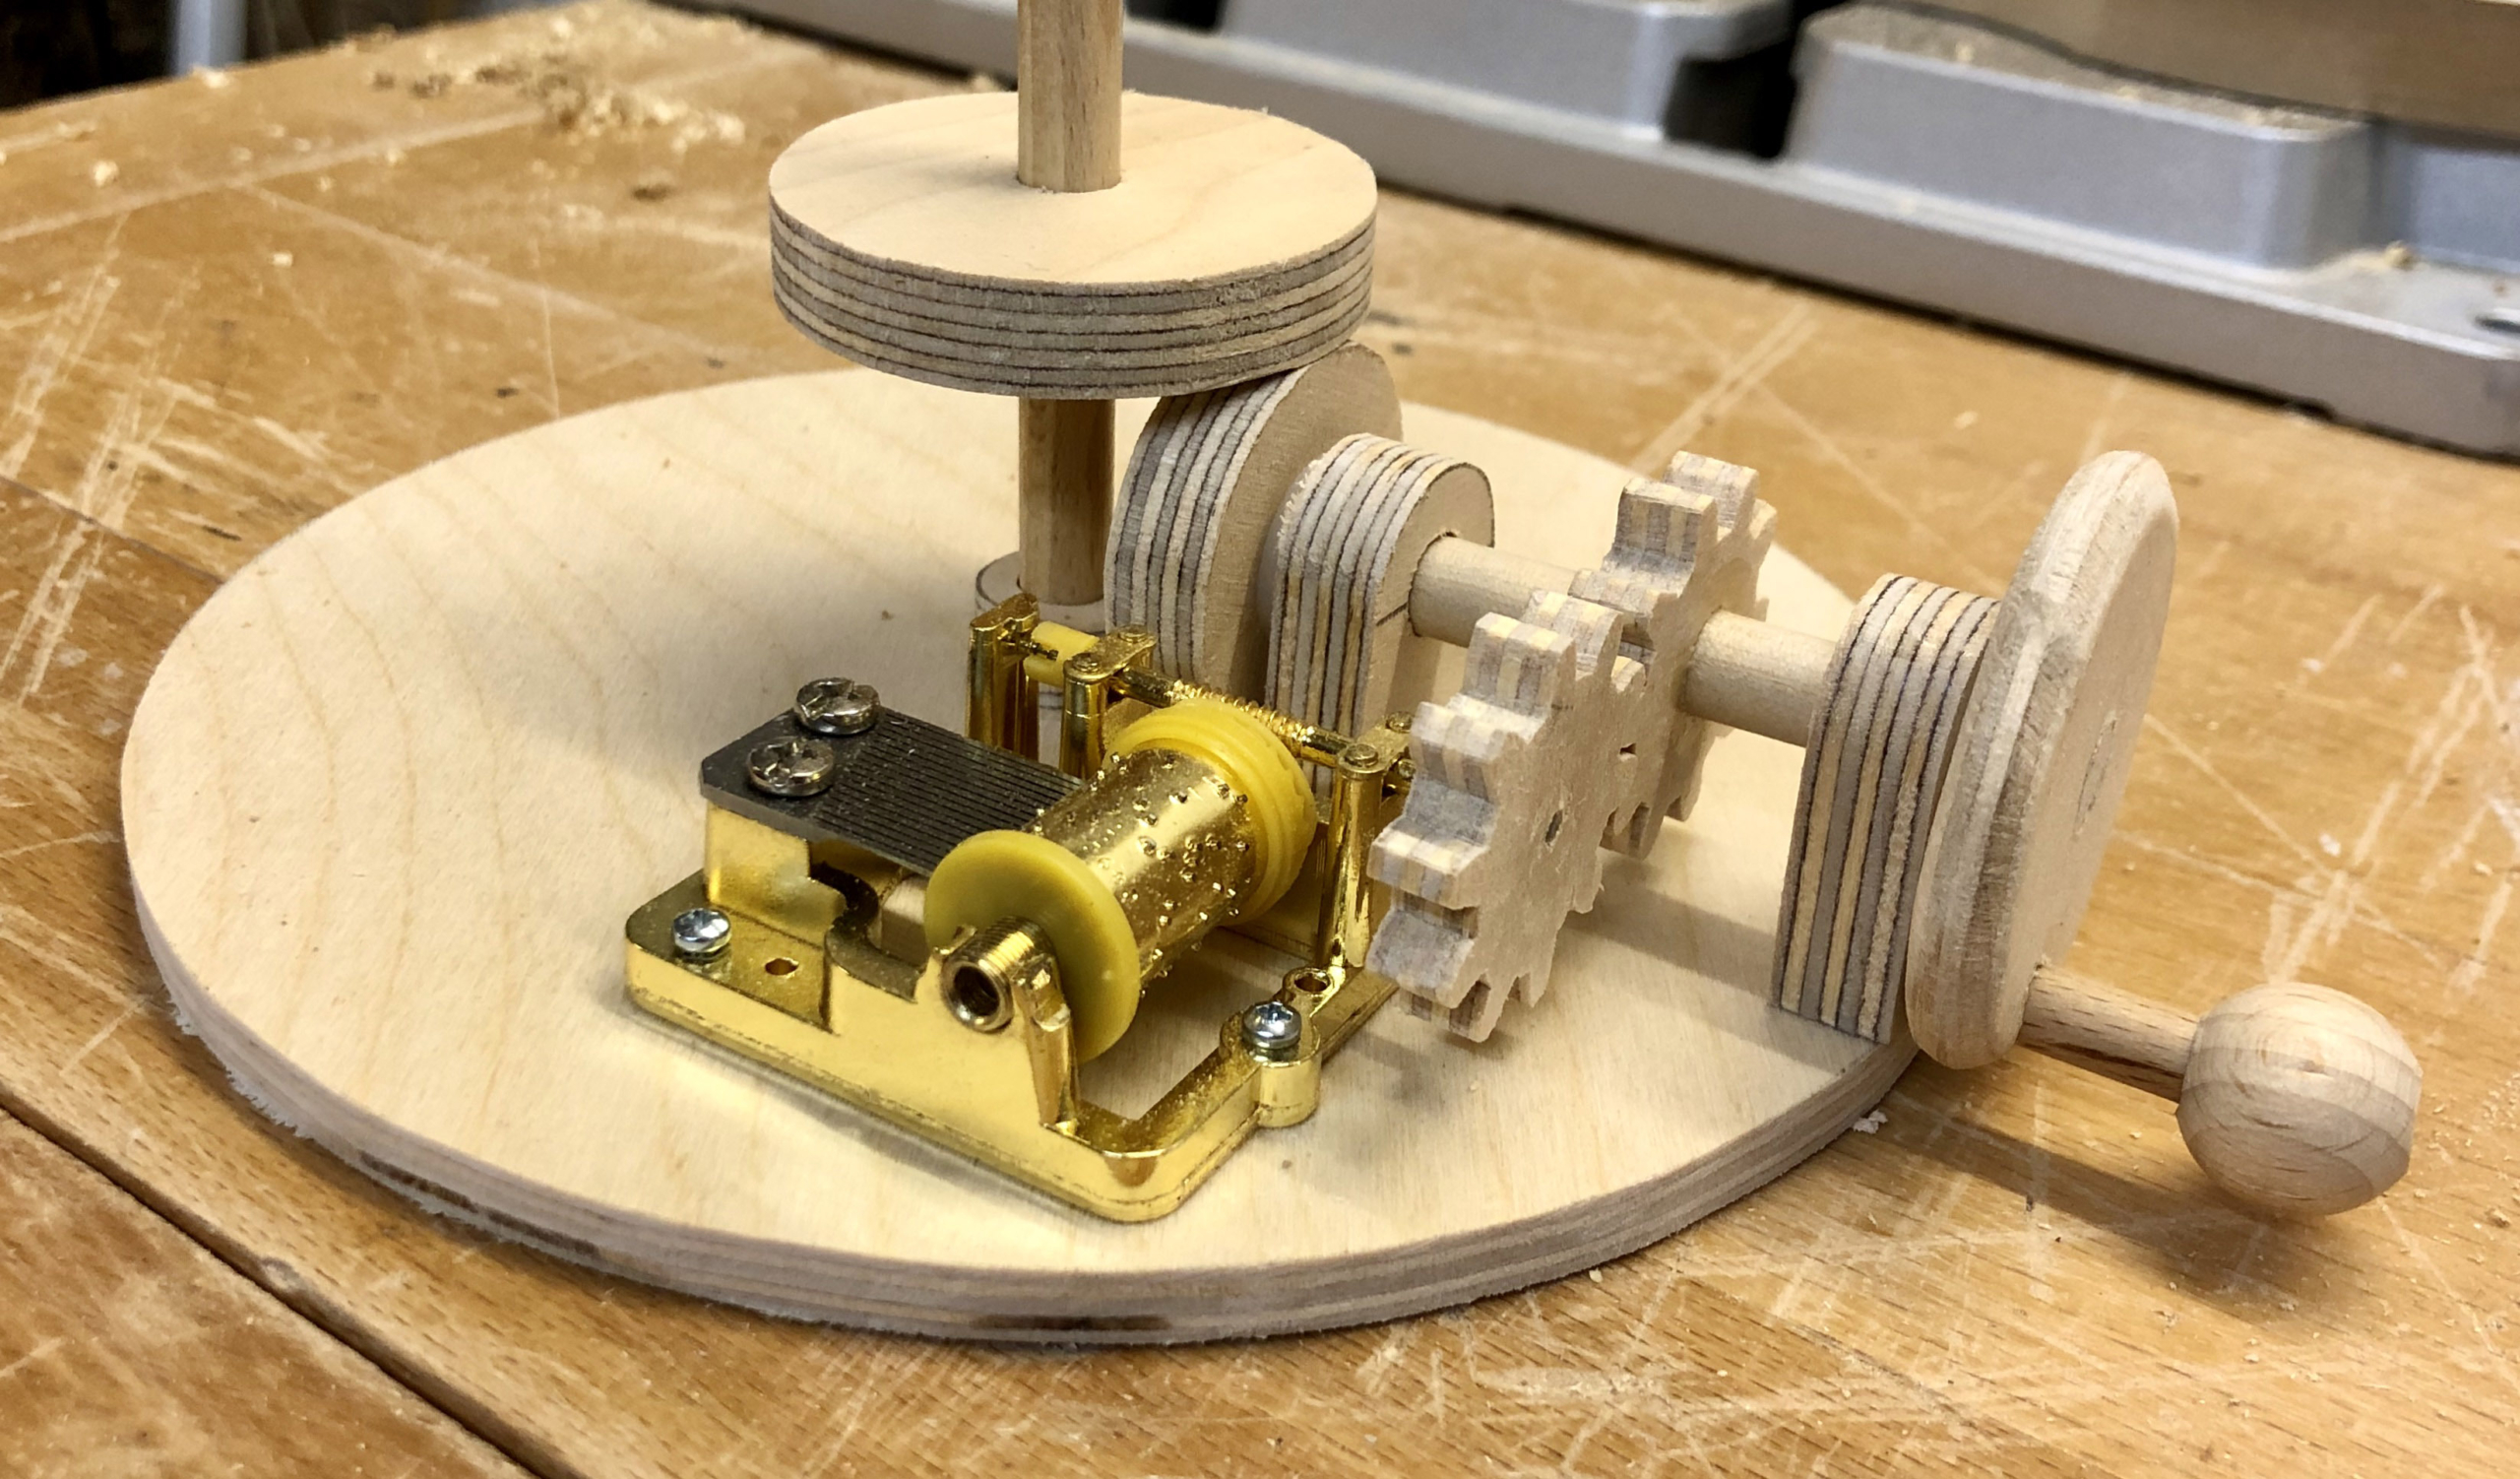
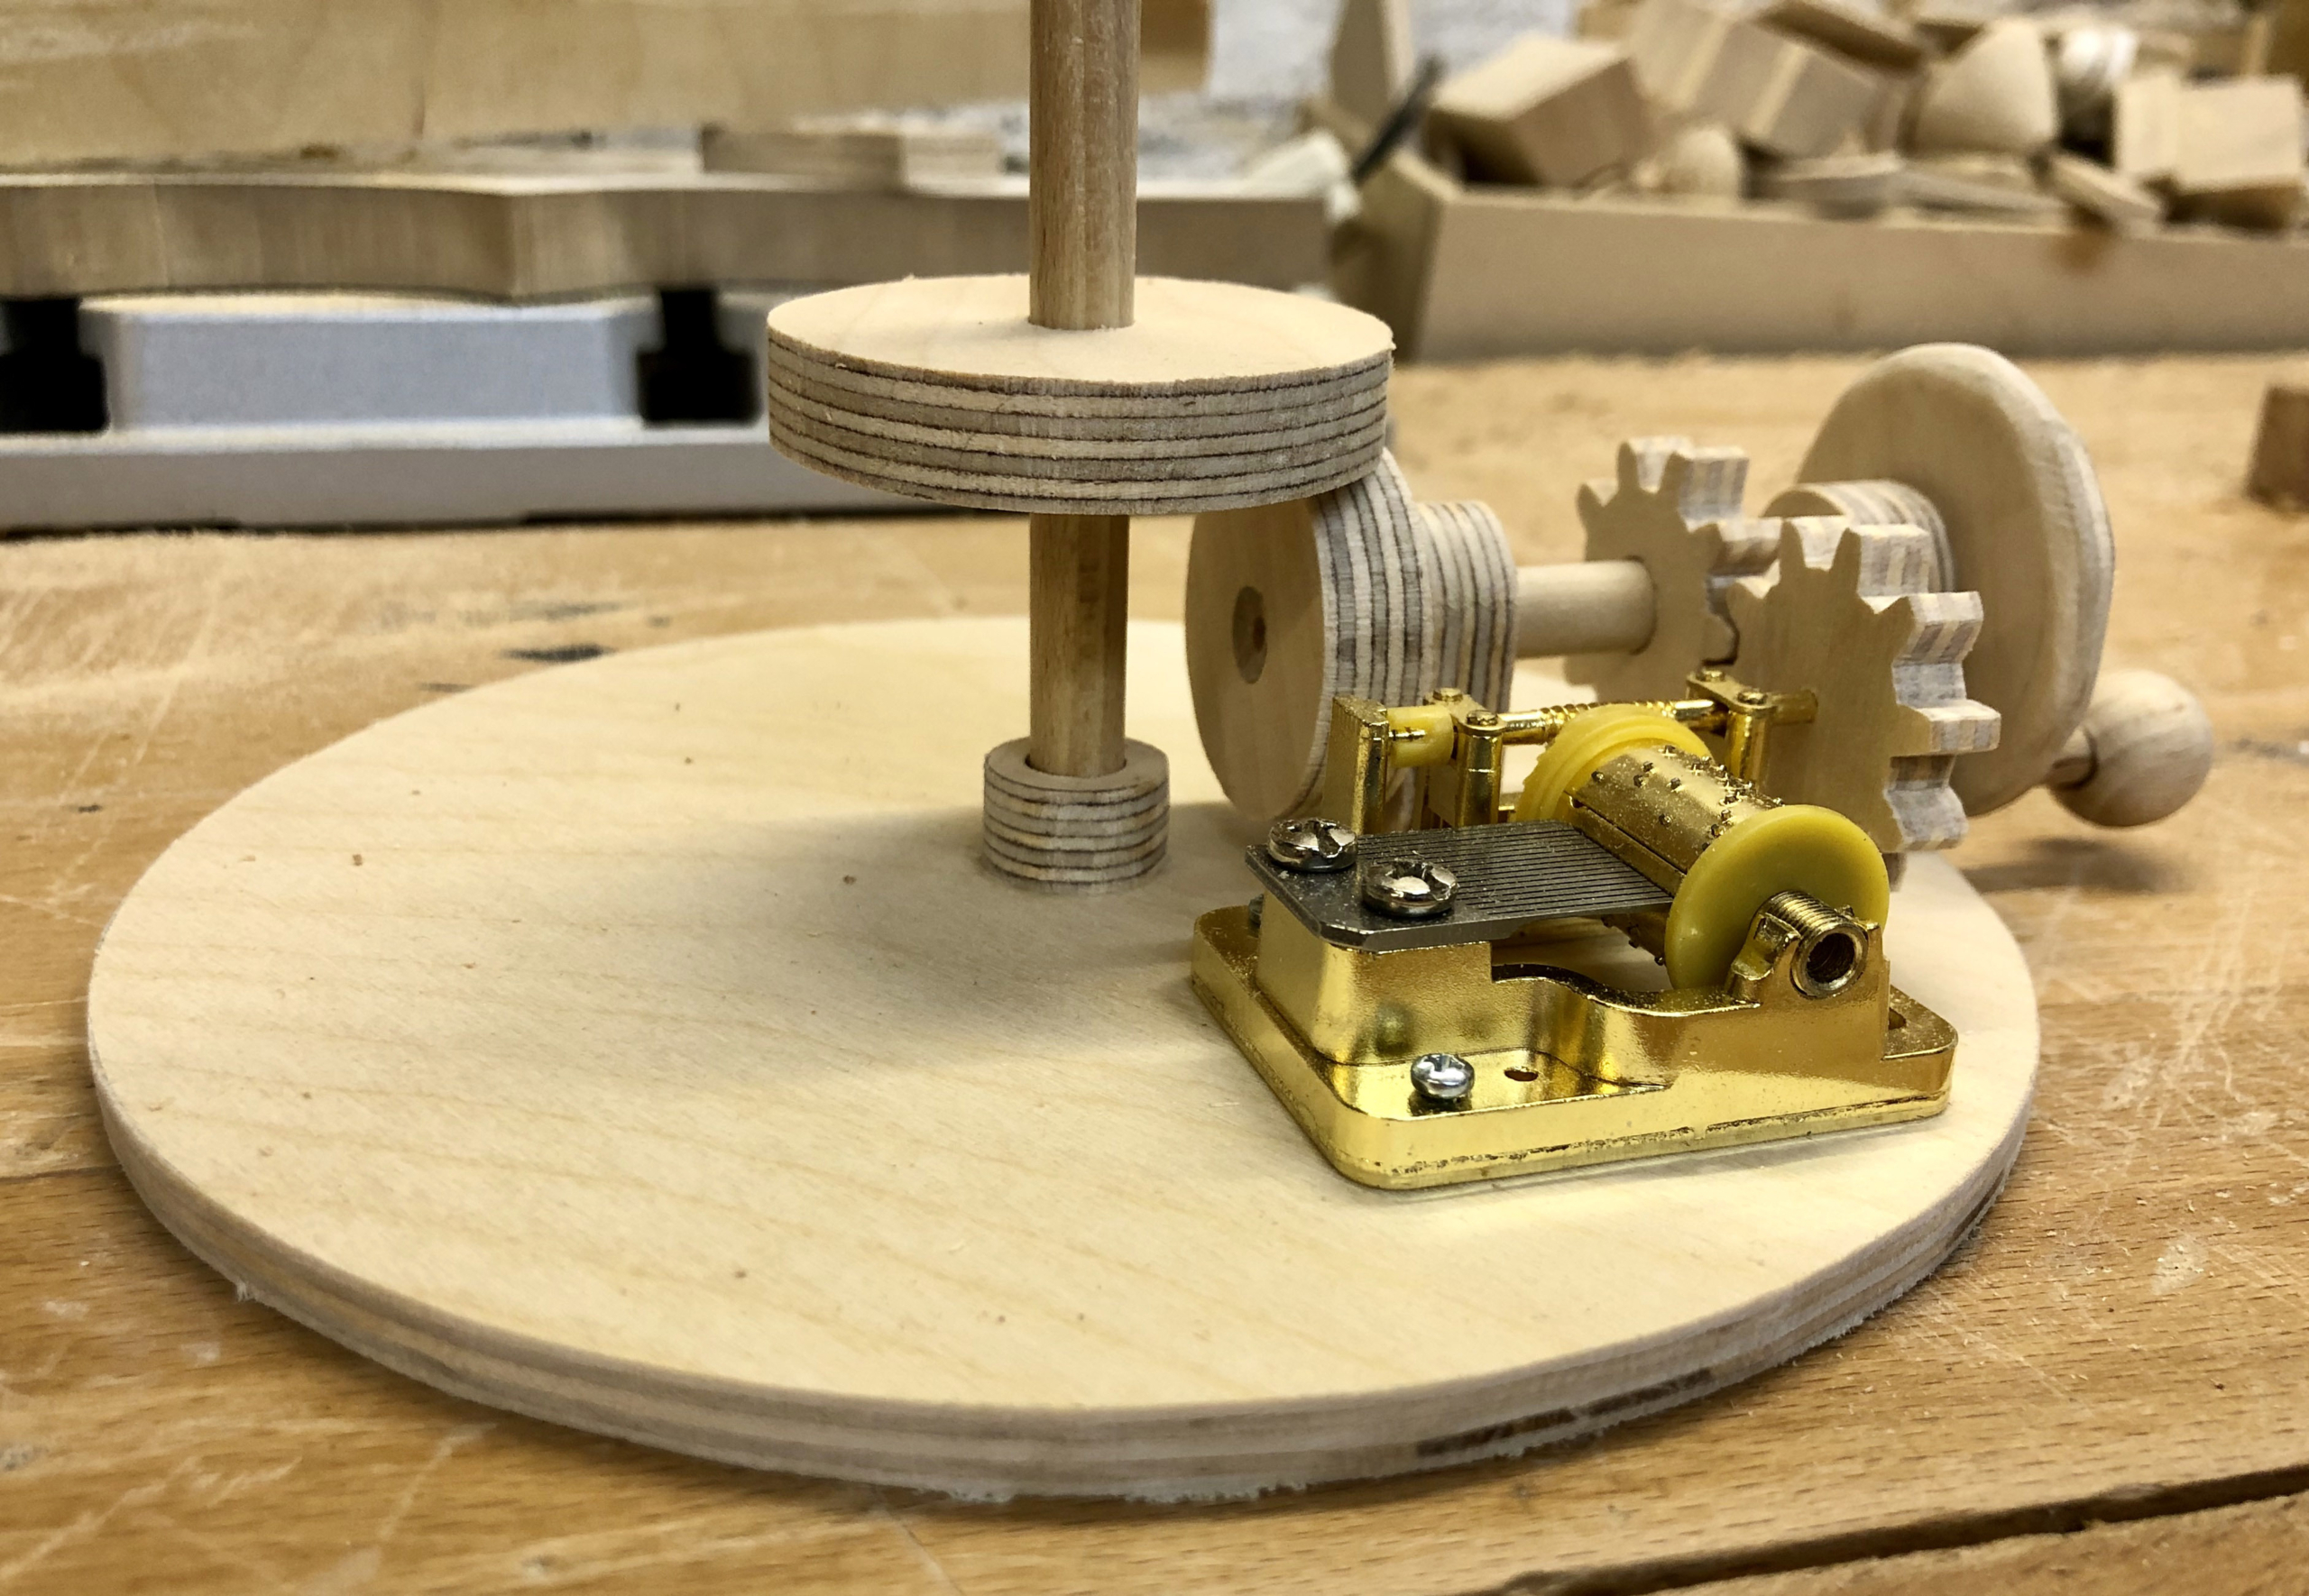
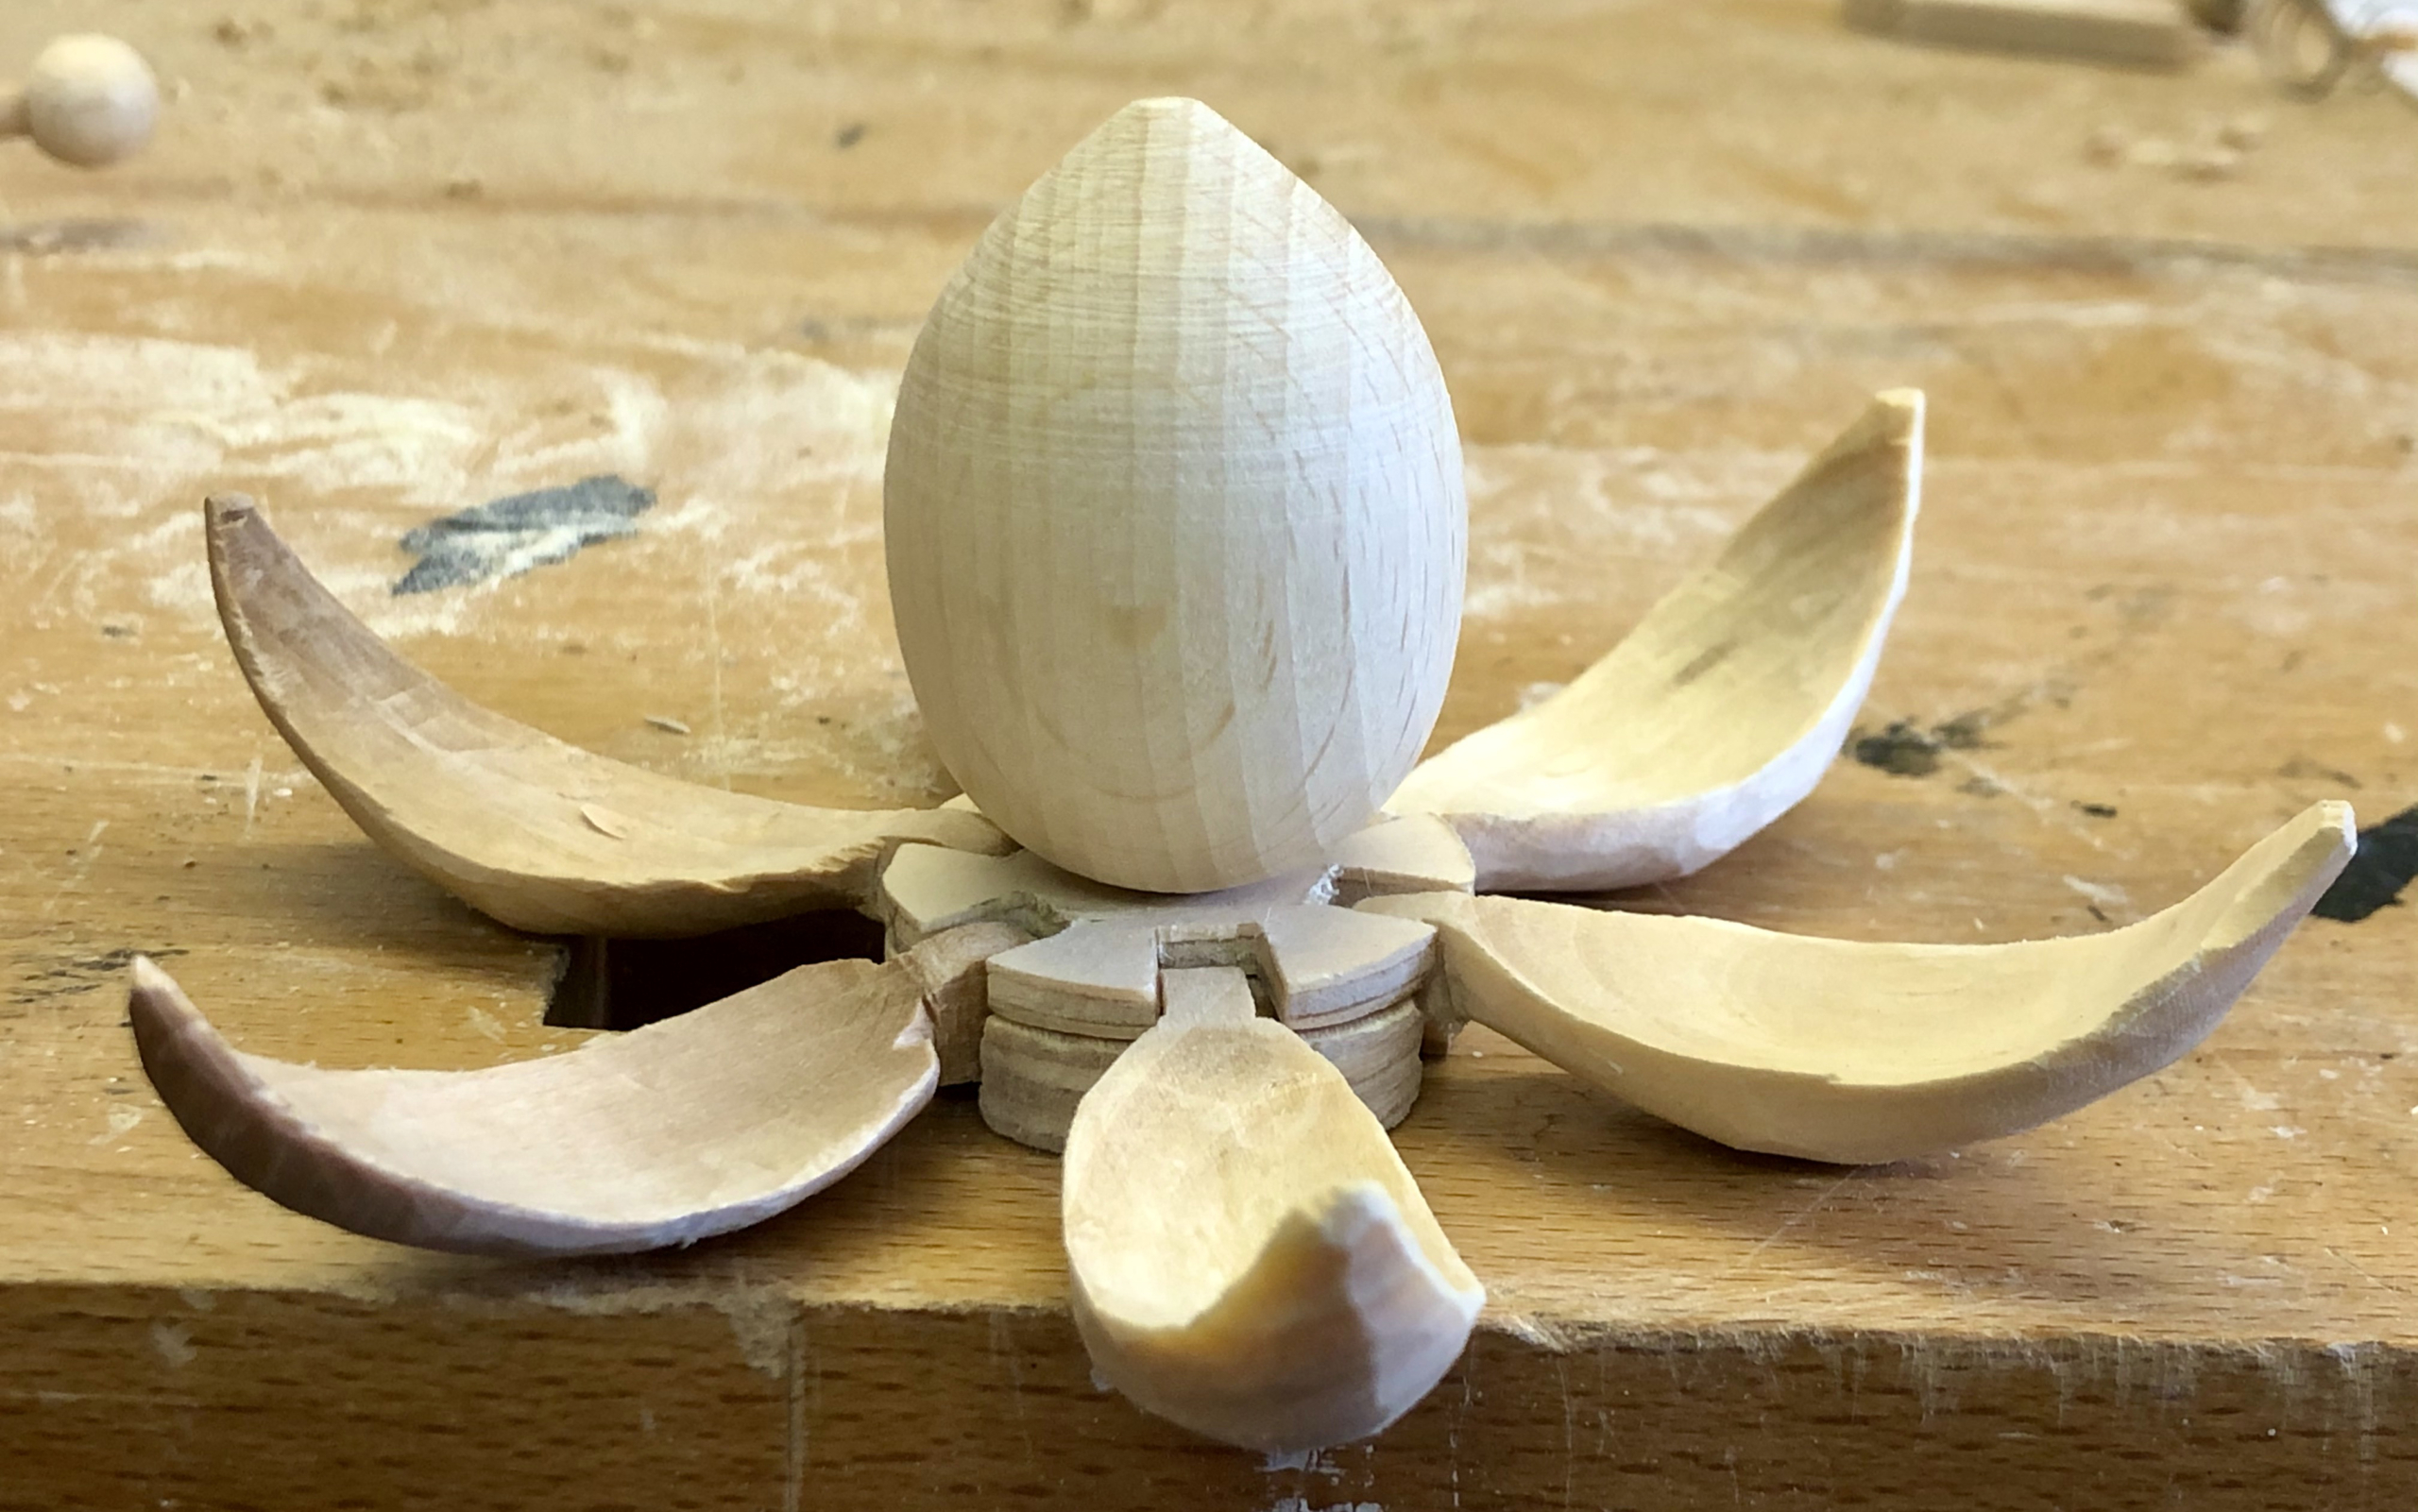
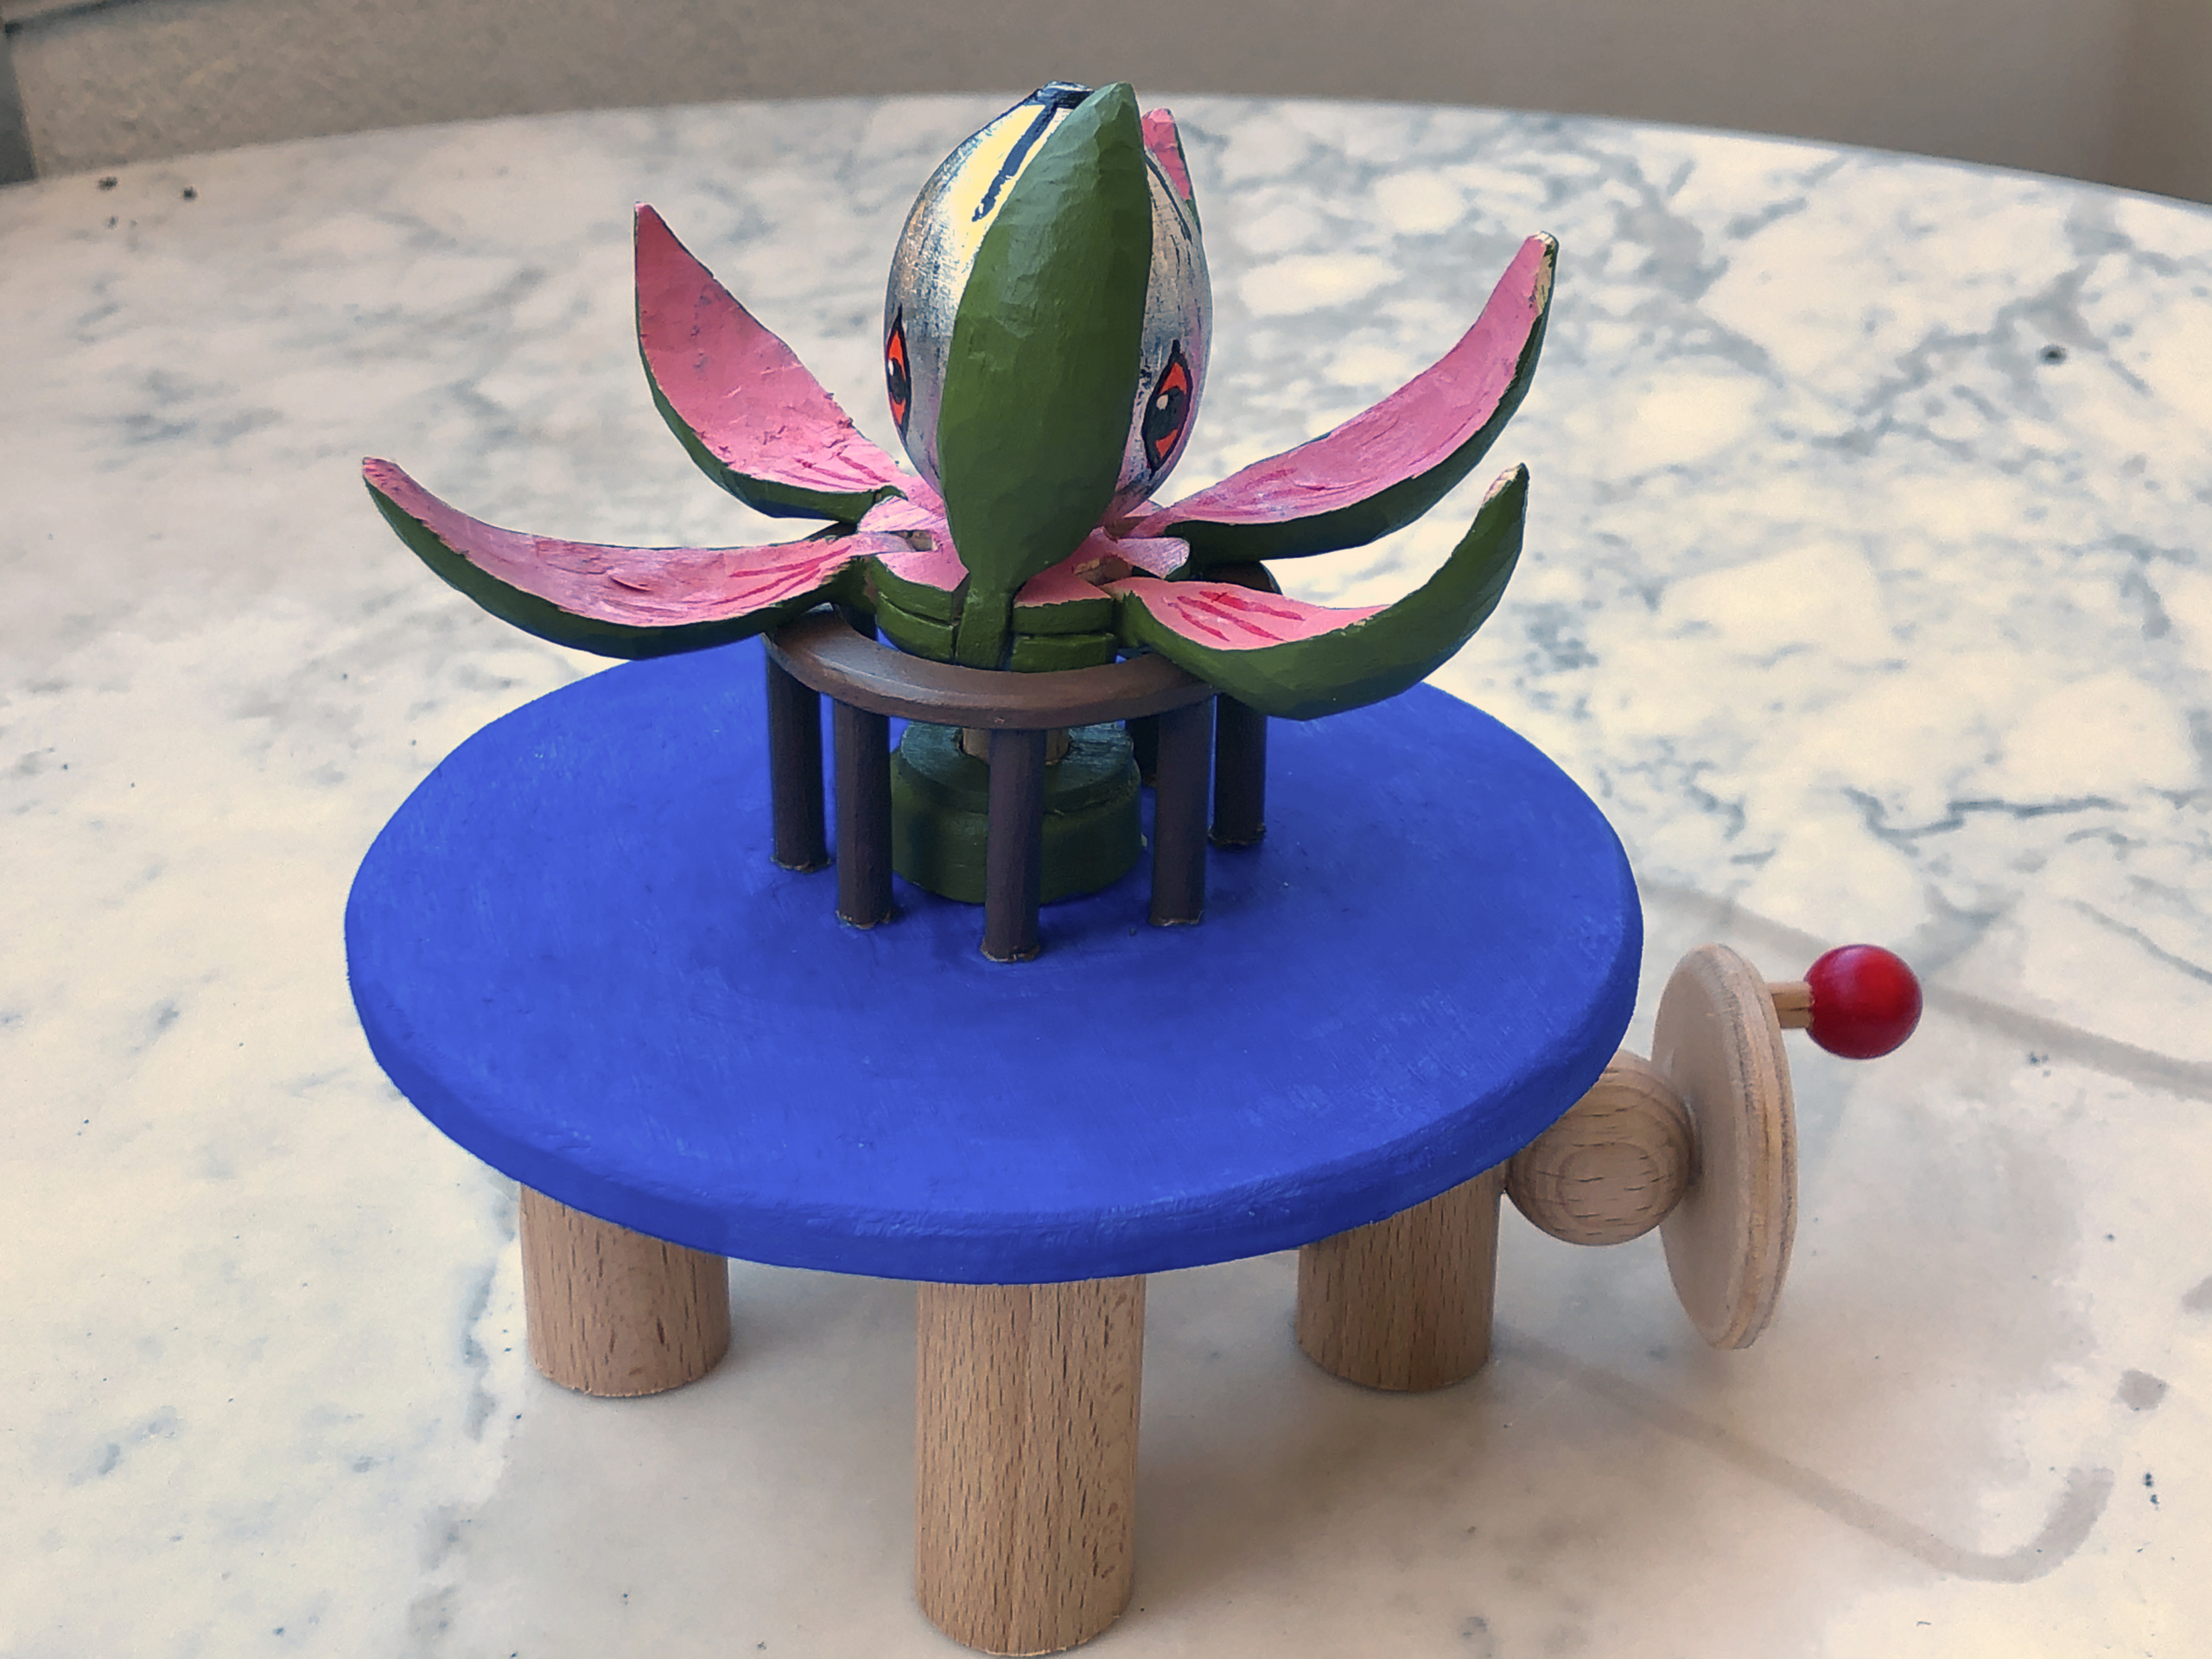
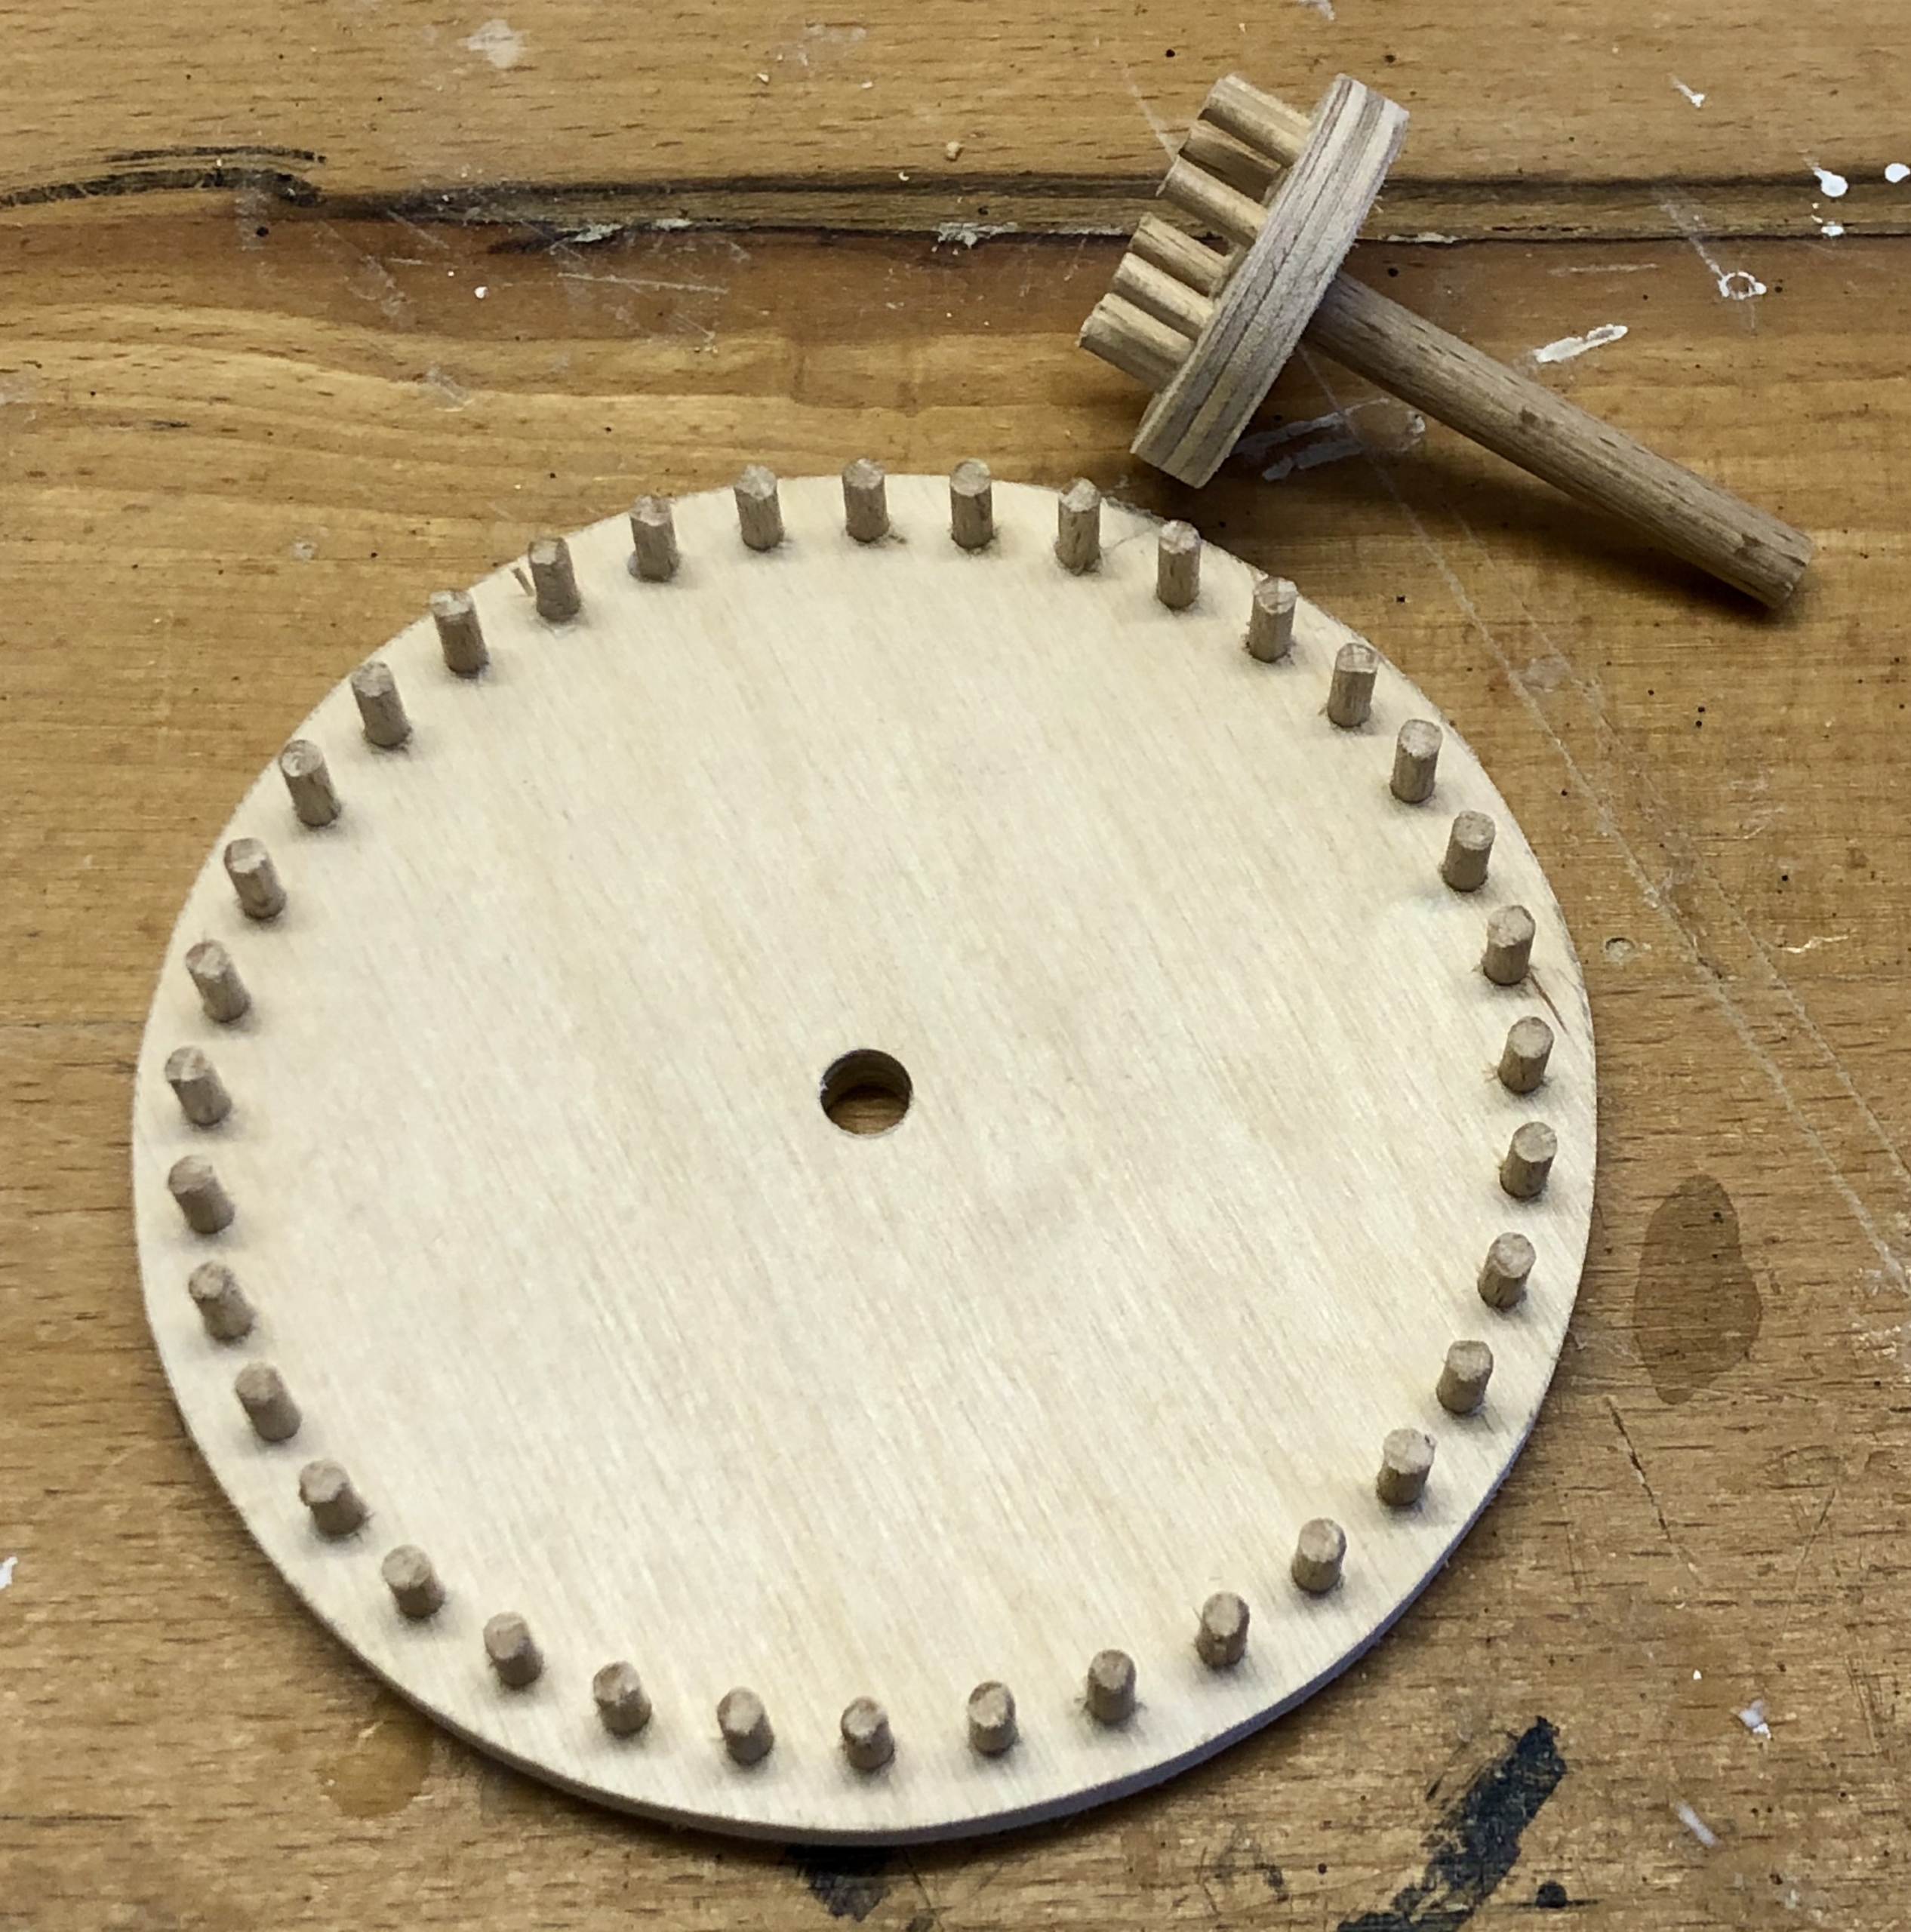
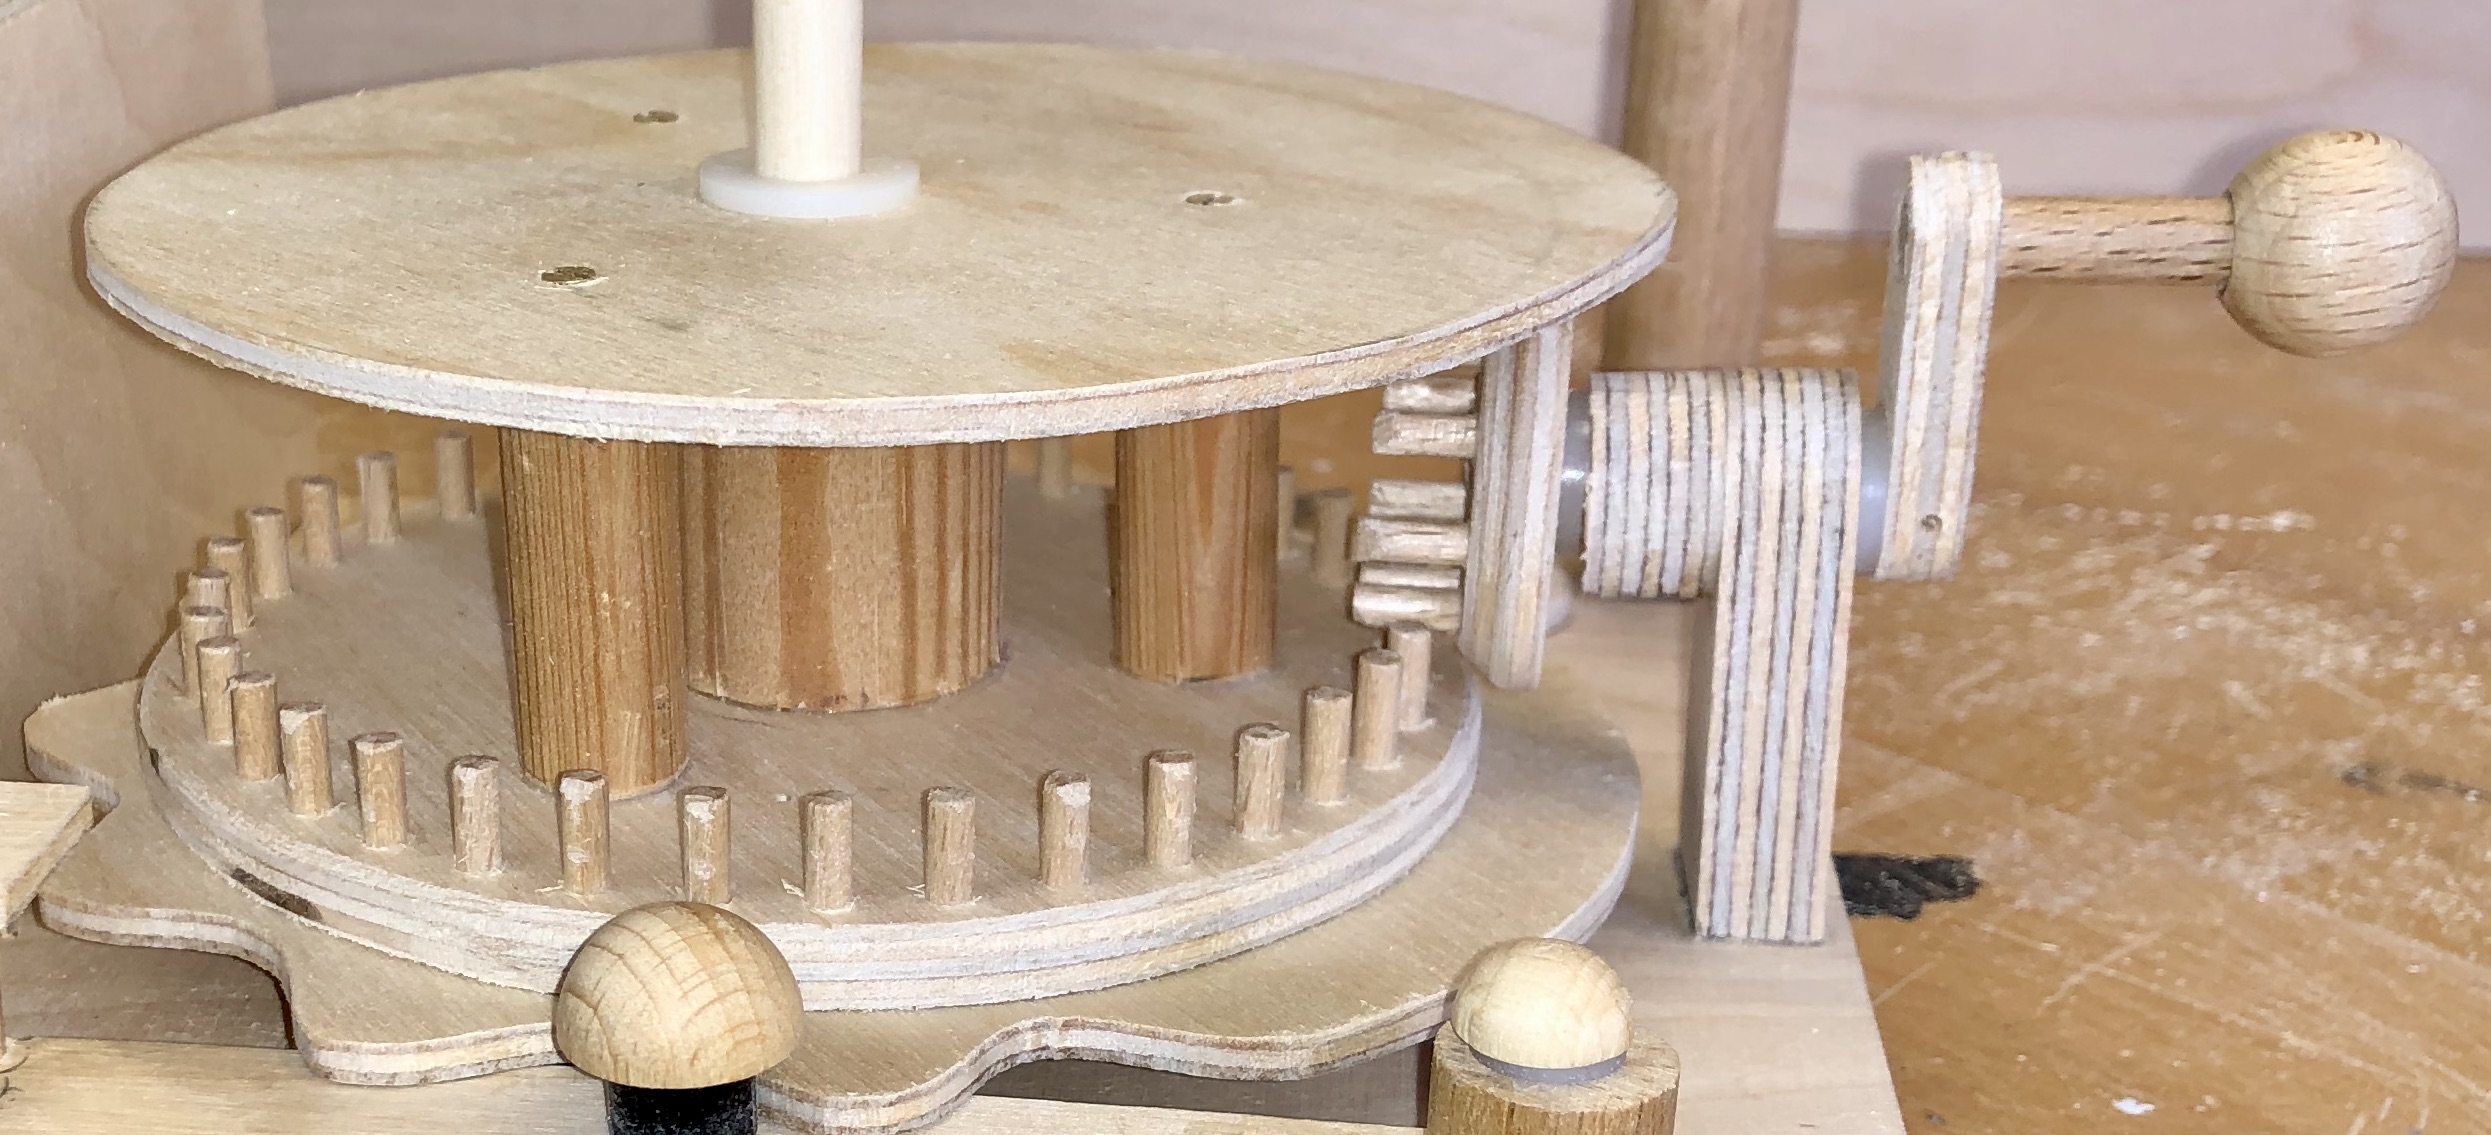
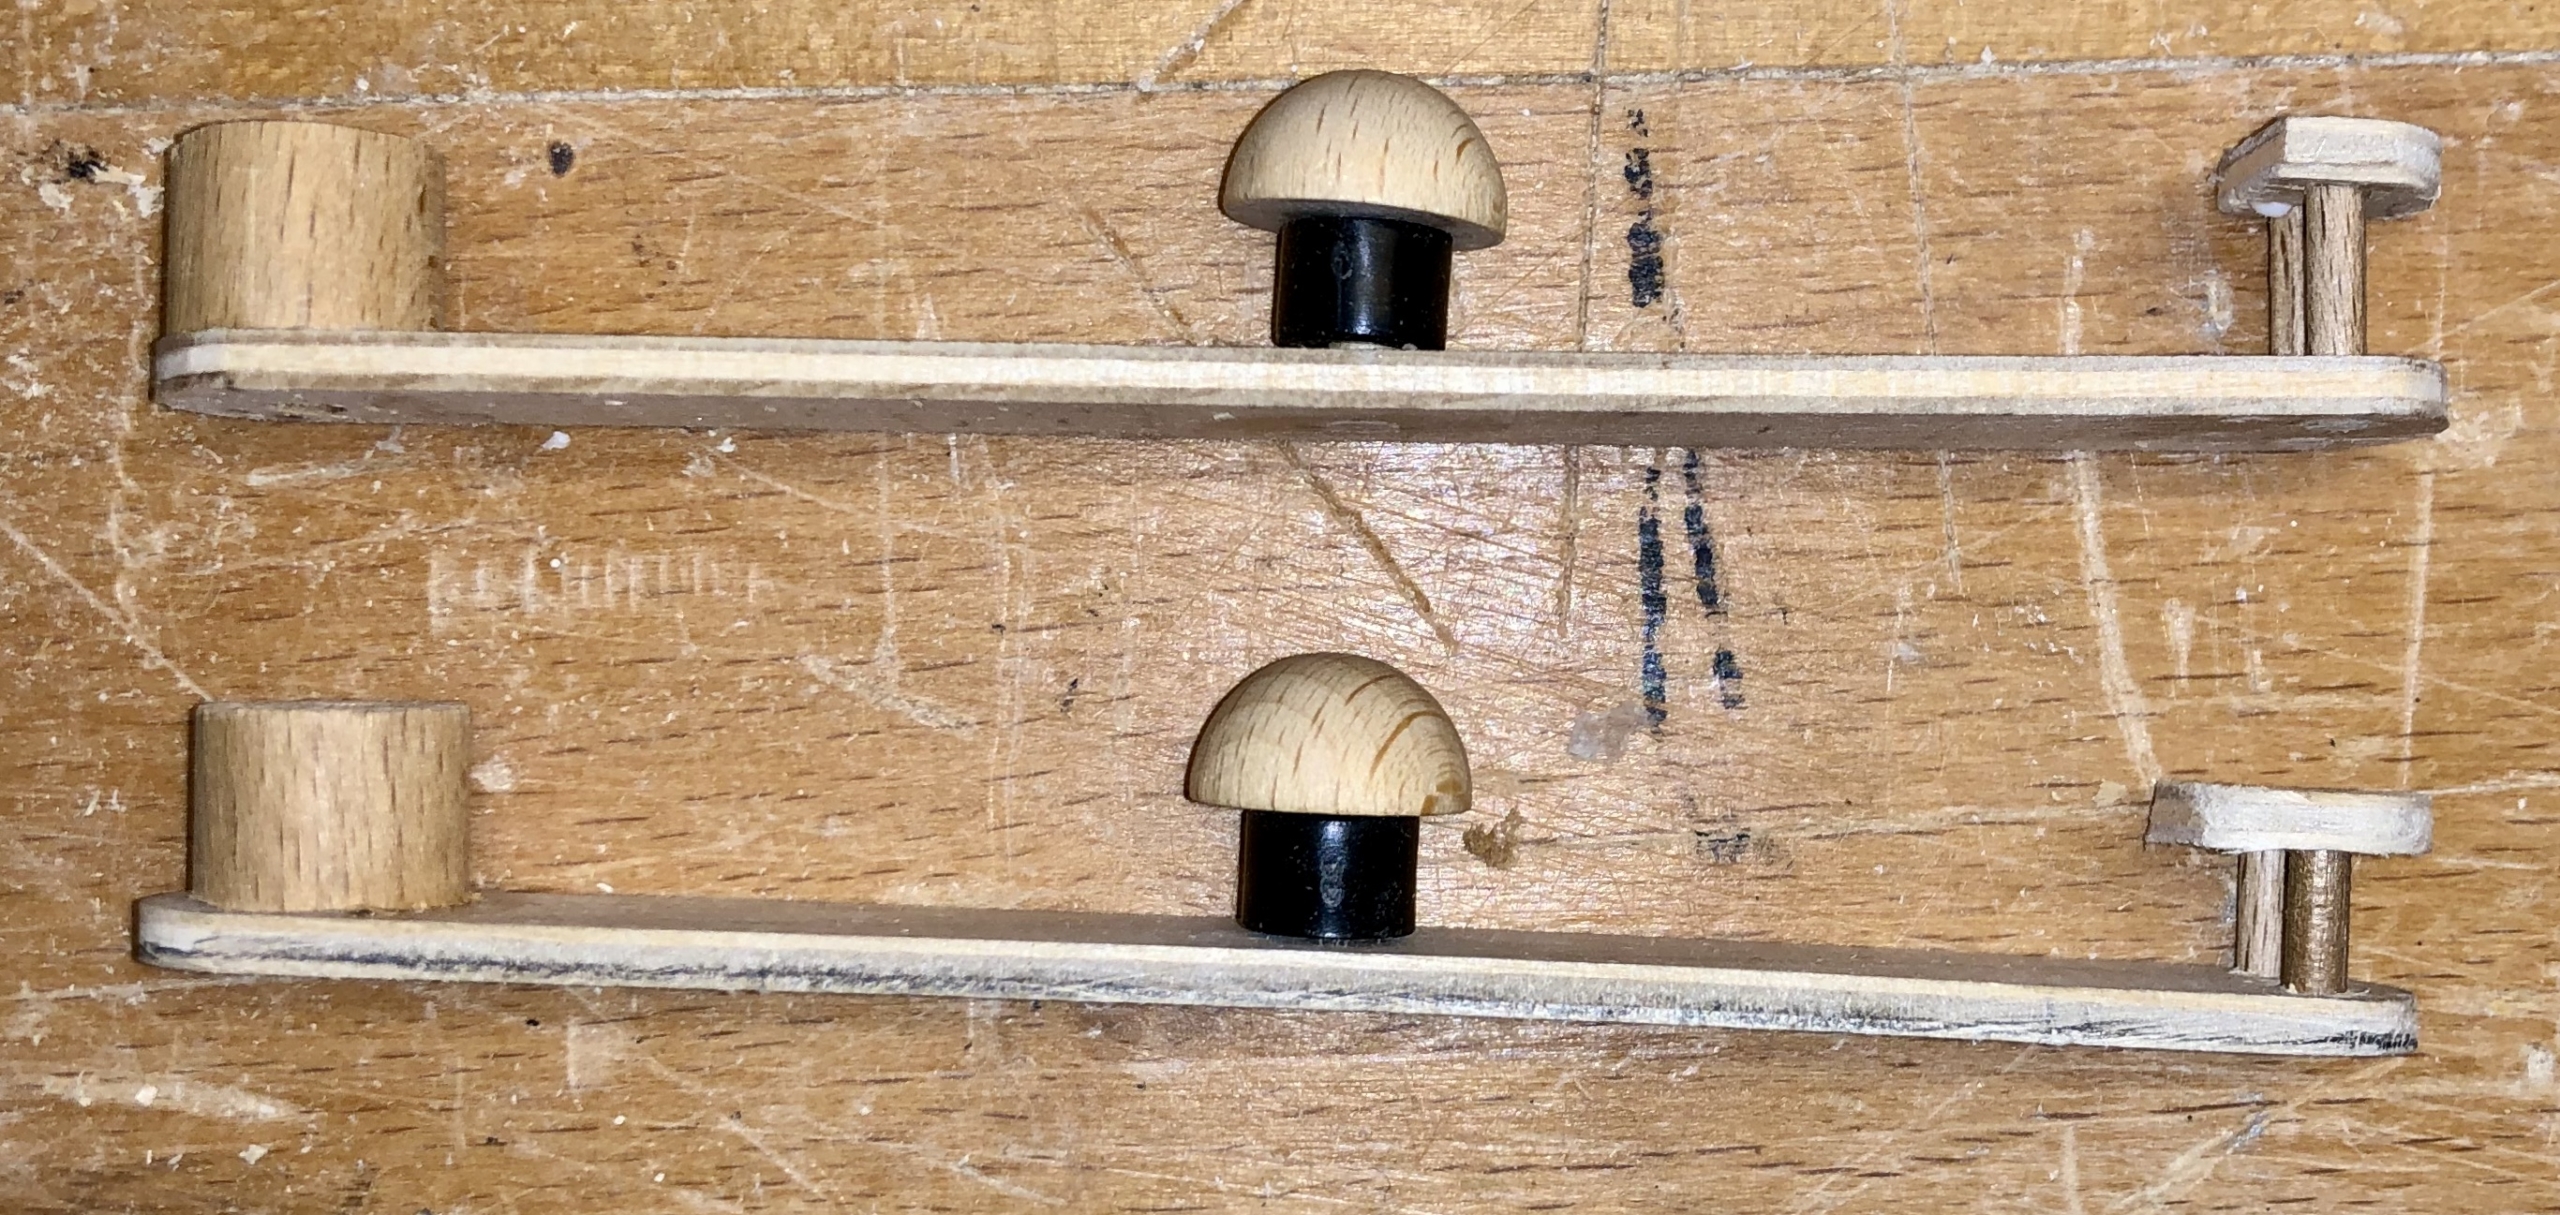
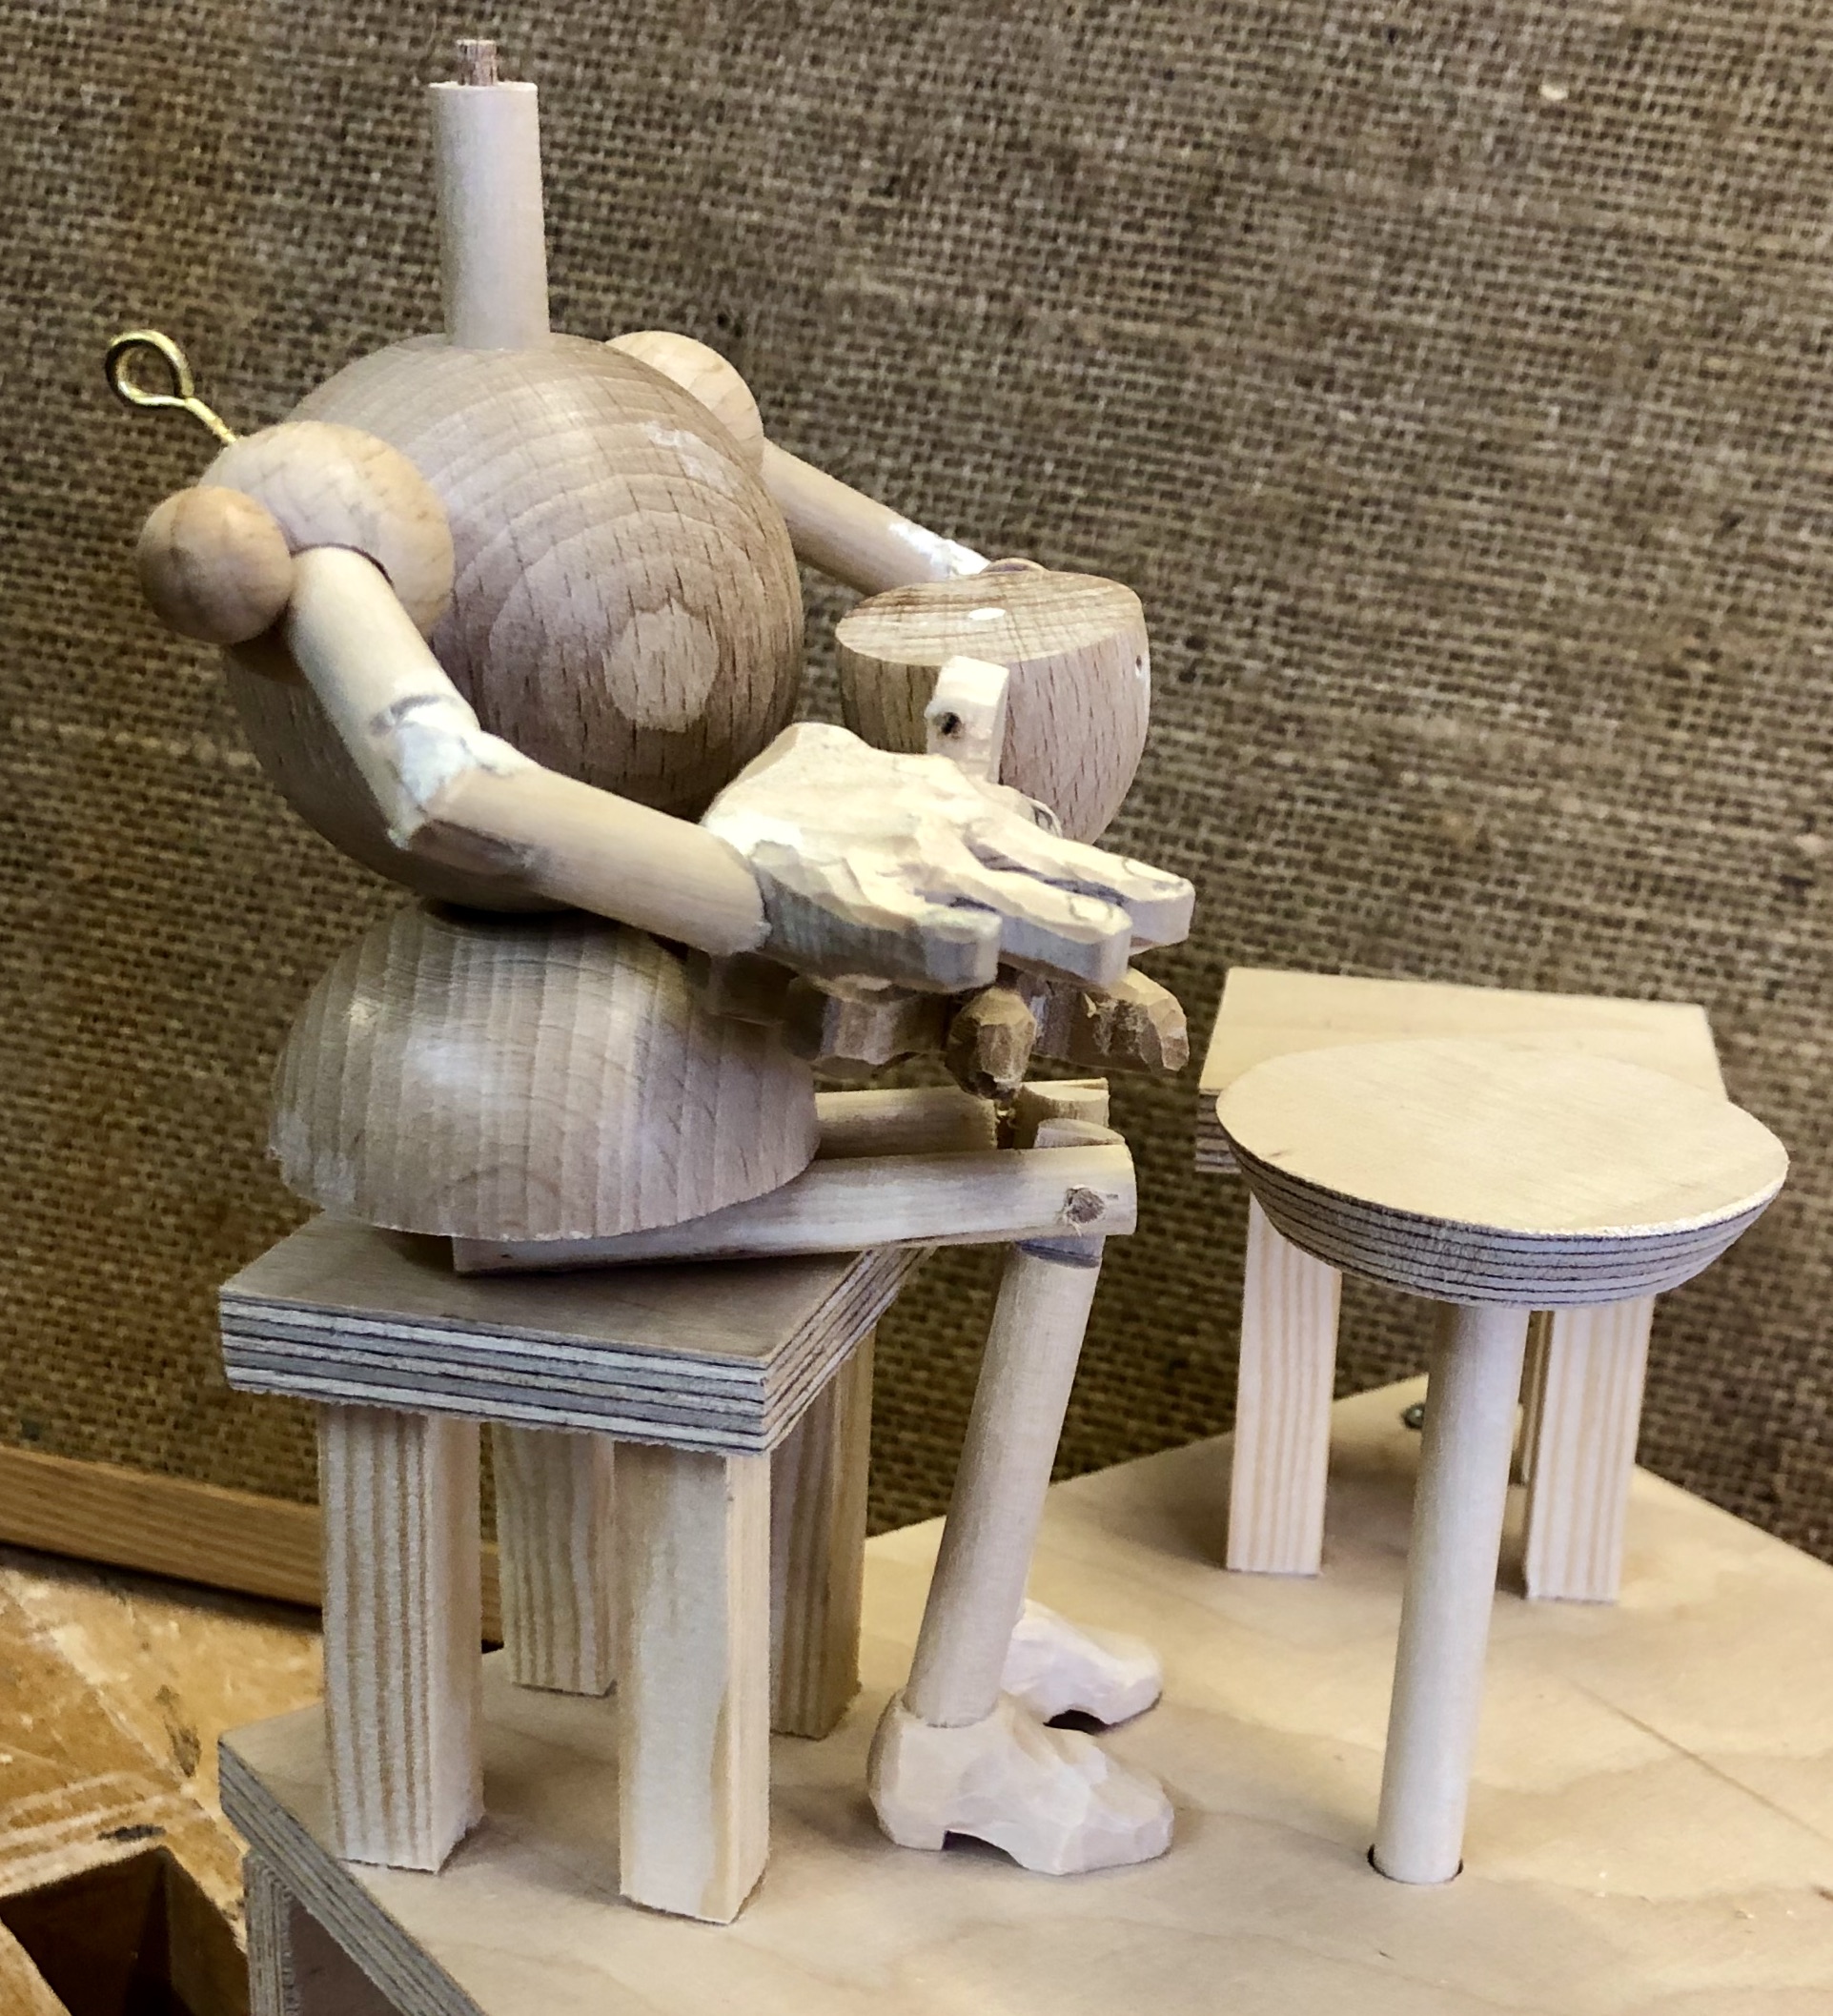
This is fundamentally a fairly simple project and the idea is that when you pick the figure up and press its base the hair should move. A standard thumb push puppet has one spring in the base and four strings attached to a disc on the bottom of the spring. Having only four strands of hair seemed a bit thin to me so I went for eight instead.

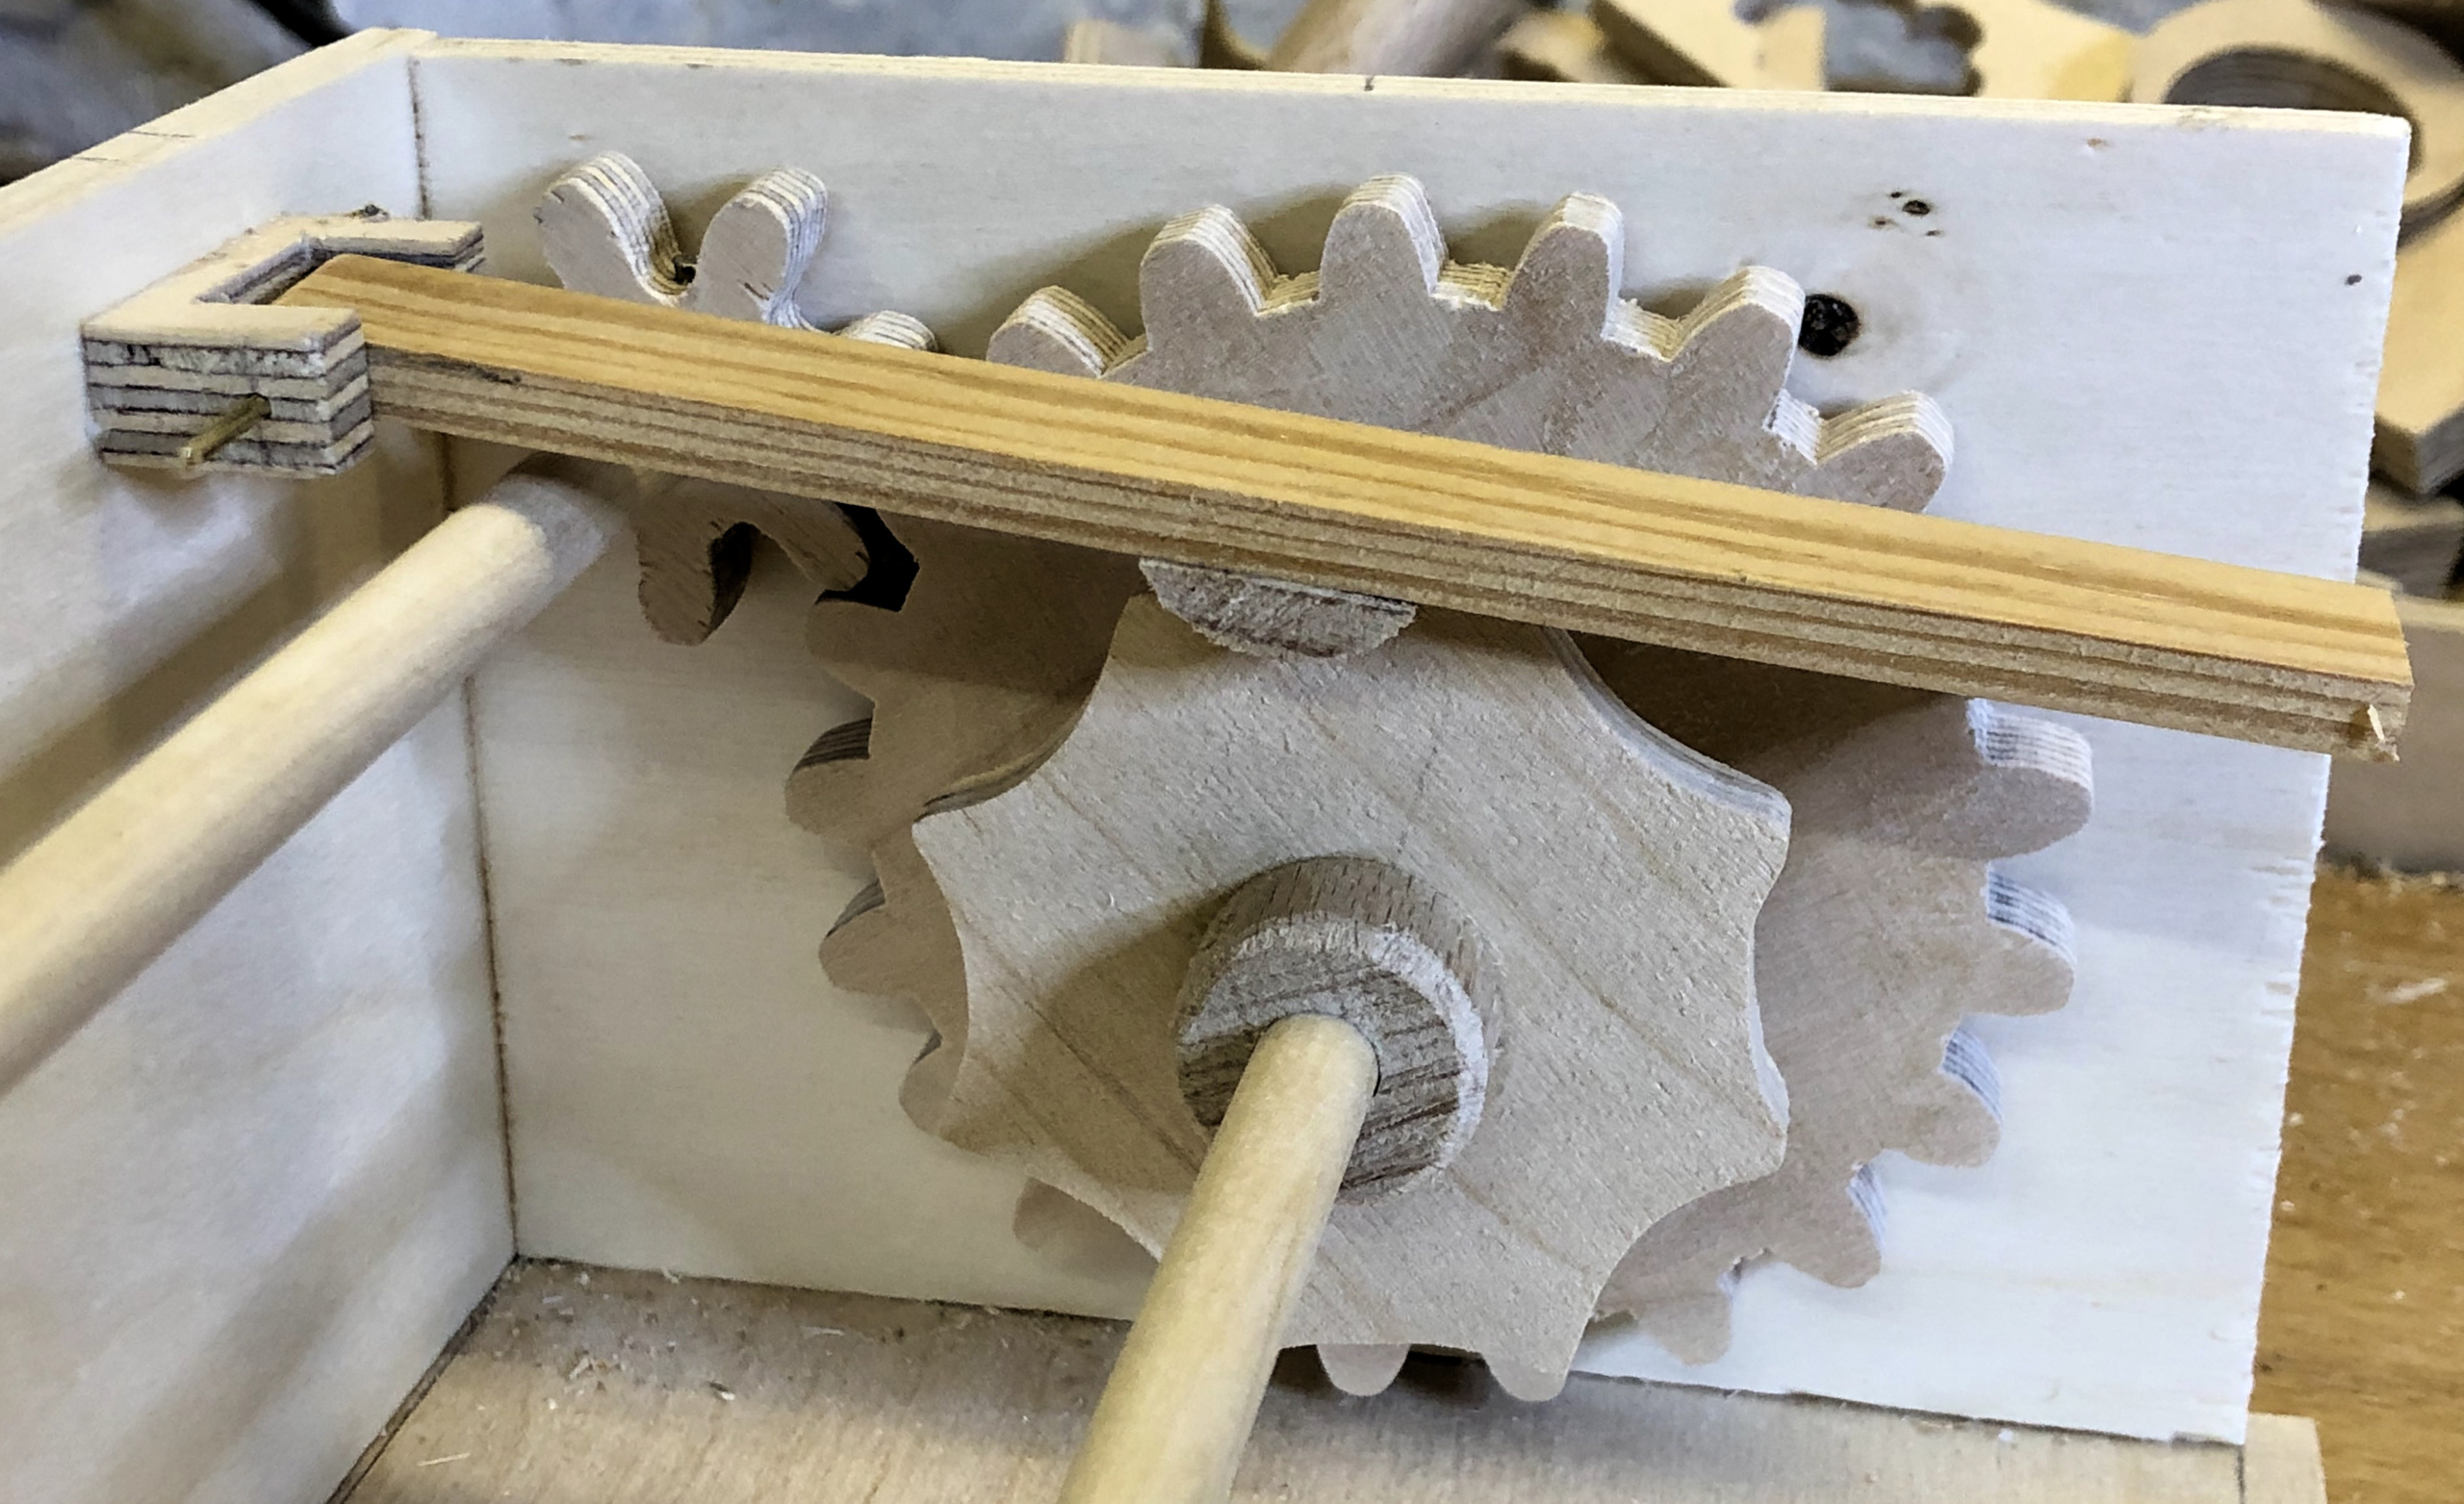
There is however a reason why four is the standard number and I guess that it has to do with keeping the tension about the same for all of the strings, when no one is pushing the base up. The spring permits the disc in the base to tilt in any direction, thus compensating for some of the differences in tension at four points on the circumference. Having eight points around the circumference might bring the points too close together for tilting to effectively correct for differences in tension. My quick fix for this is only use four points but, instead of fixing each string to the point, I arranged for a smooth anchor bar around which each string can slide thus allowing both ends of each piece of string to be used up on the figure’s head. If the friction is low, the tension at the two ends will be very similar. This results in eight ends to play with and the tilting of the disc can compensate for slight differences in tension as usual.

Making

Recycled base with 8 new holes and 4 old, unused ones

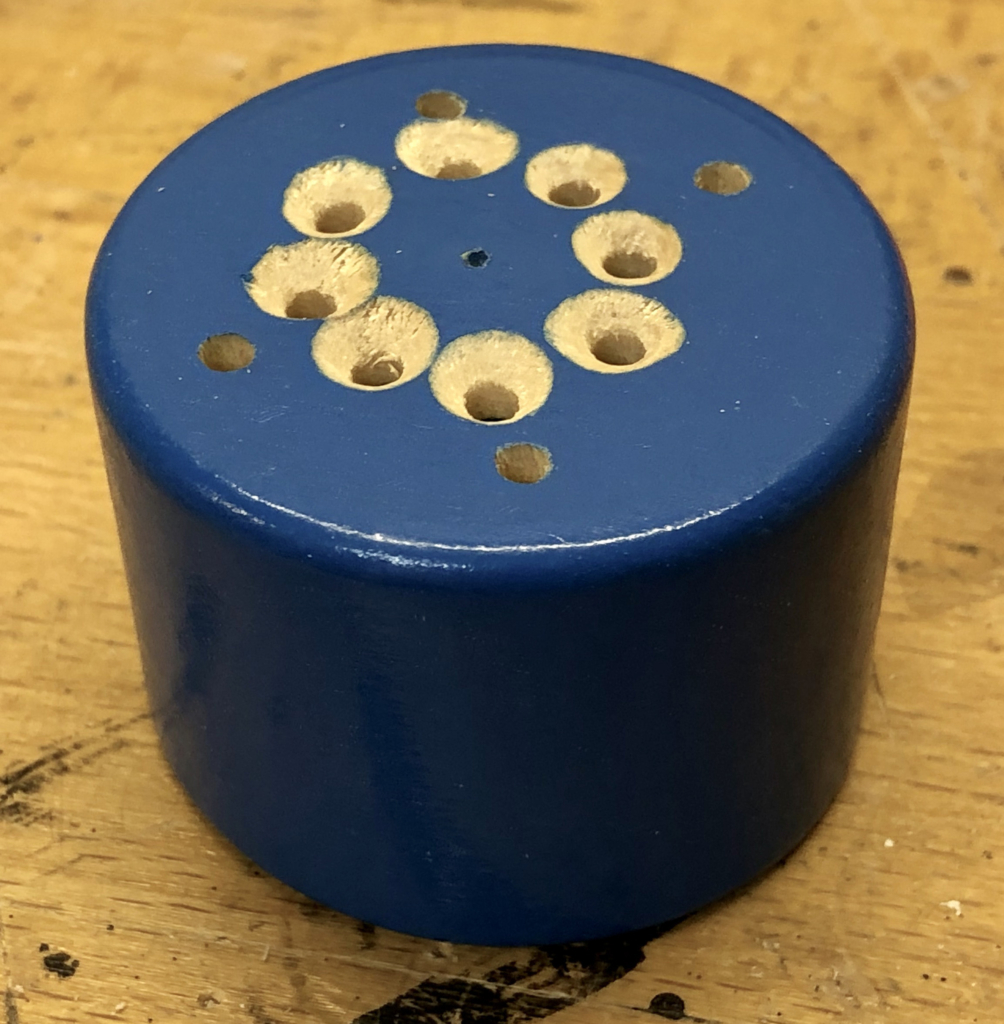
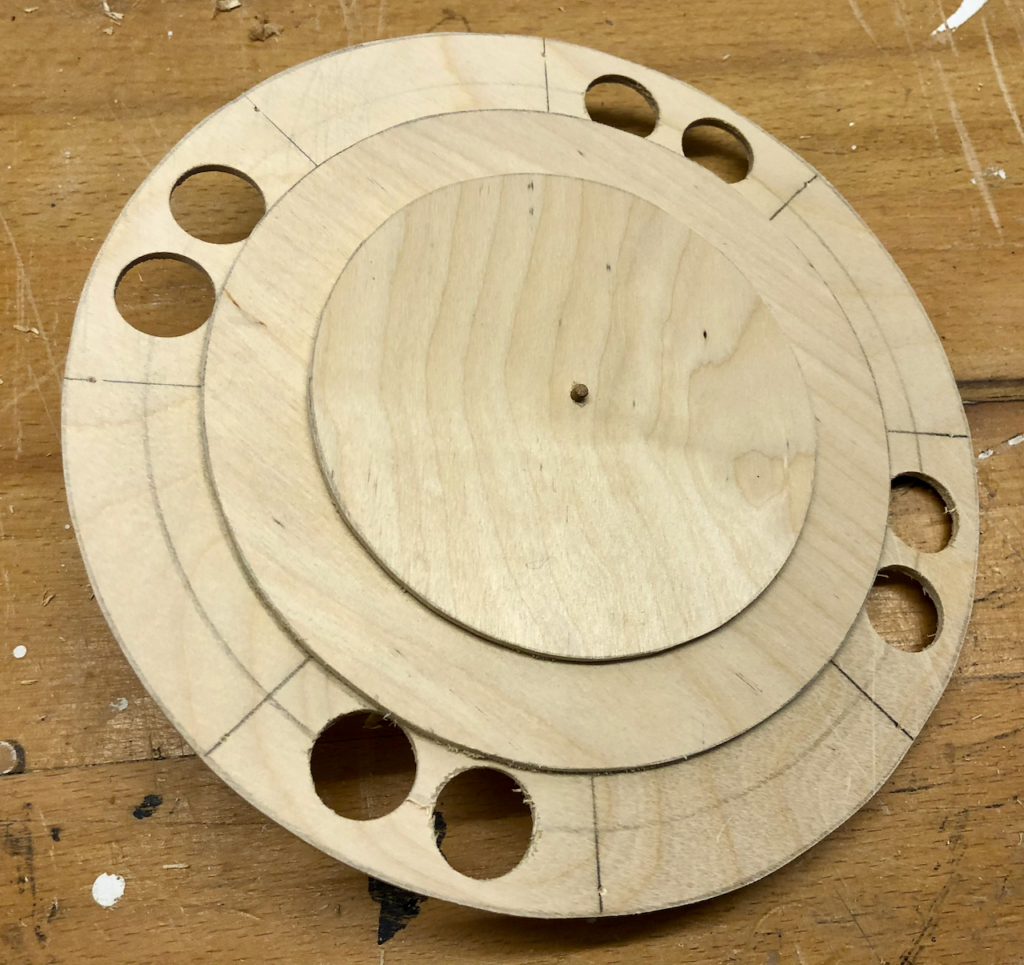
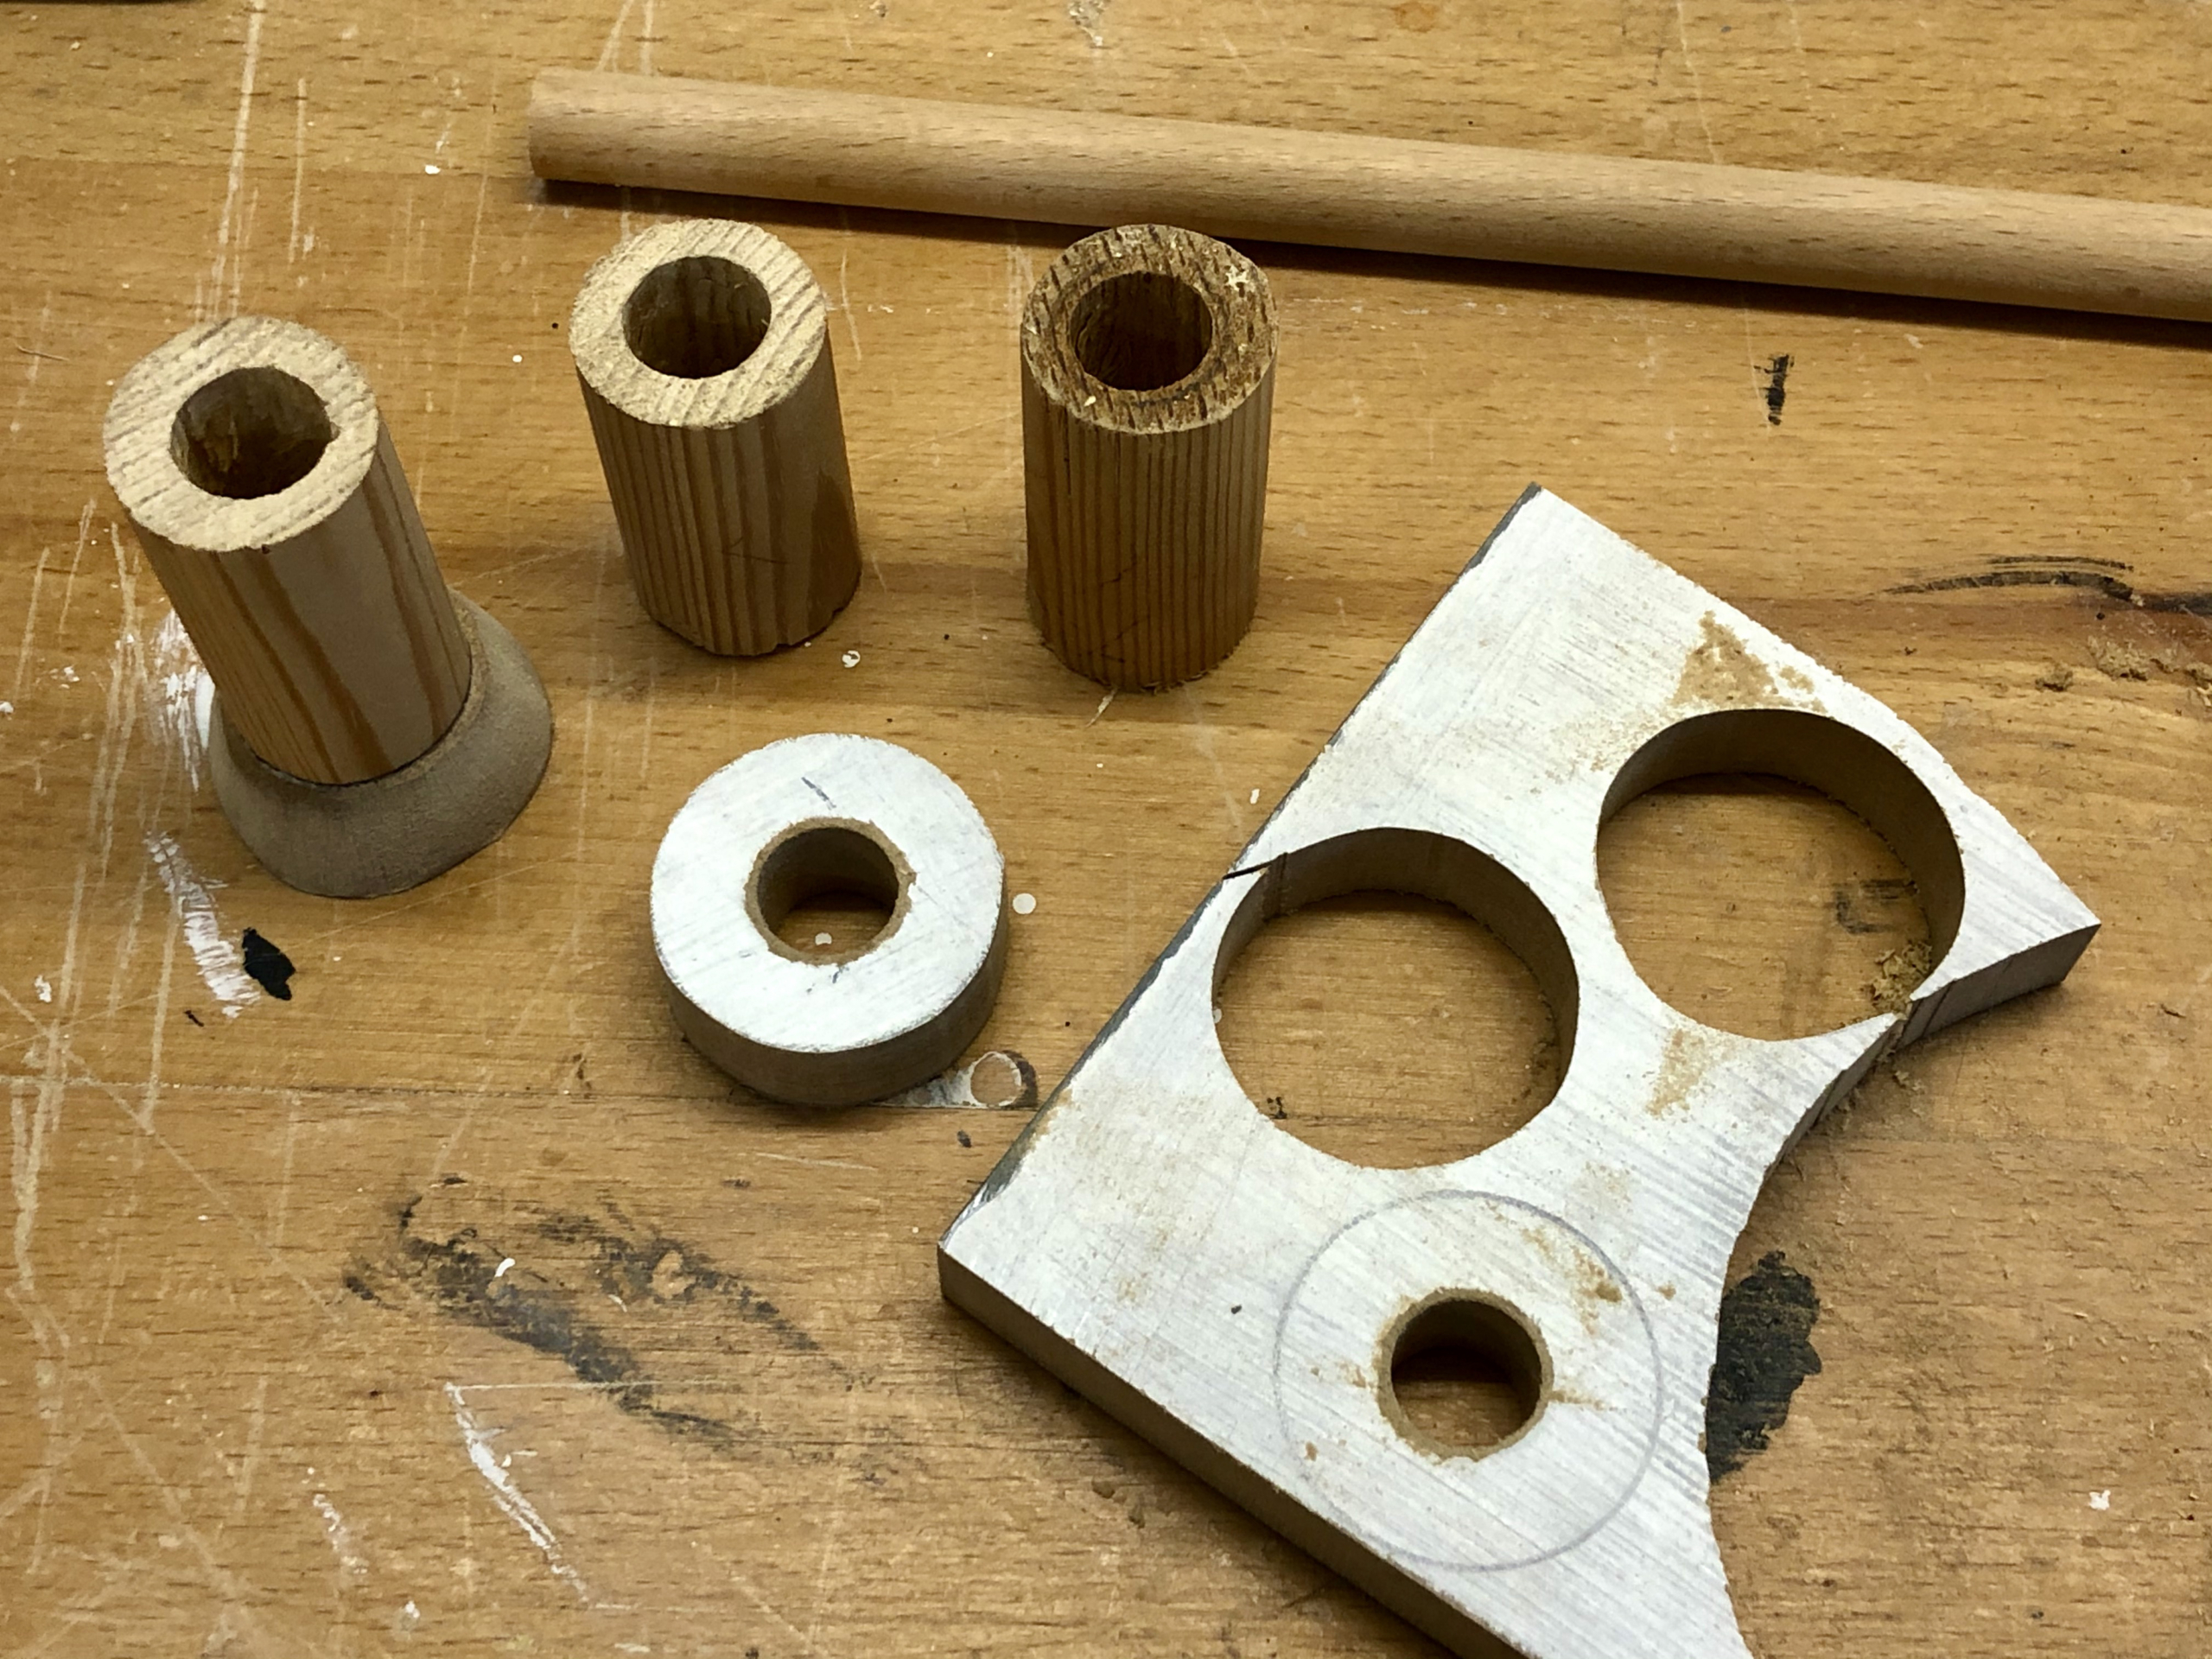
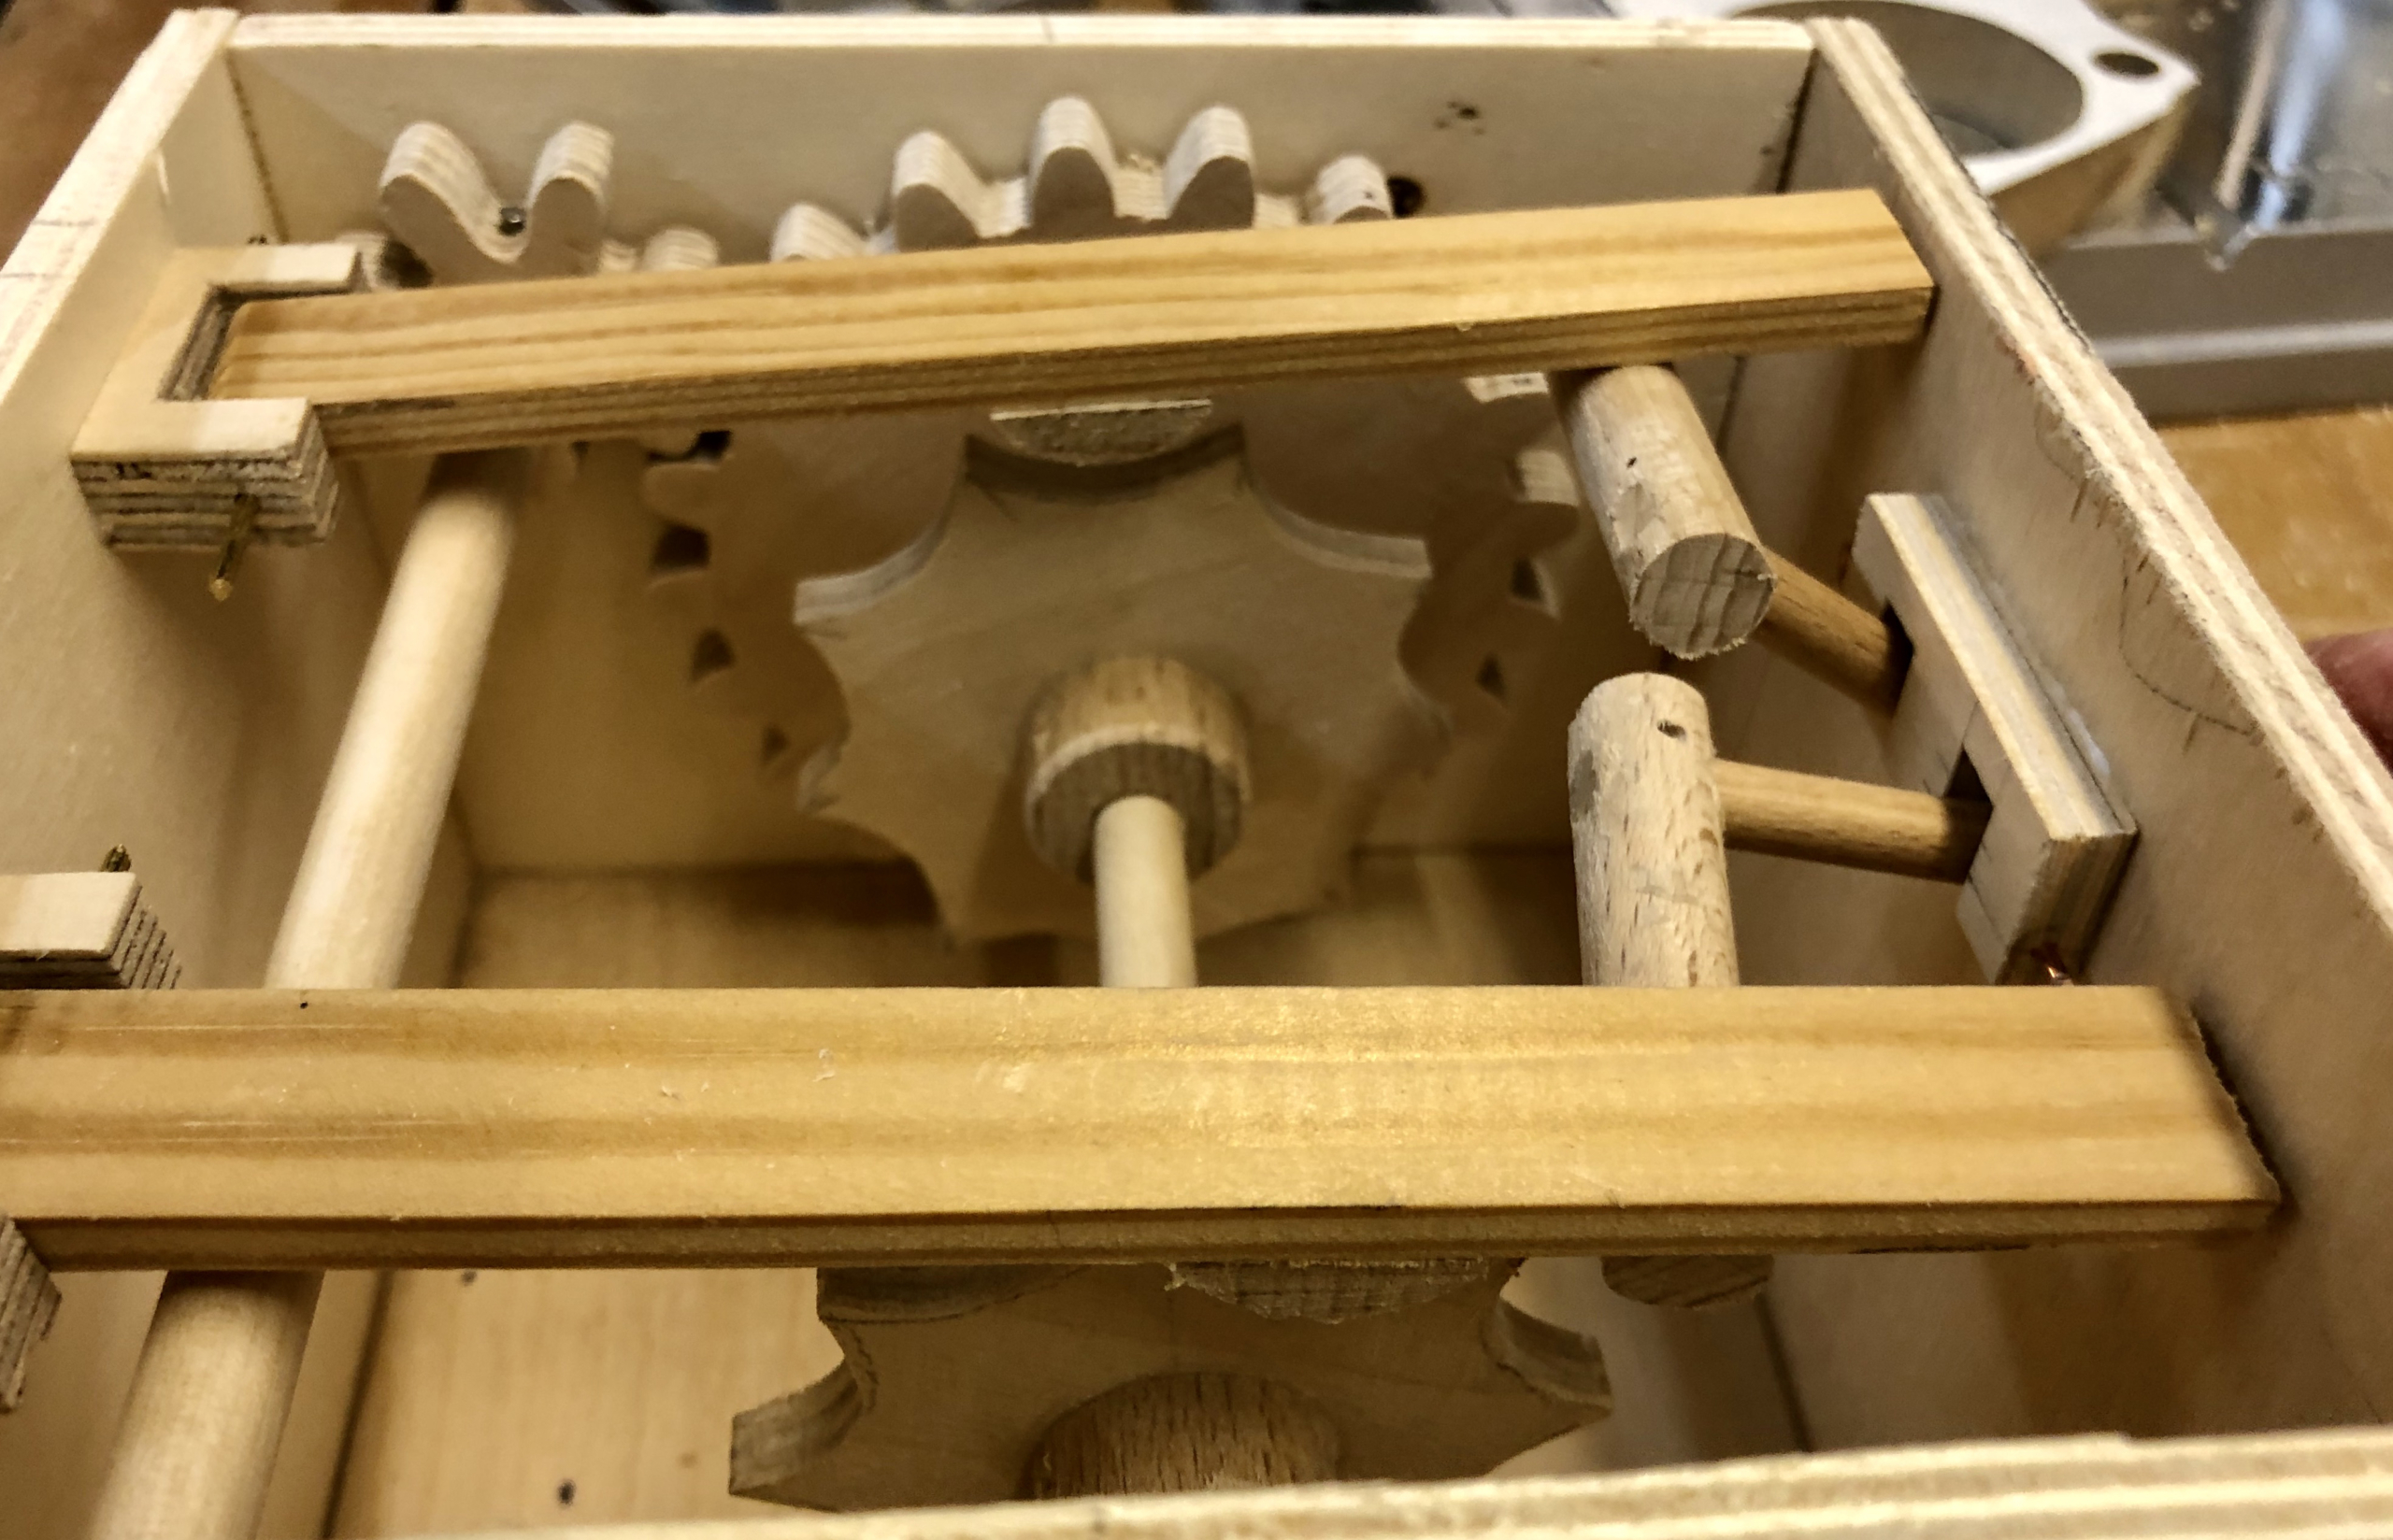
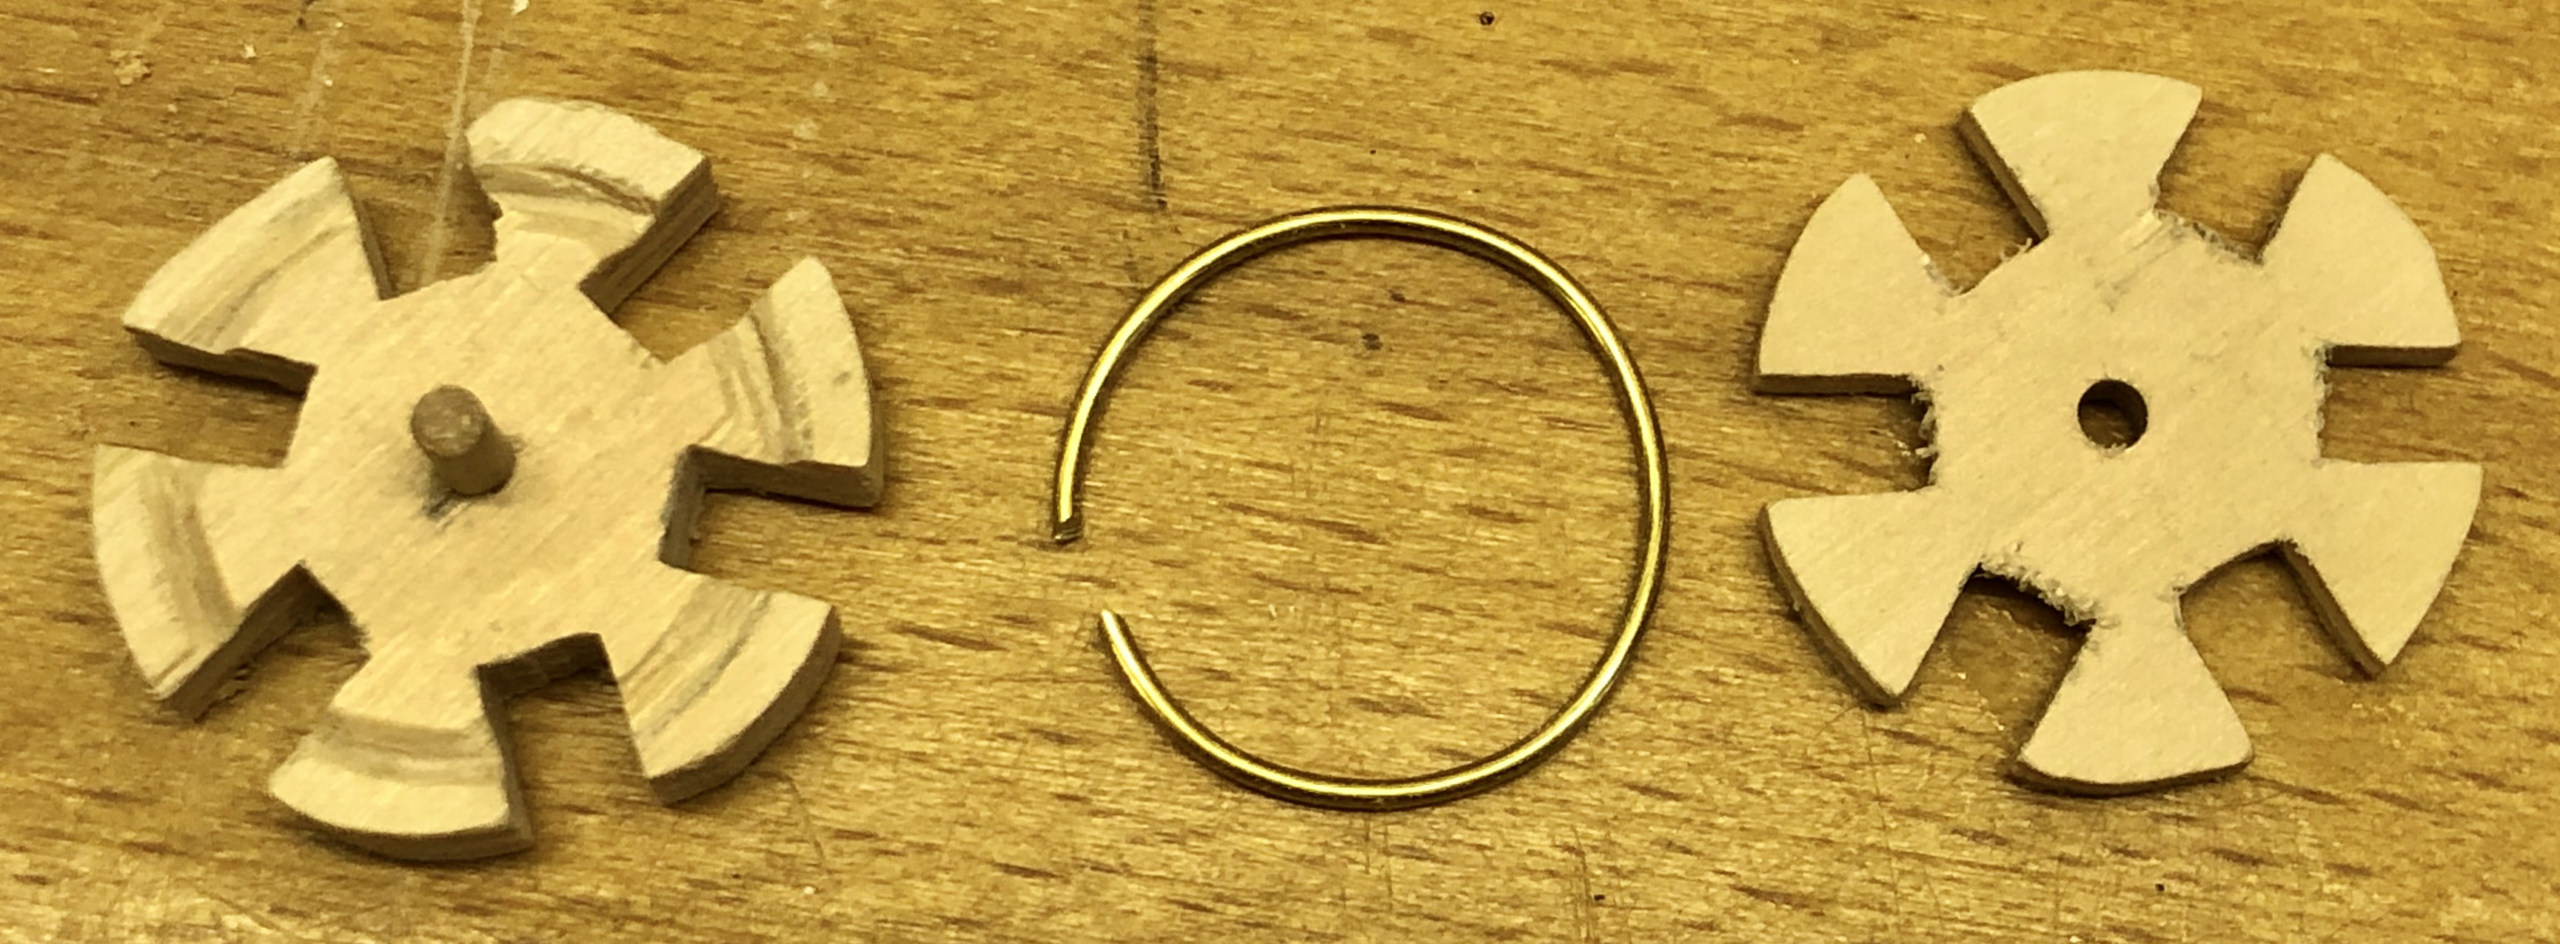
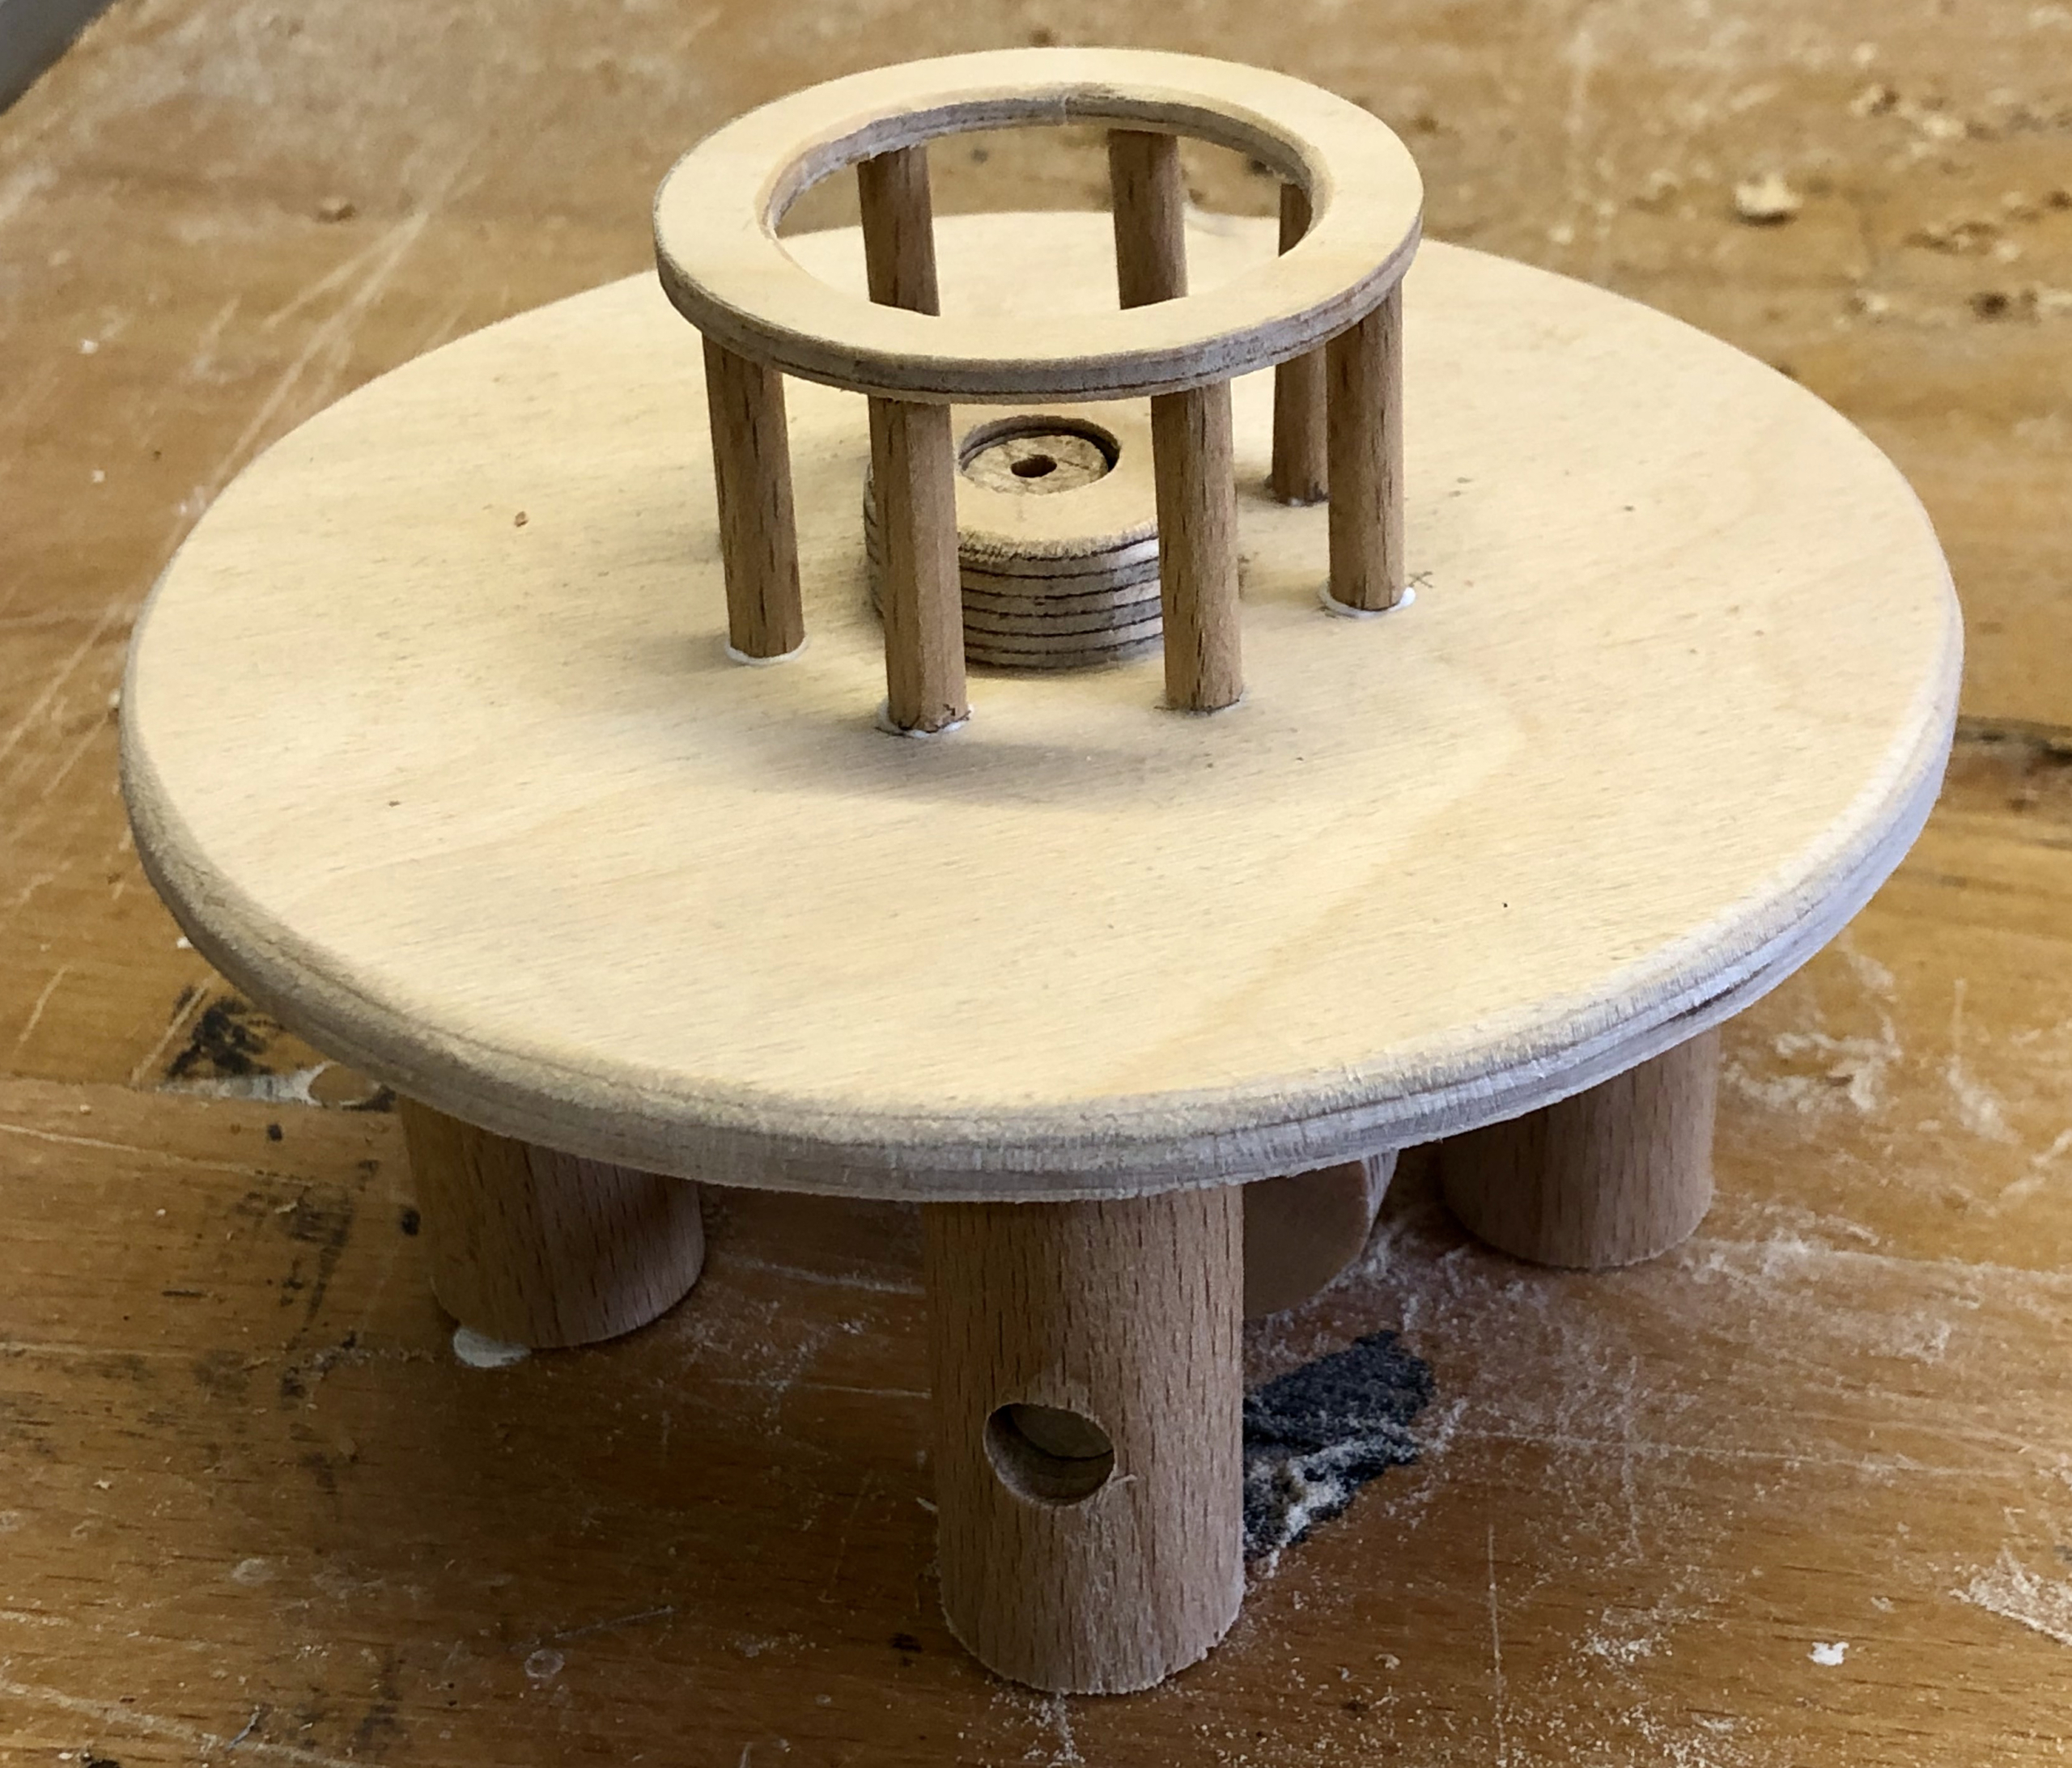
The base needs eight holes for the four pieces of string. The figure’s dress will cover the four old, unused holes.

Disc with spring, brass ring and four strings

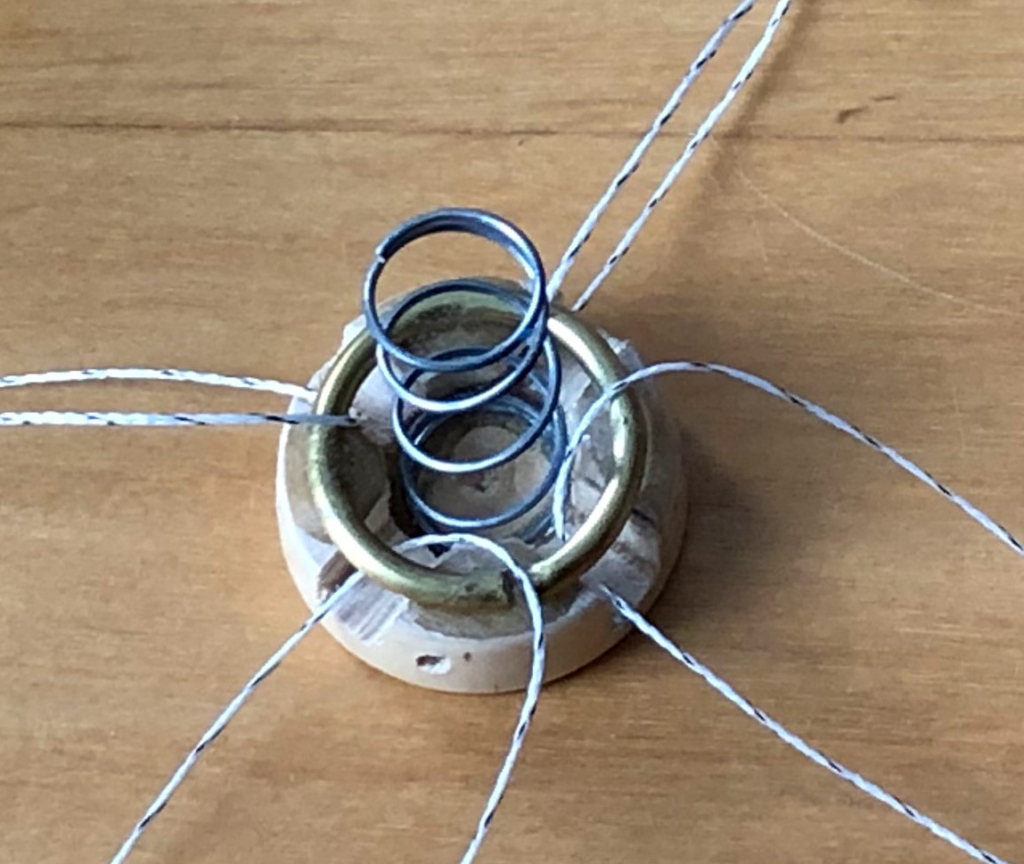
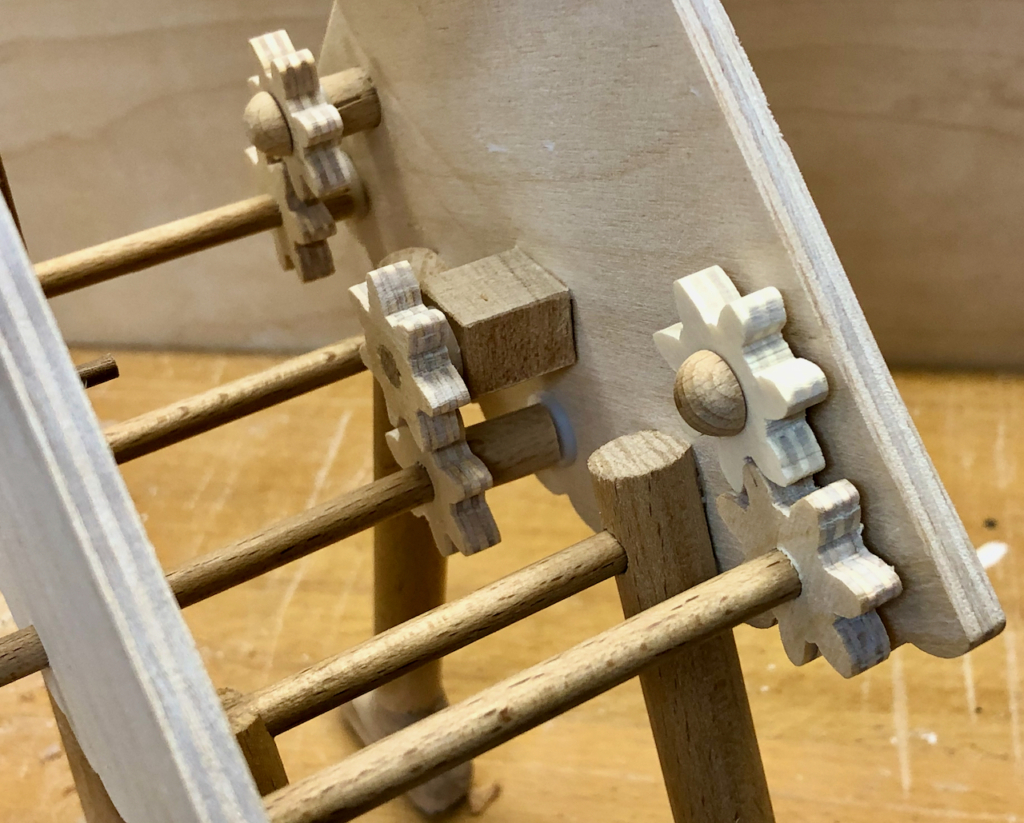
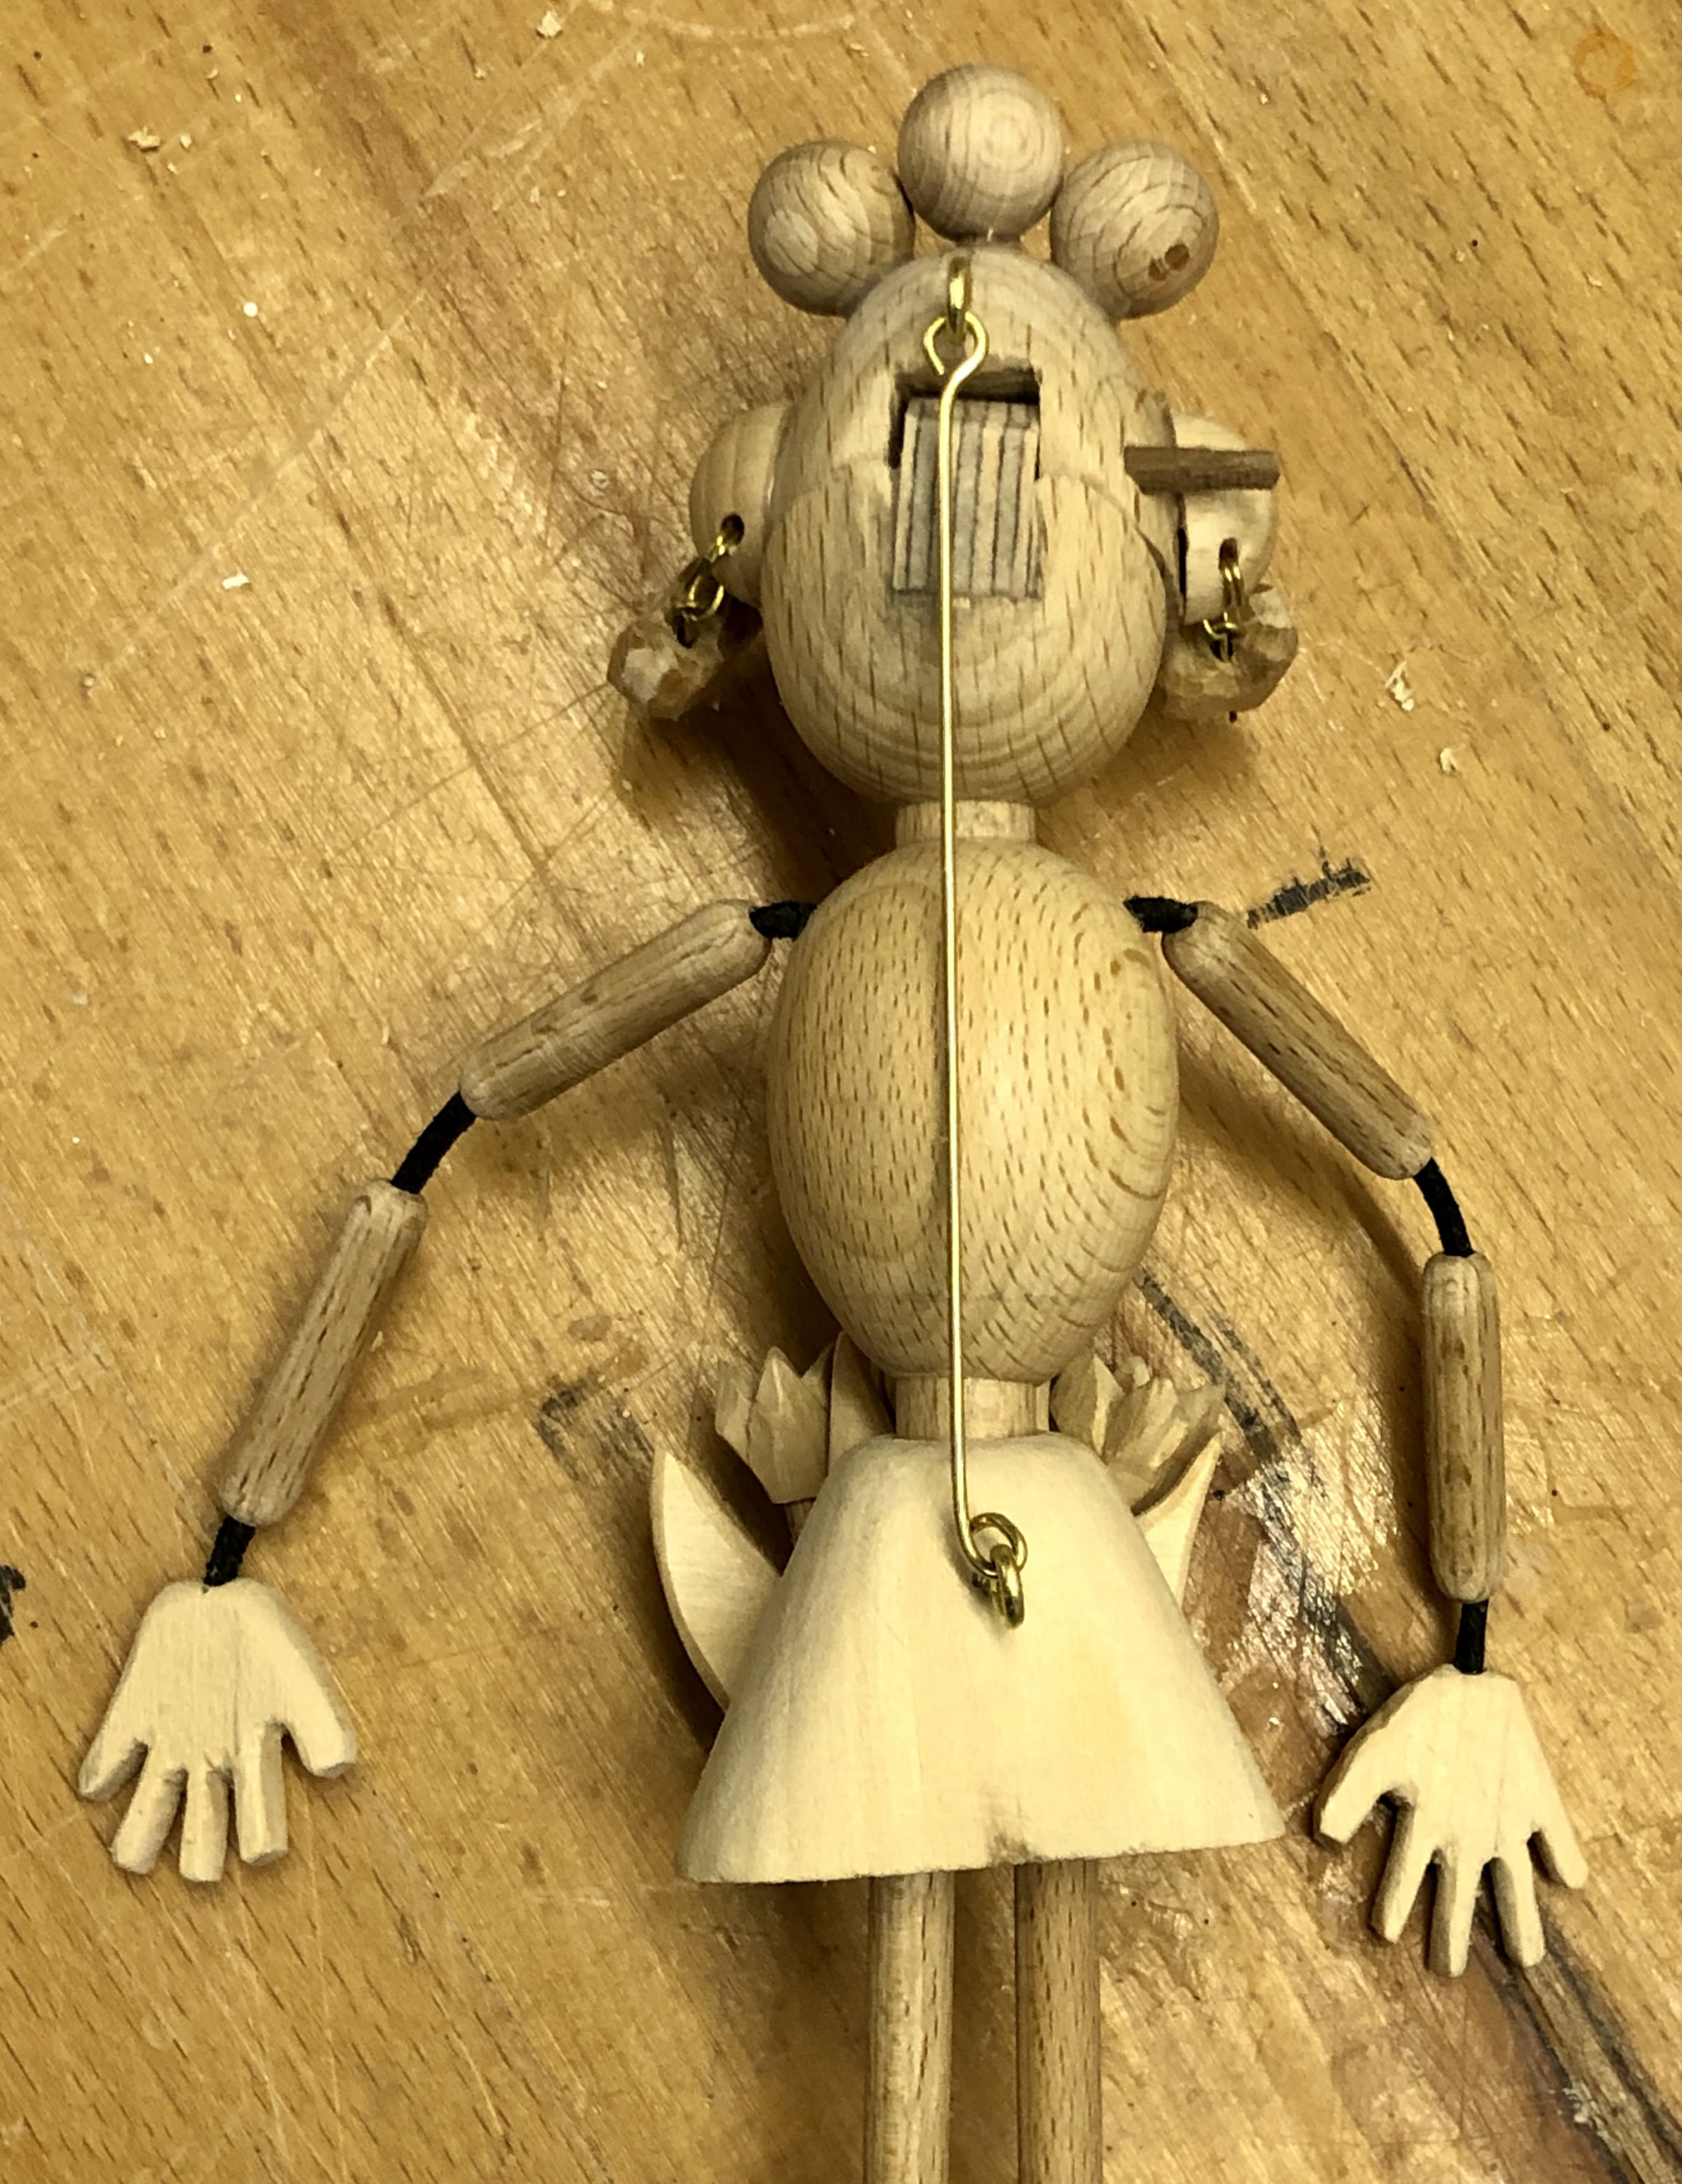
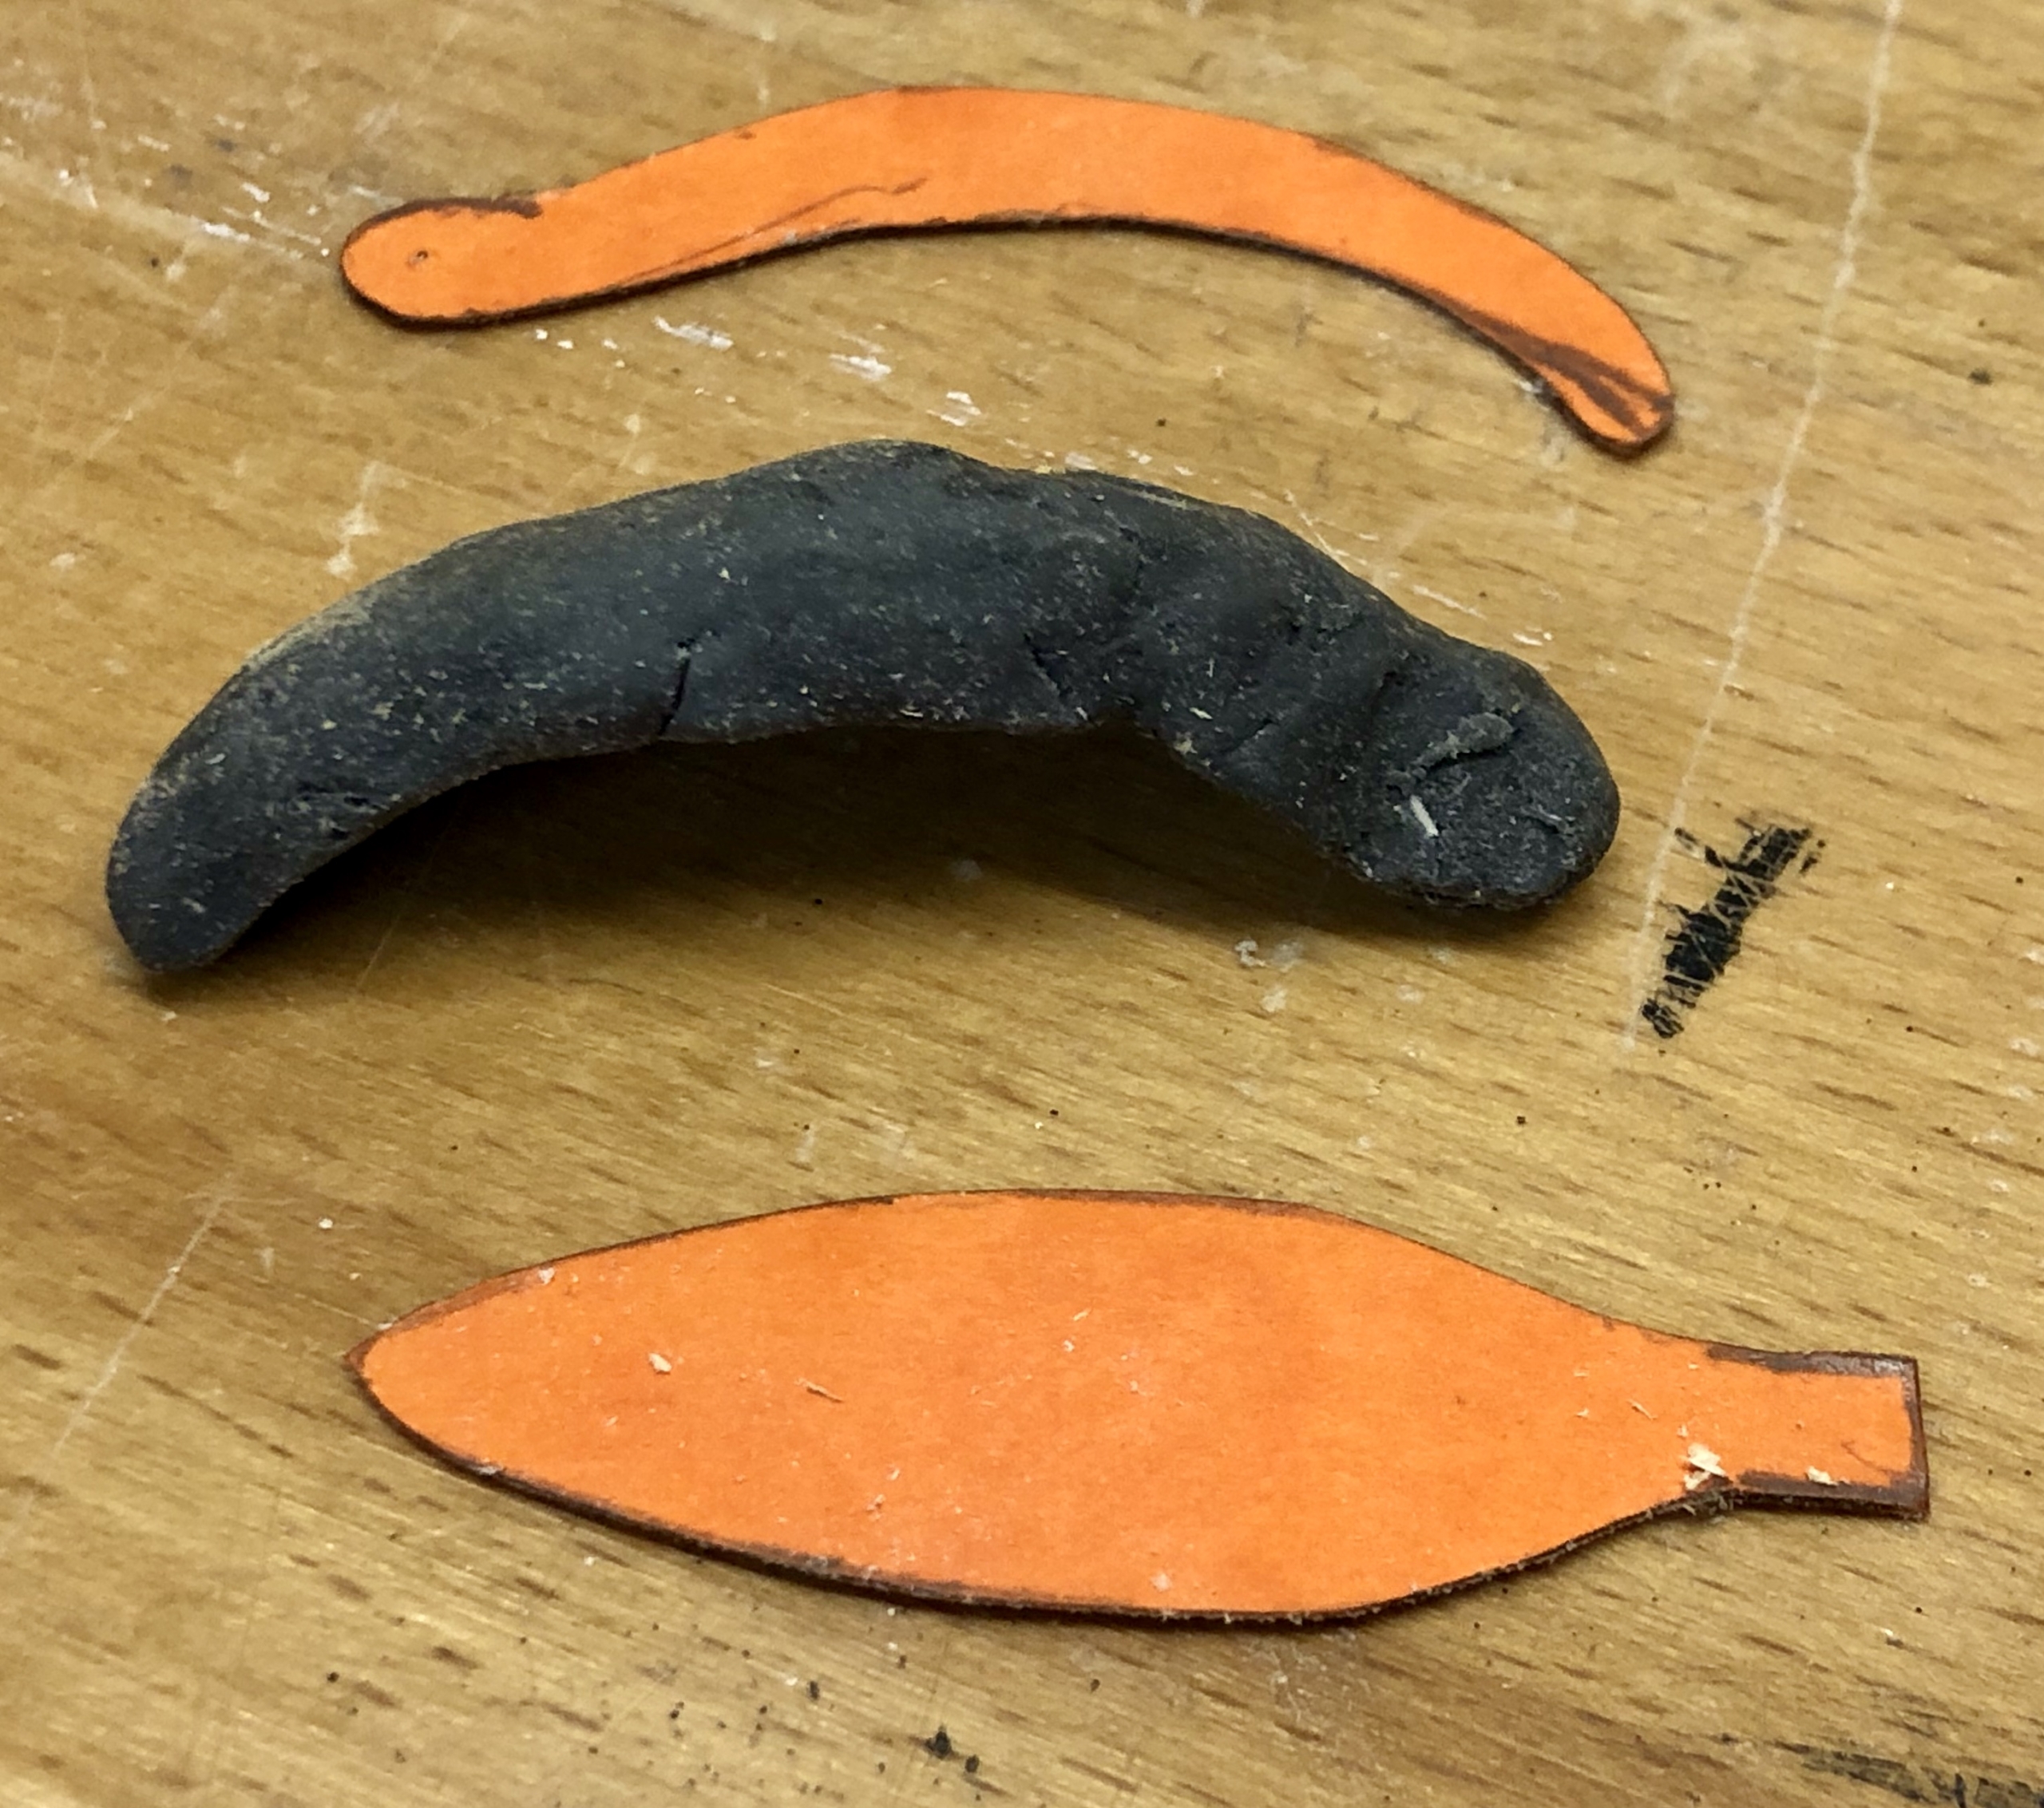
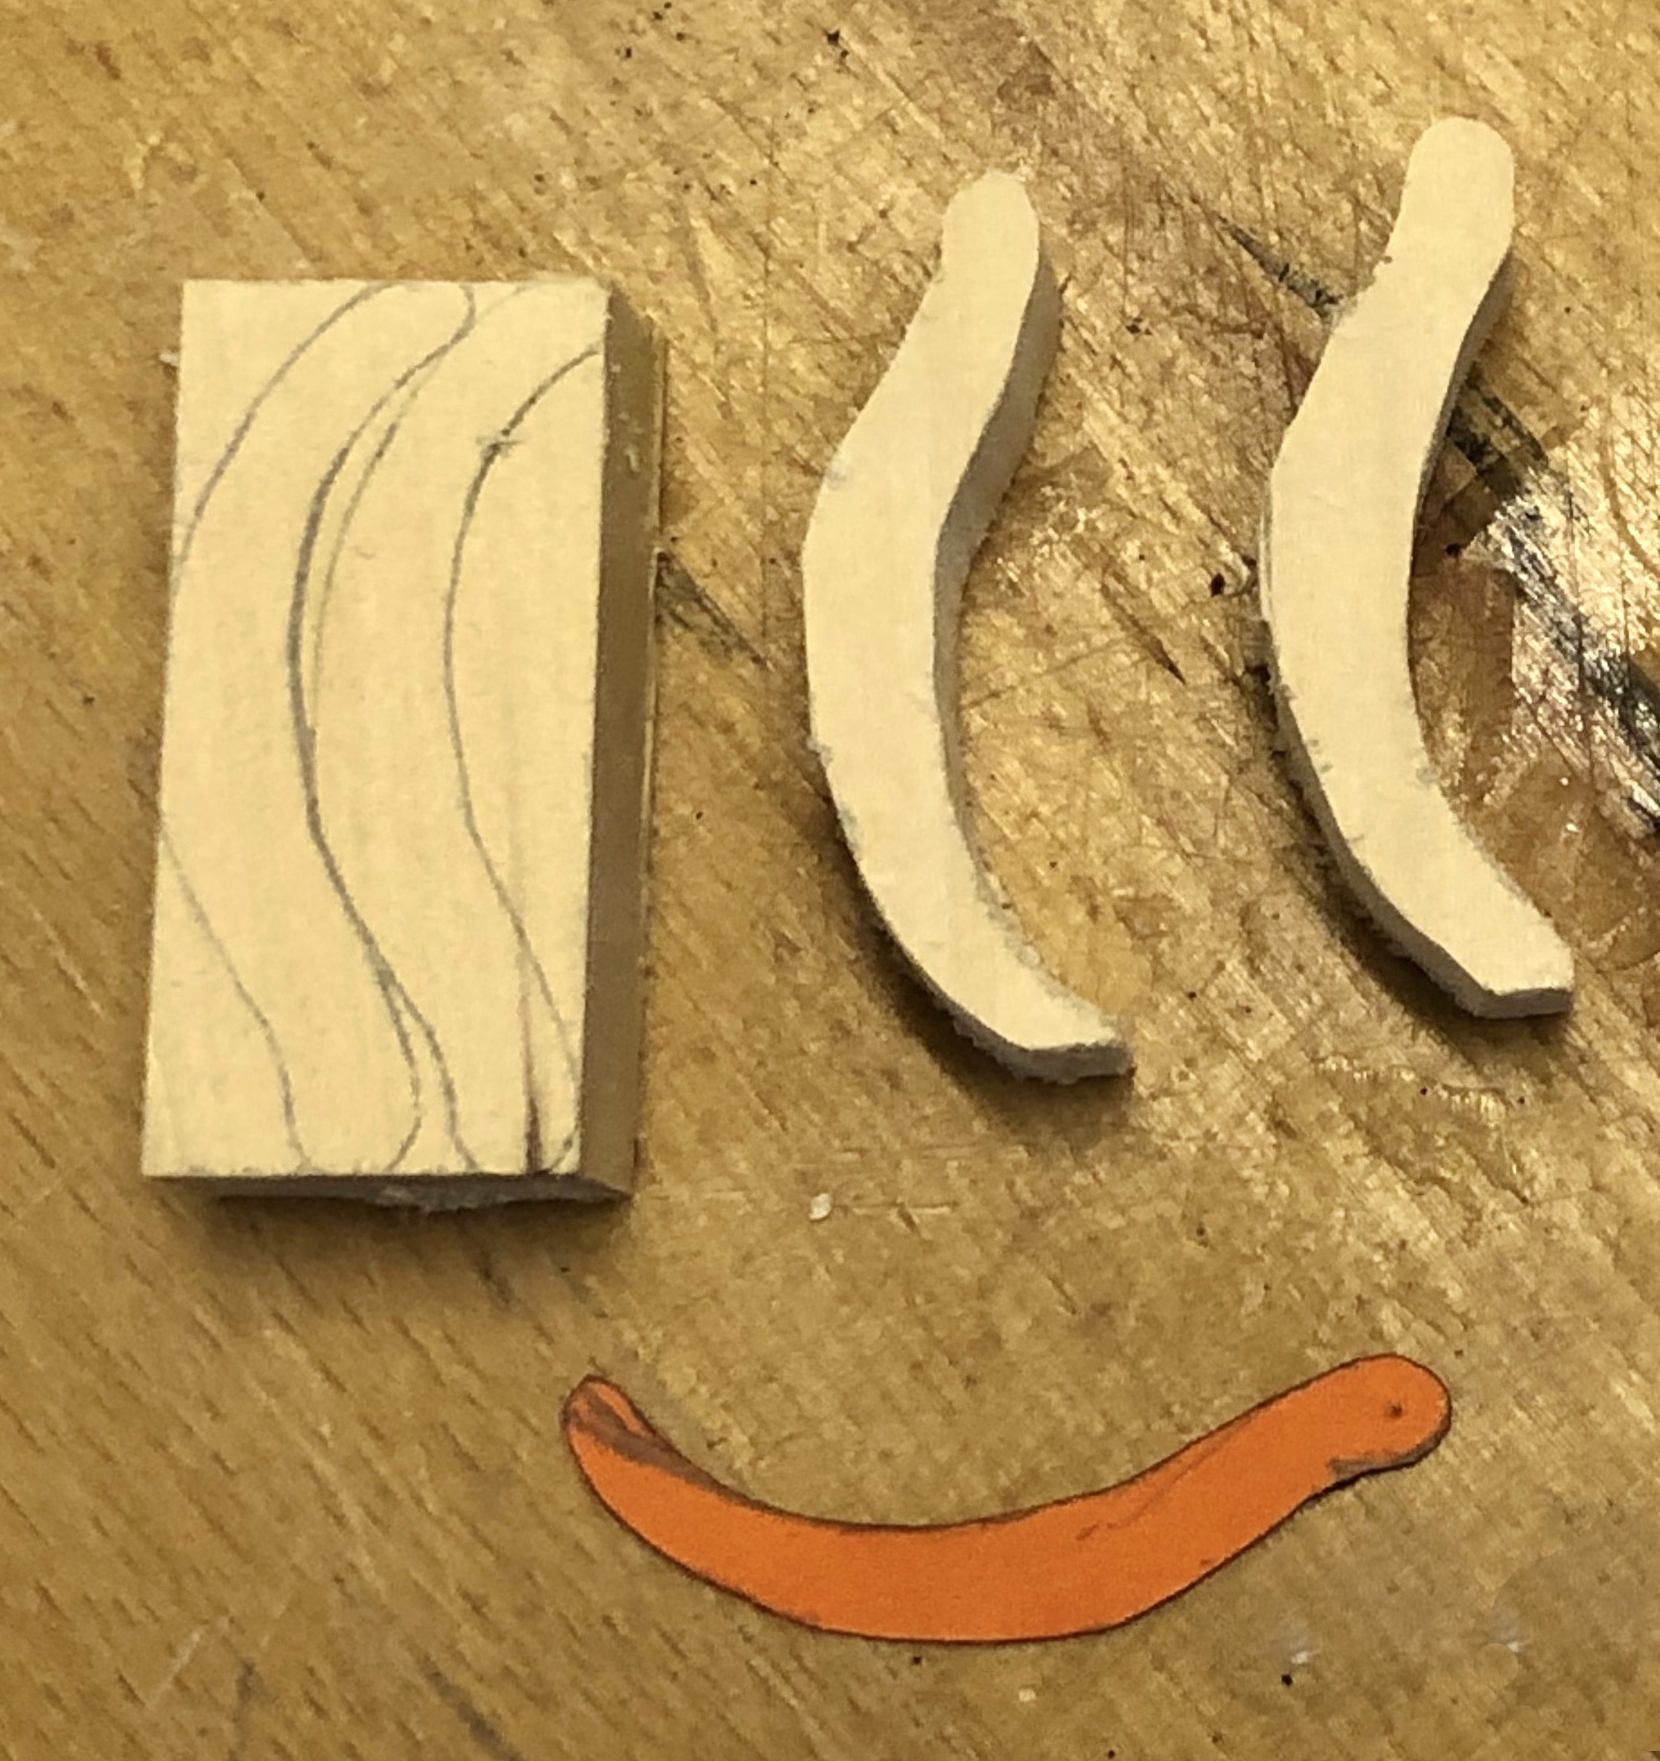
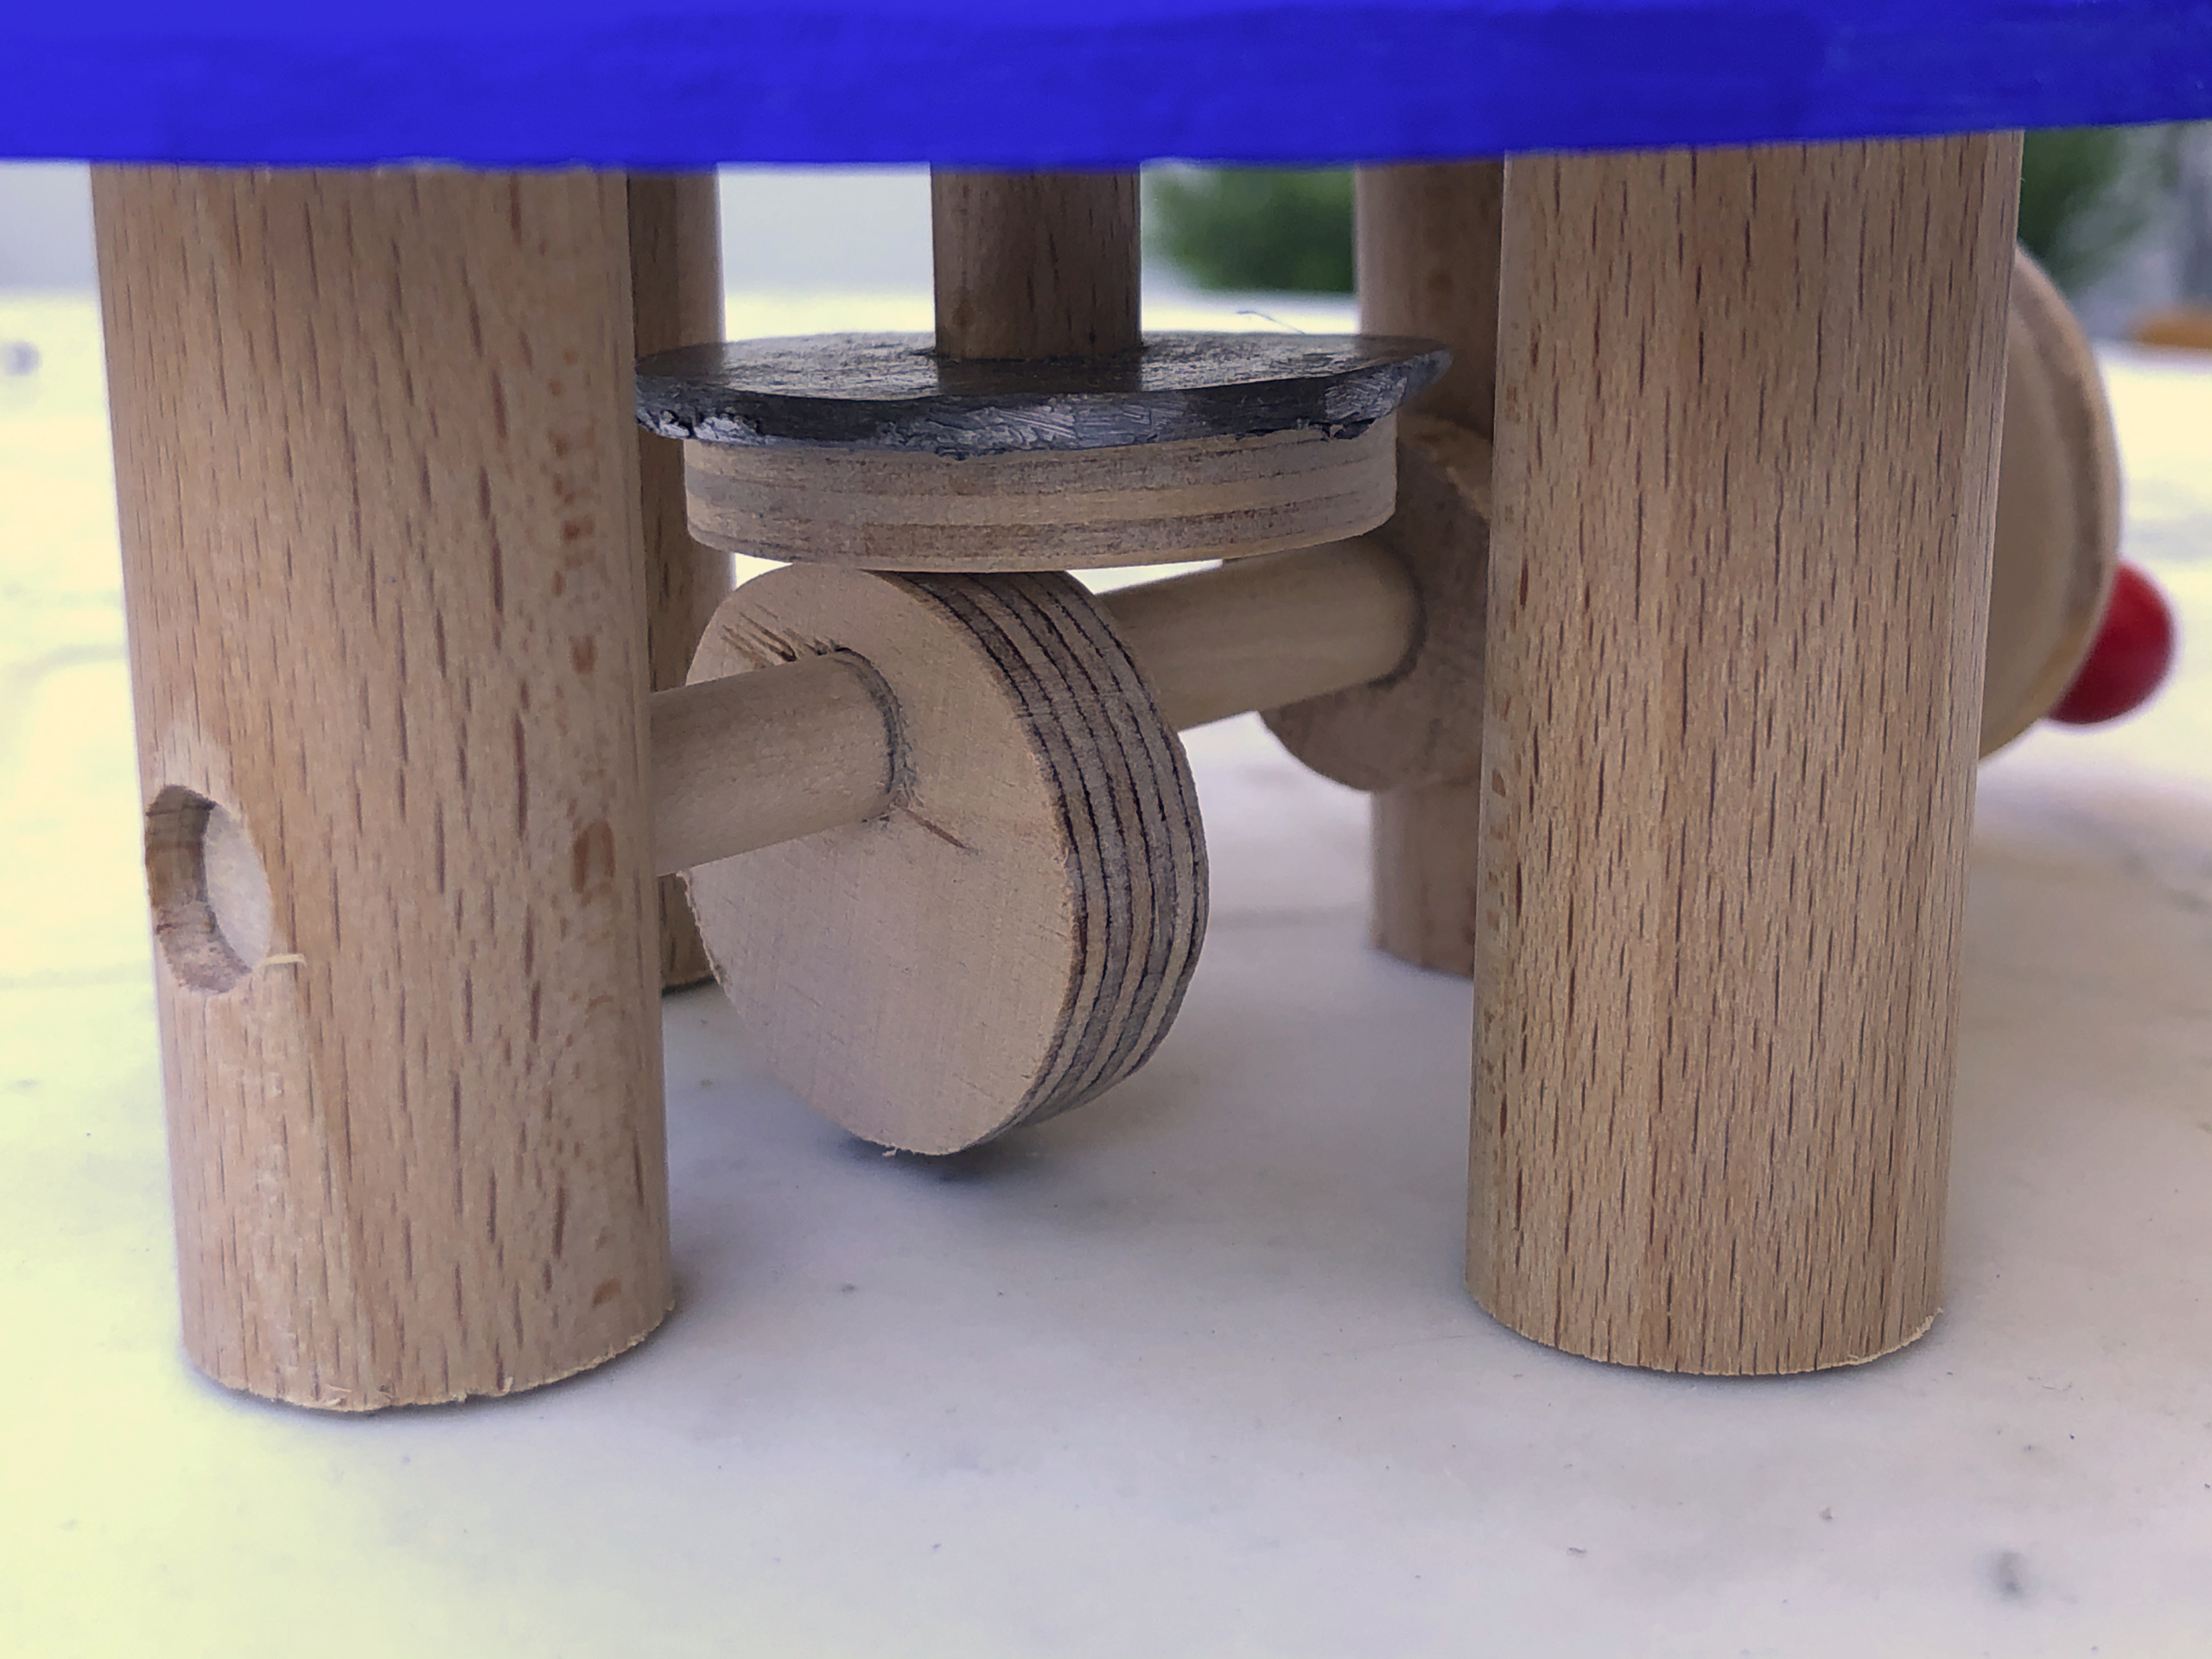
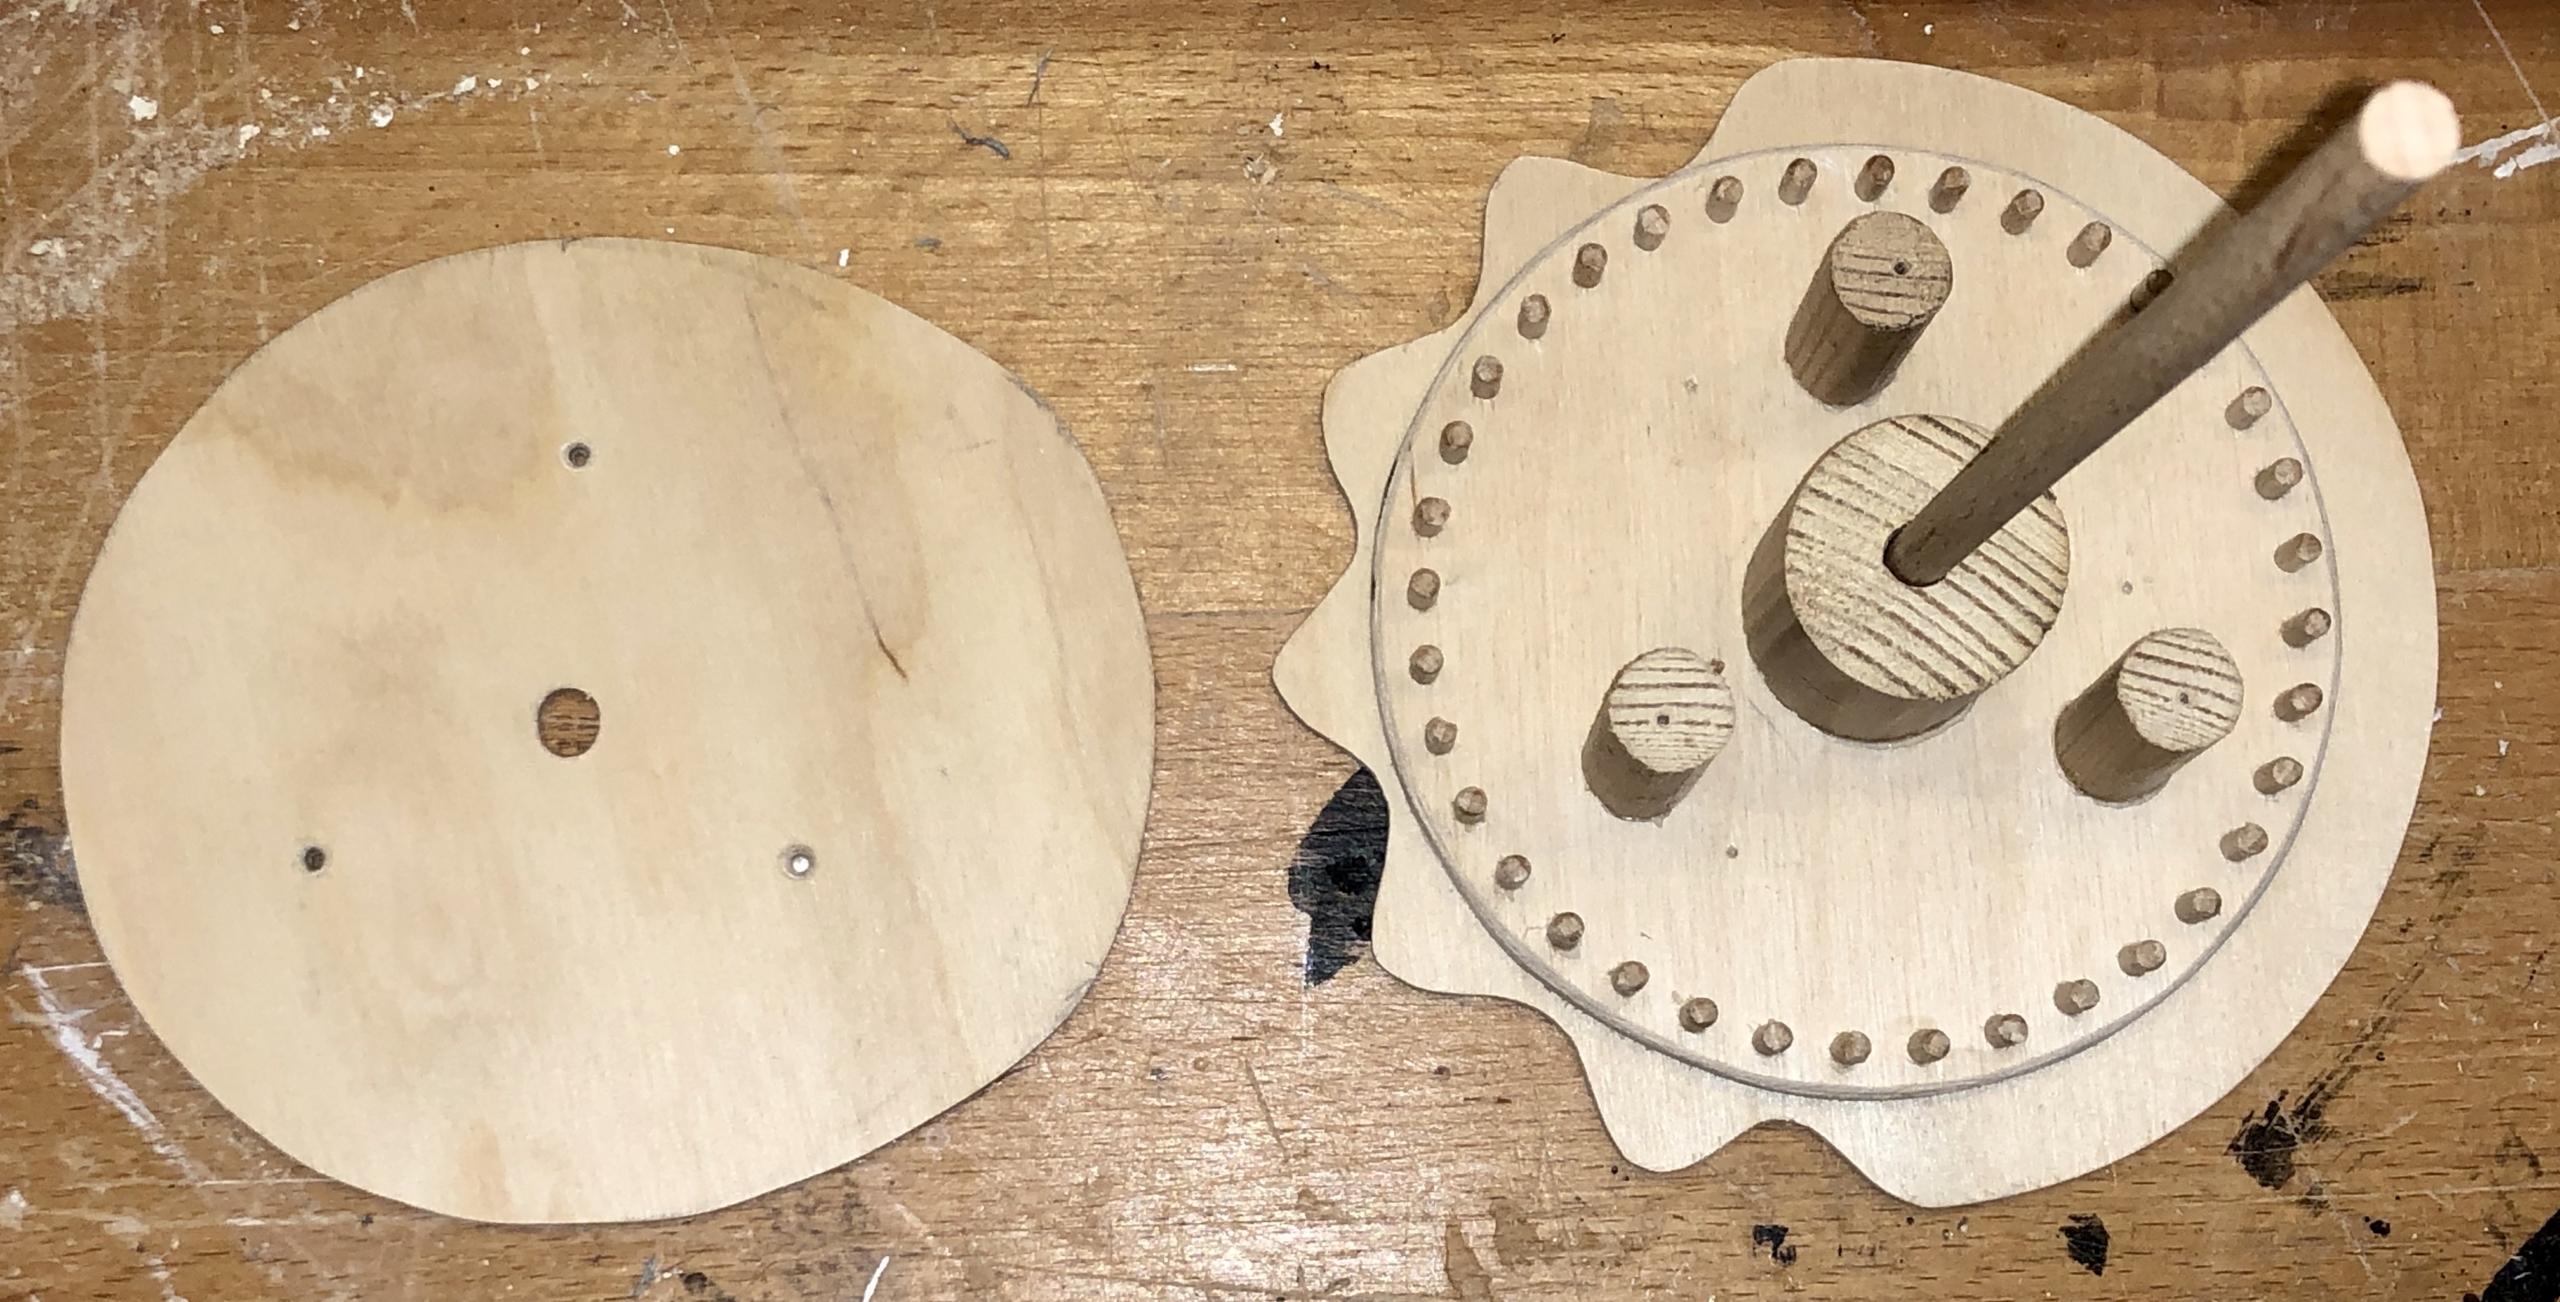
I modified the original disc which fits into the base by cutting four notches and gluing a piece of bent brass rod on top with epoxy resin adhesive. This arrangement leaves plenty of space for each string to slide easily.

Drilling slanted holes in the head

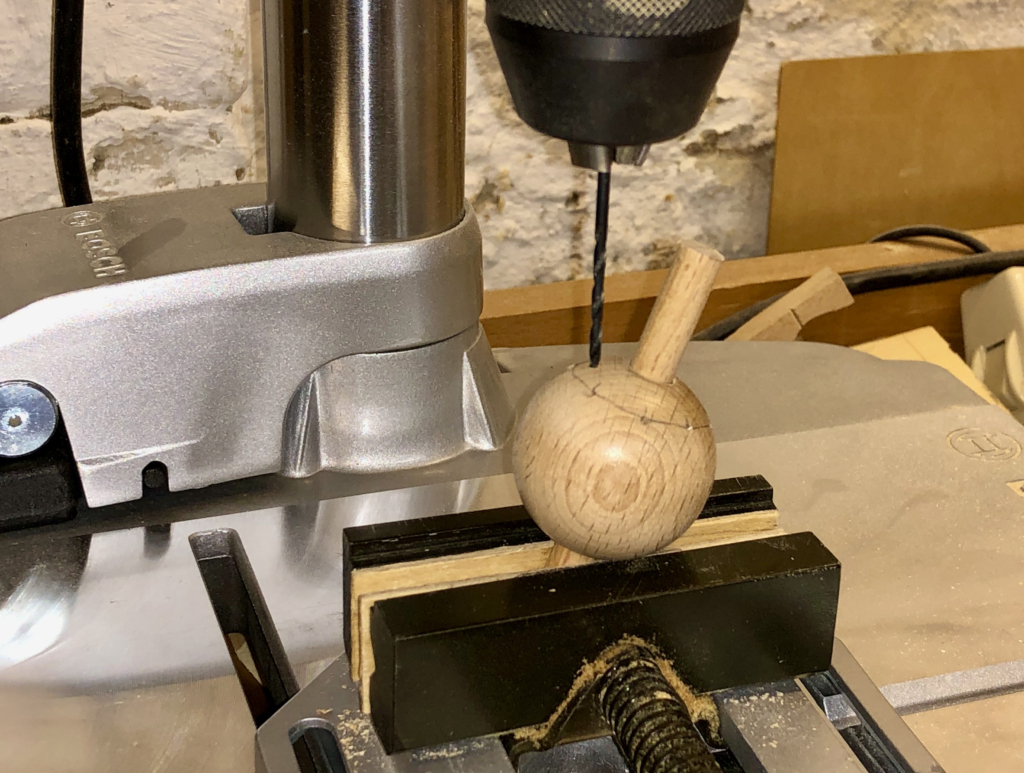
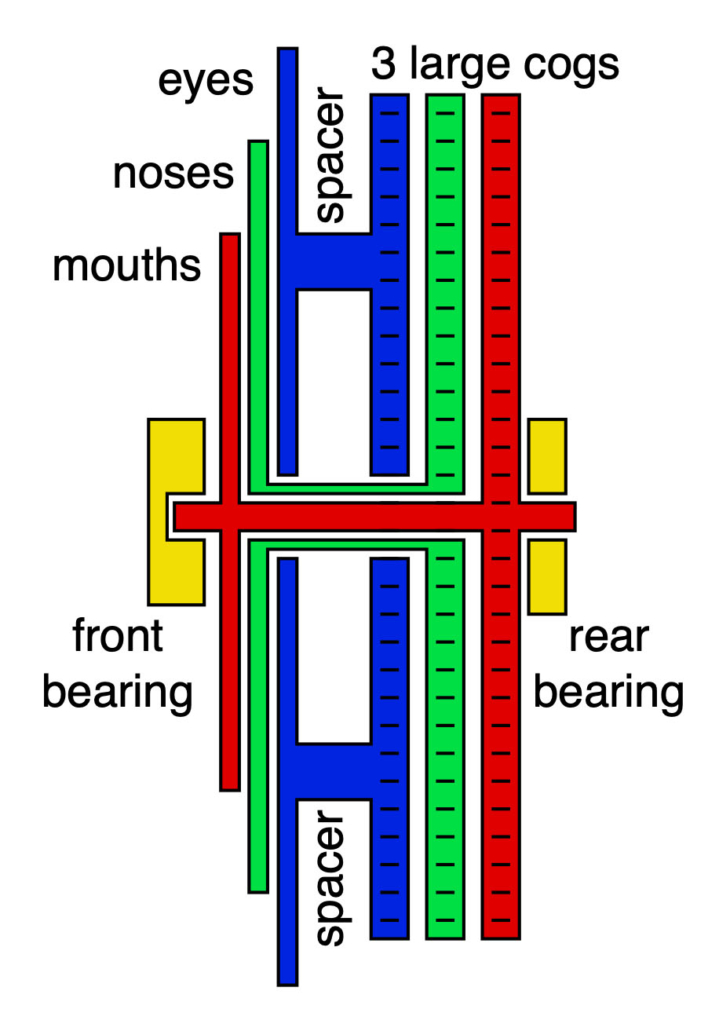
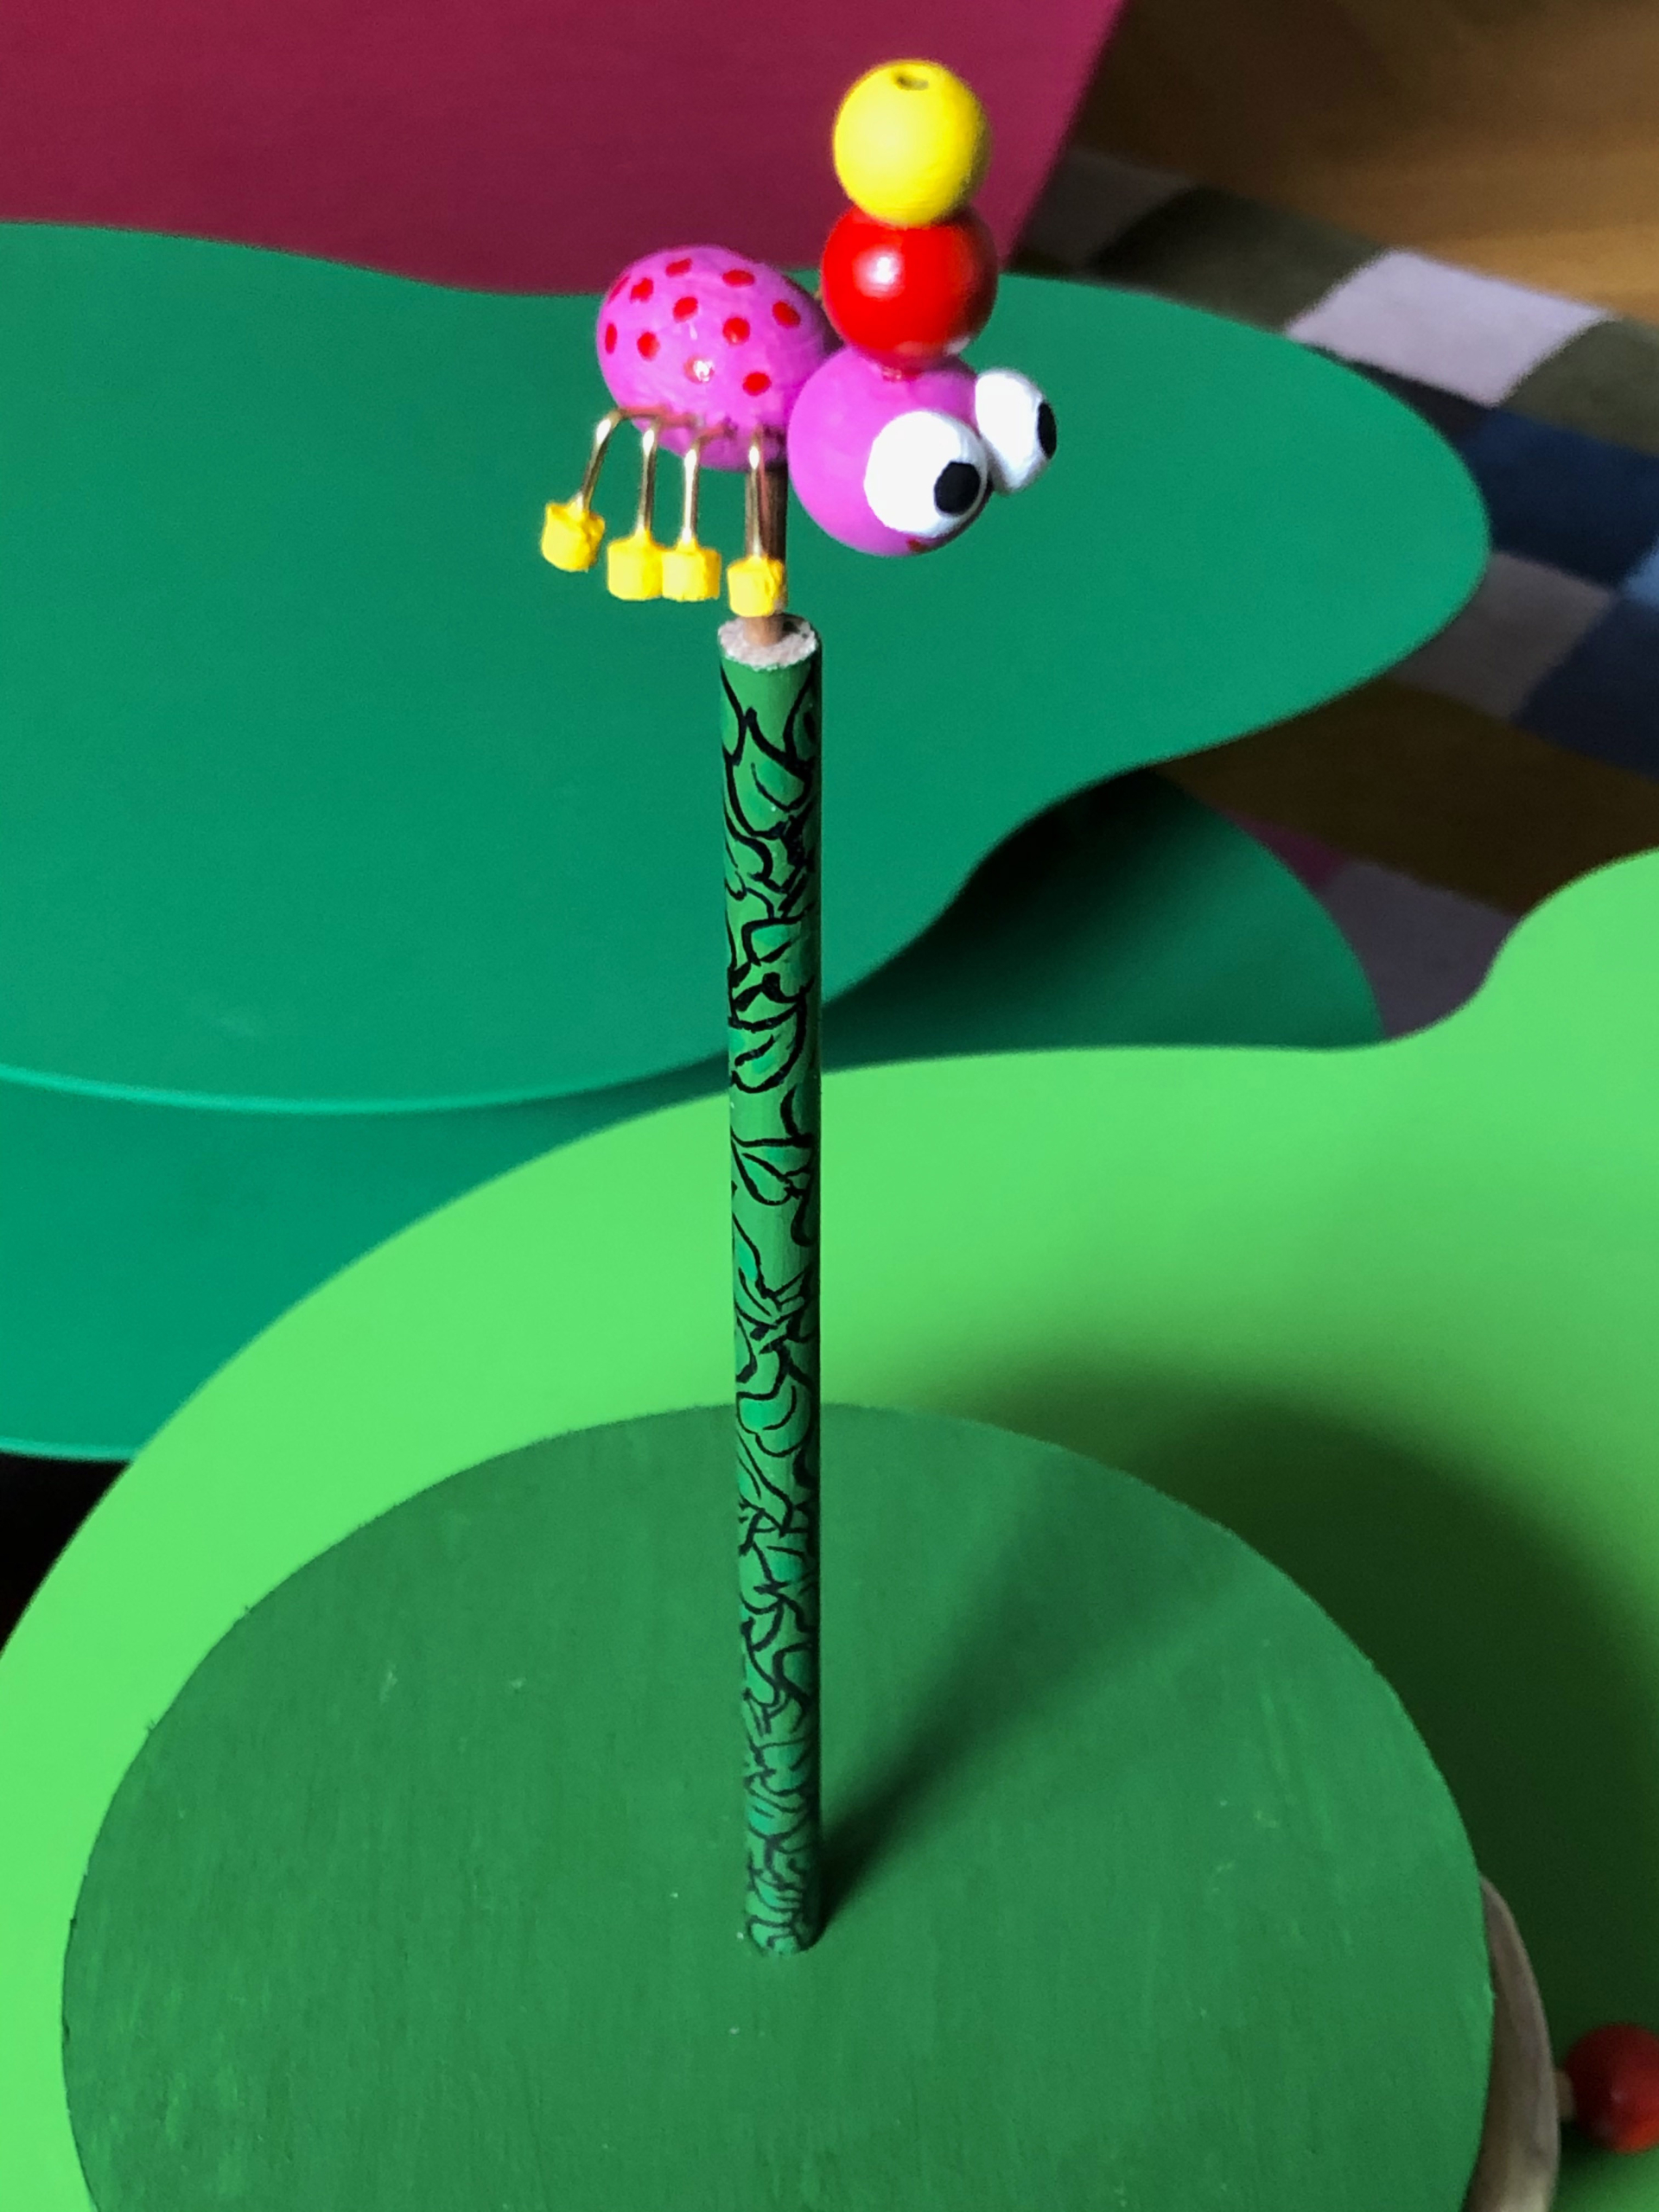
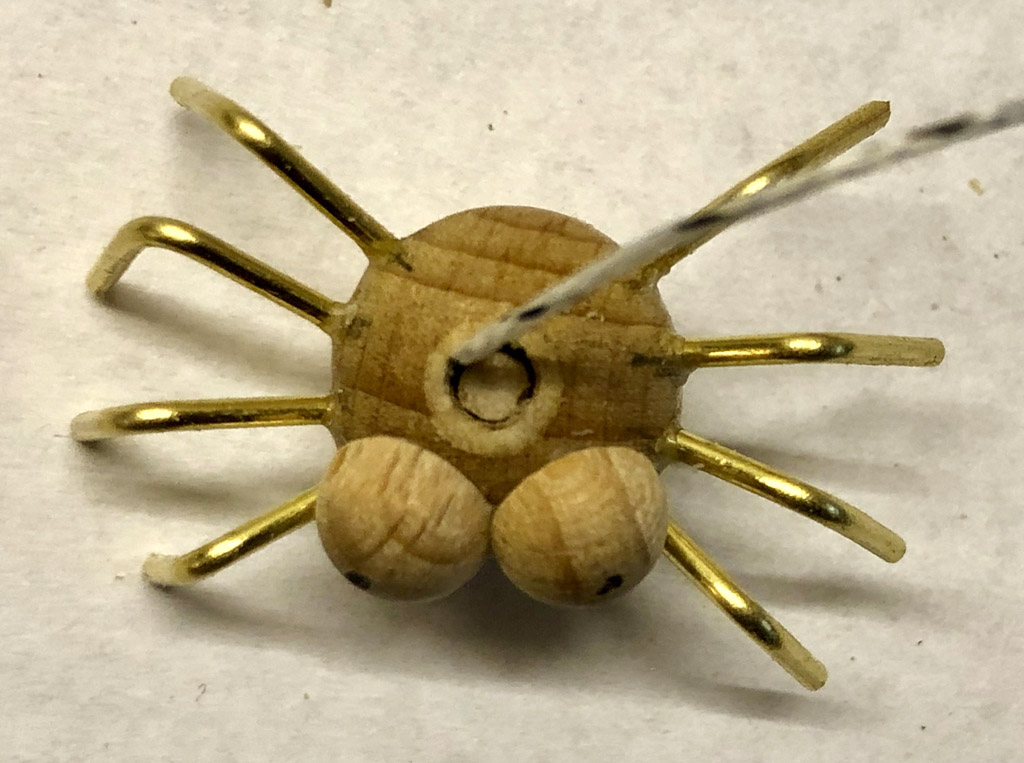
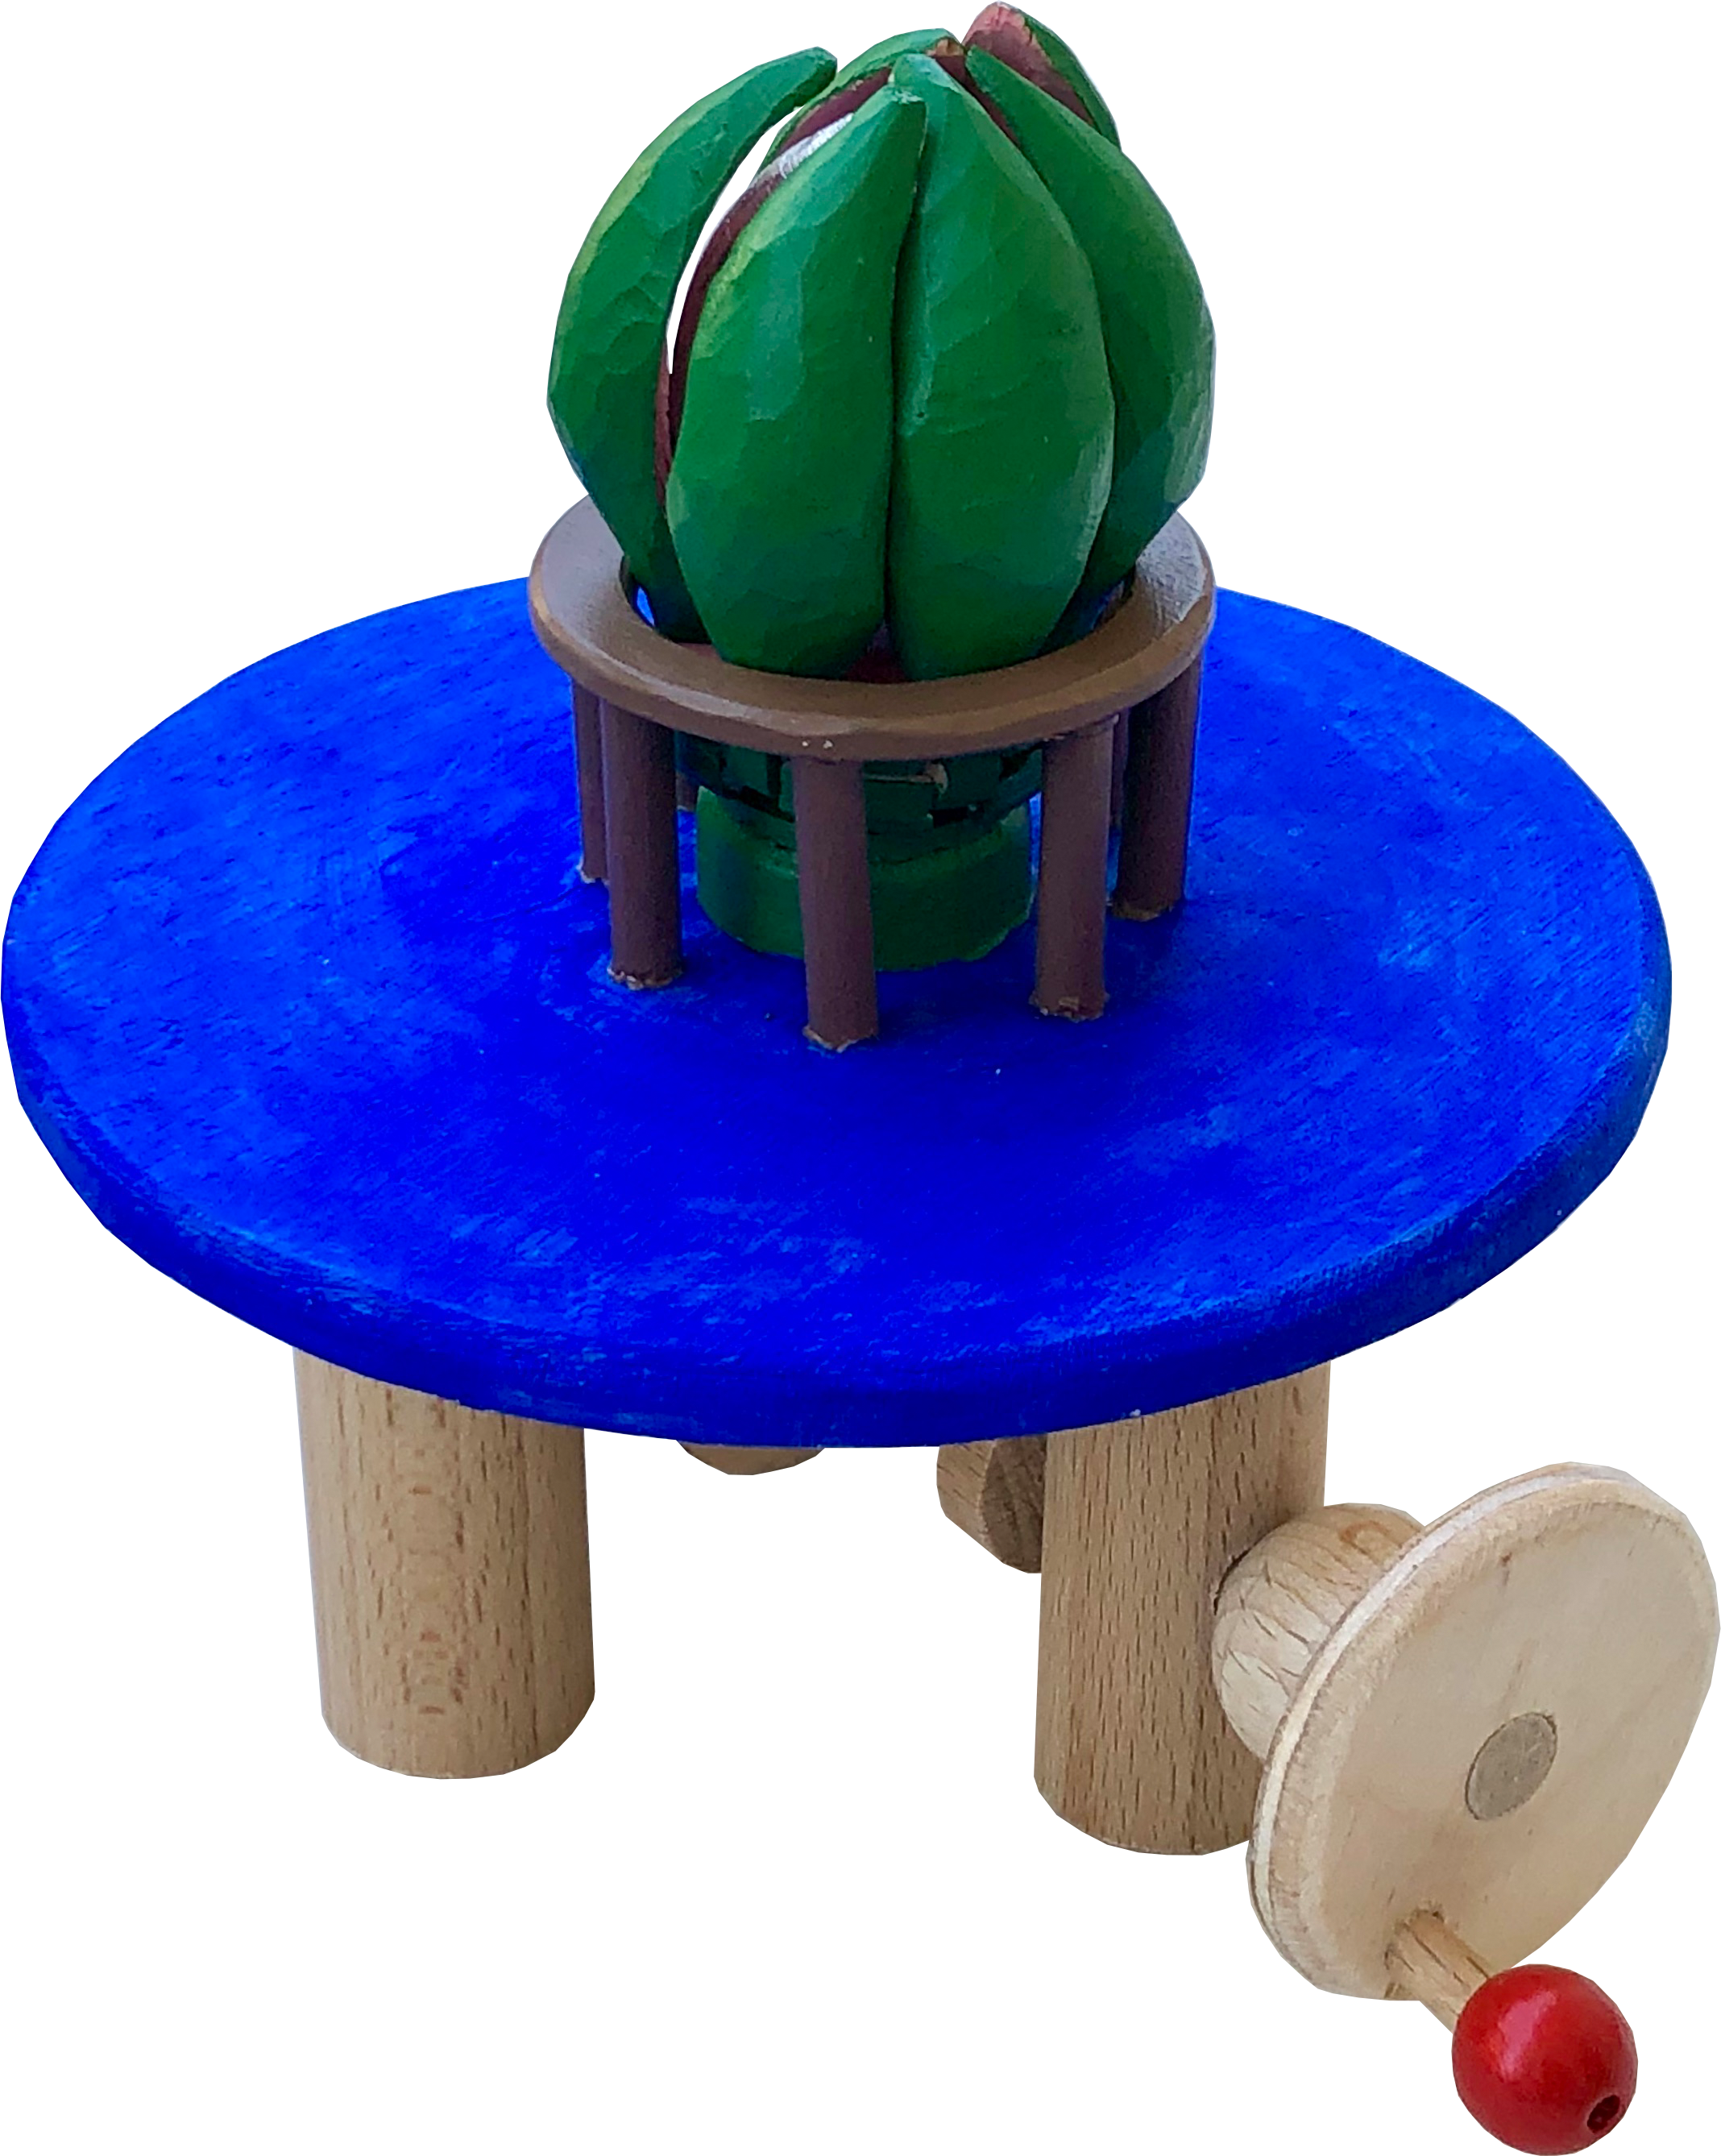
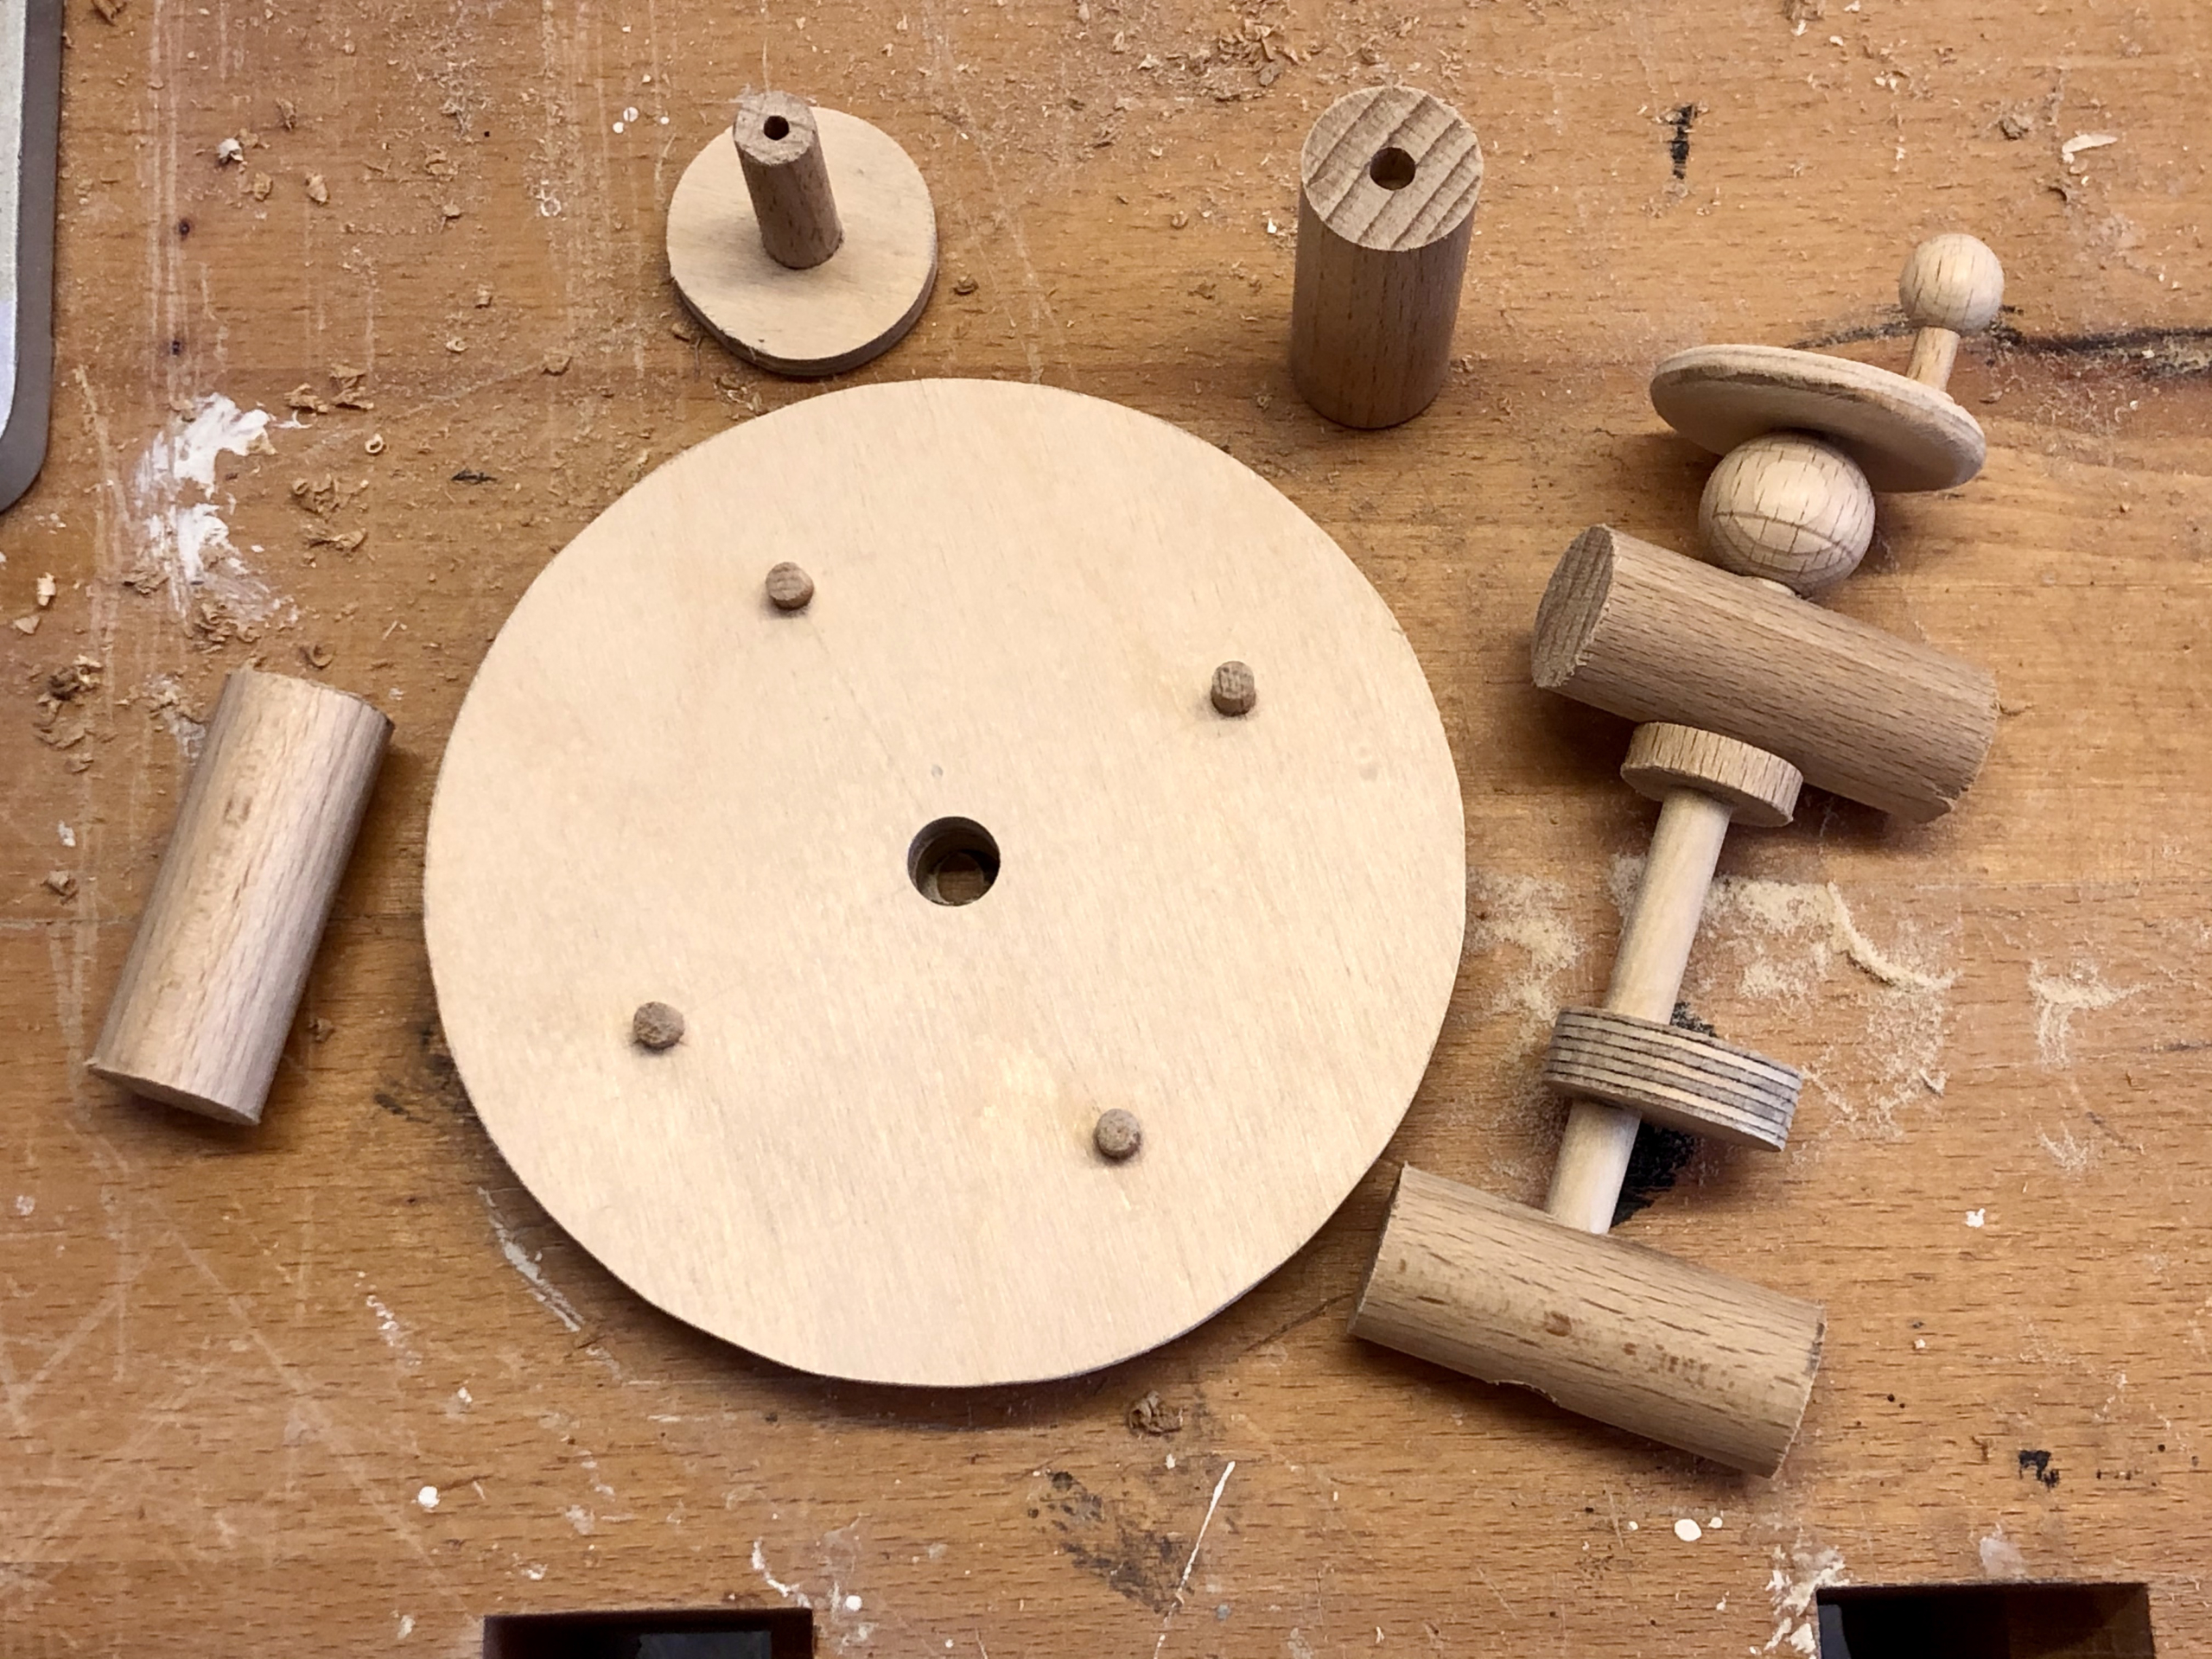
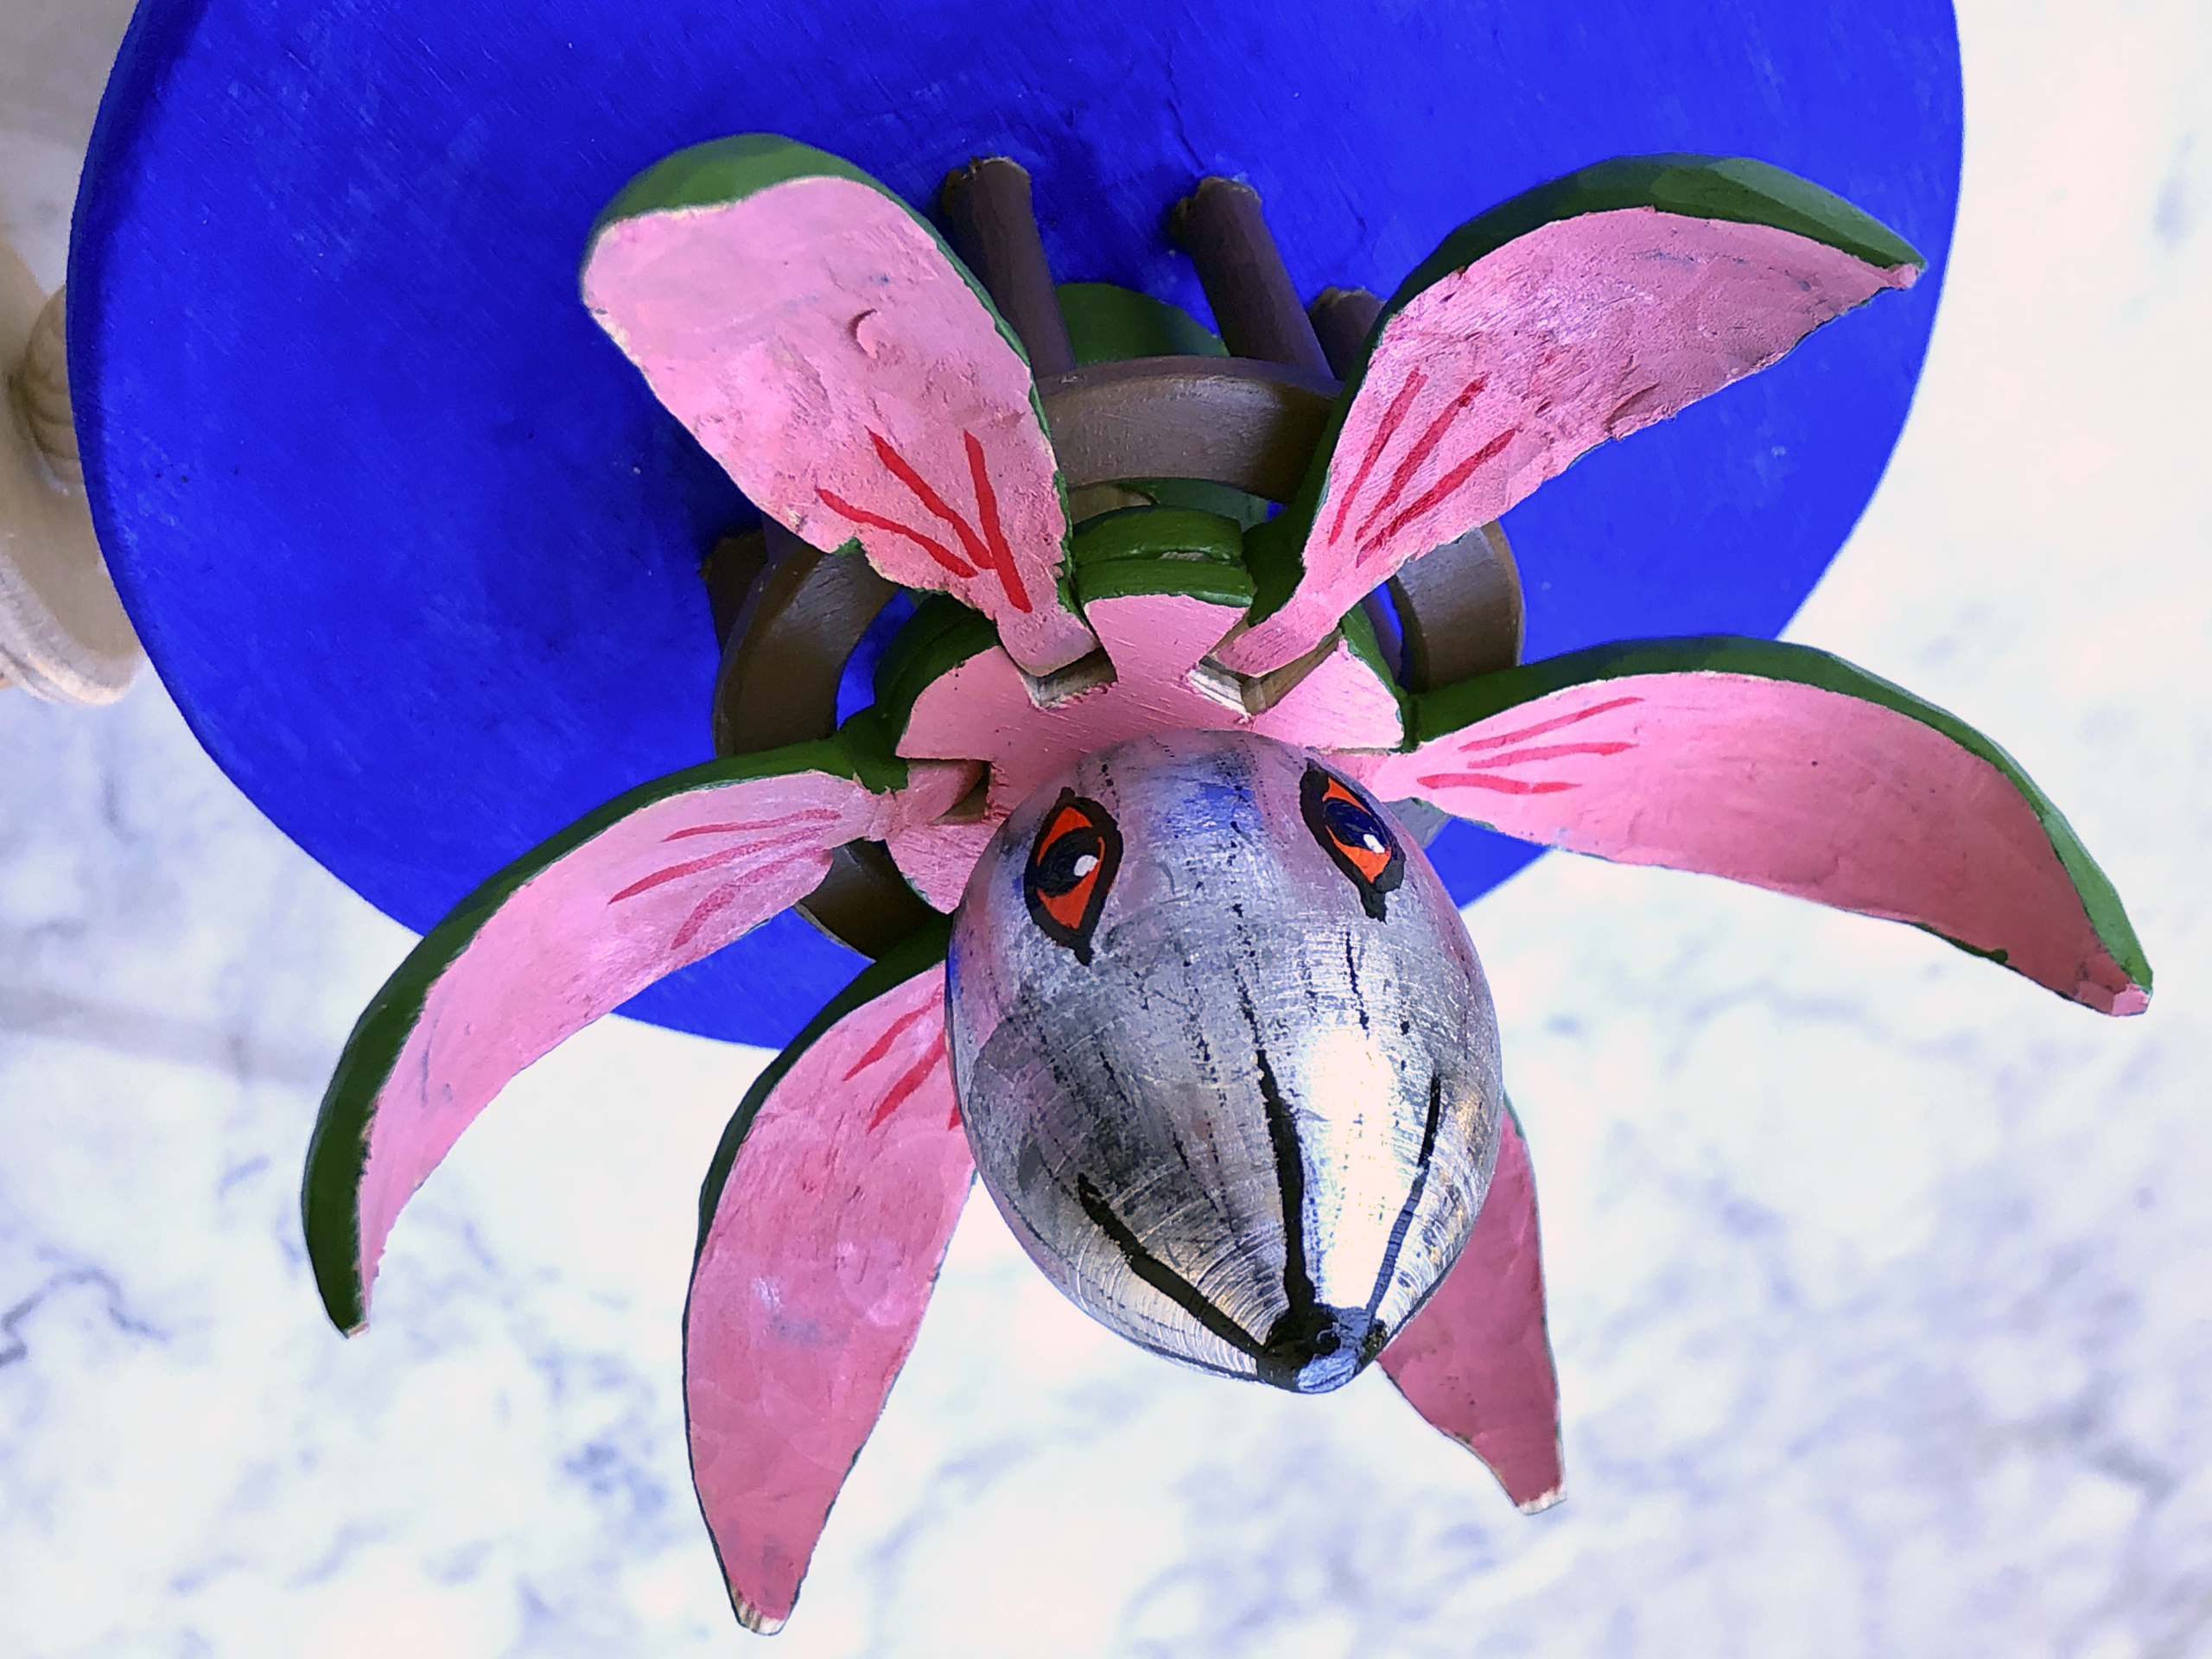
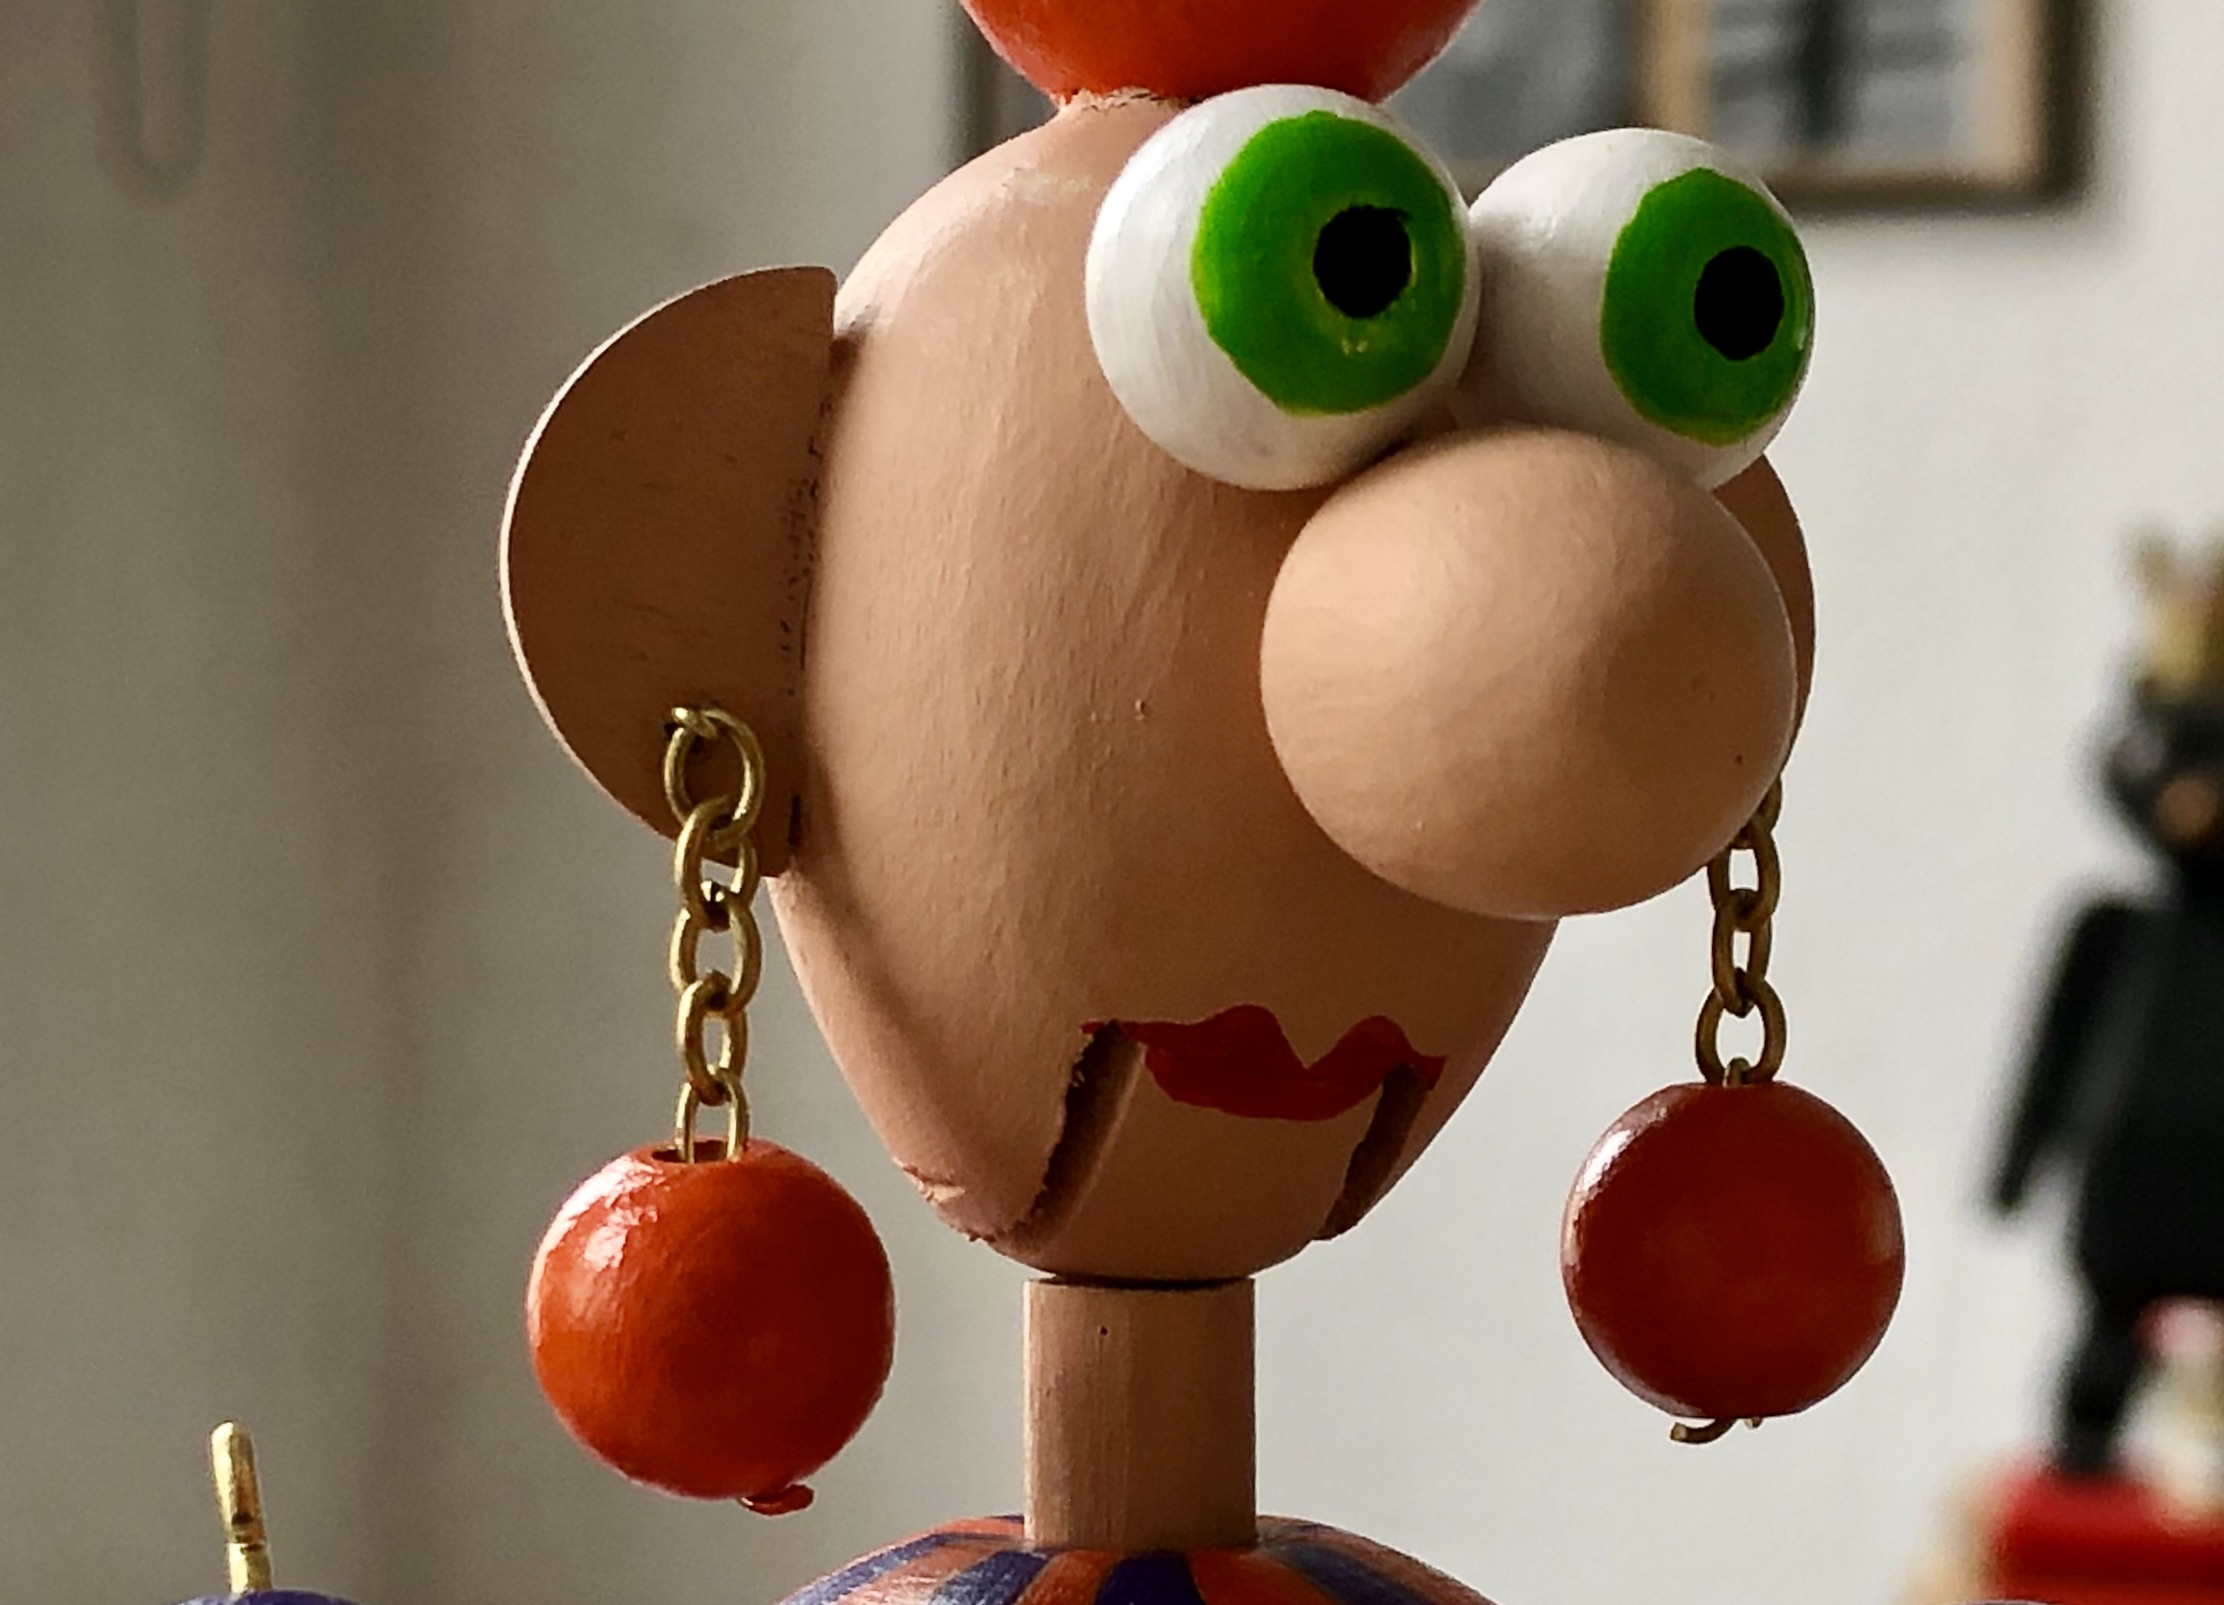
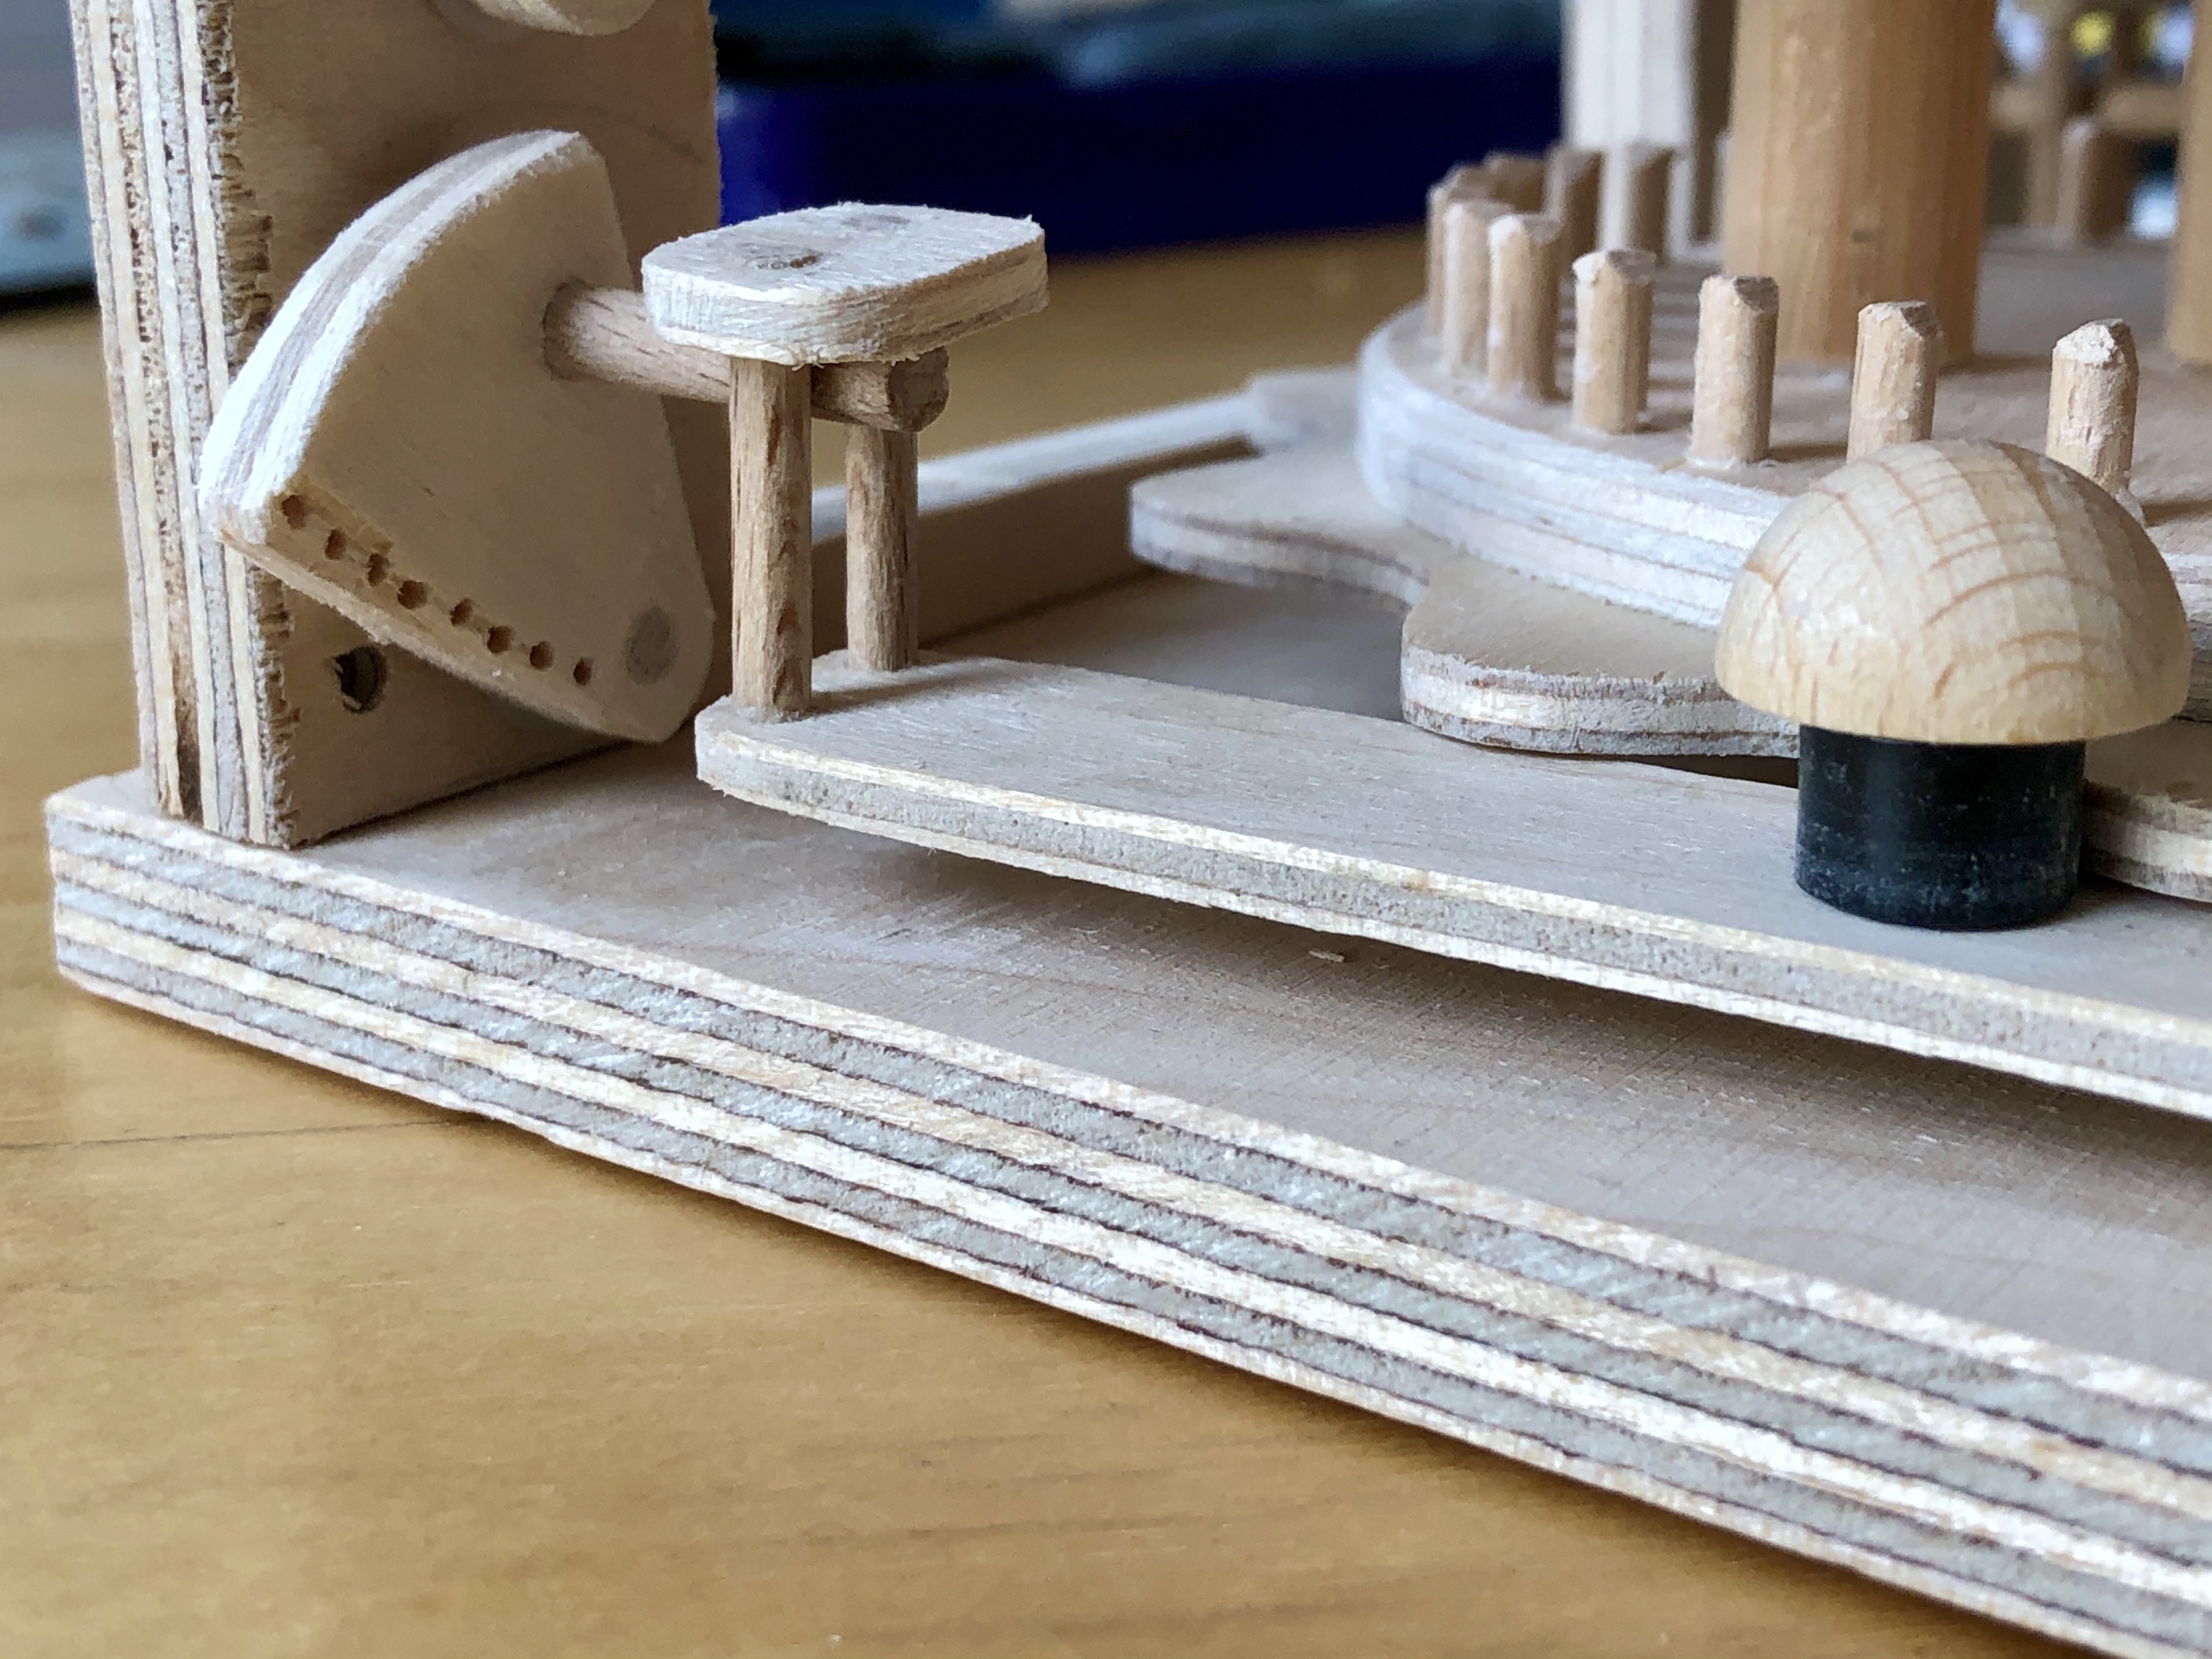
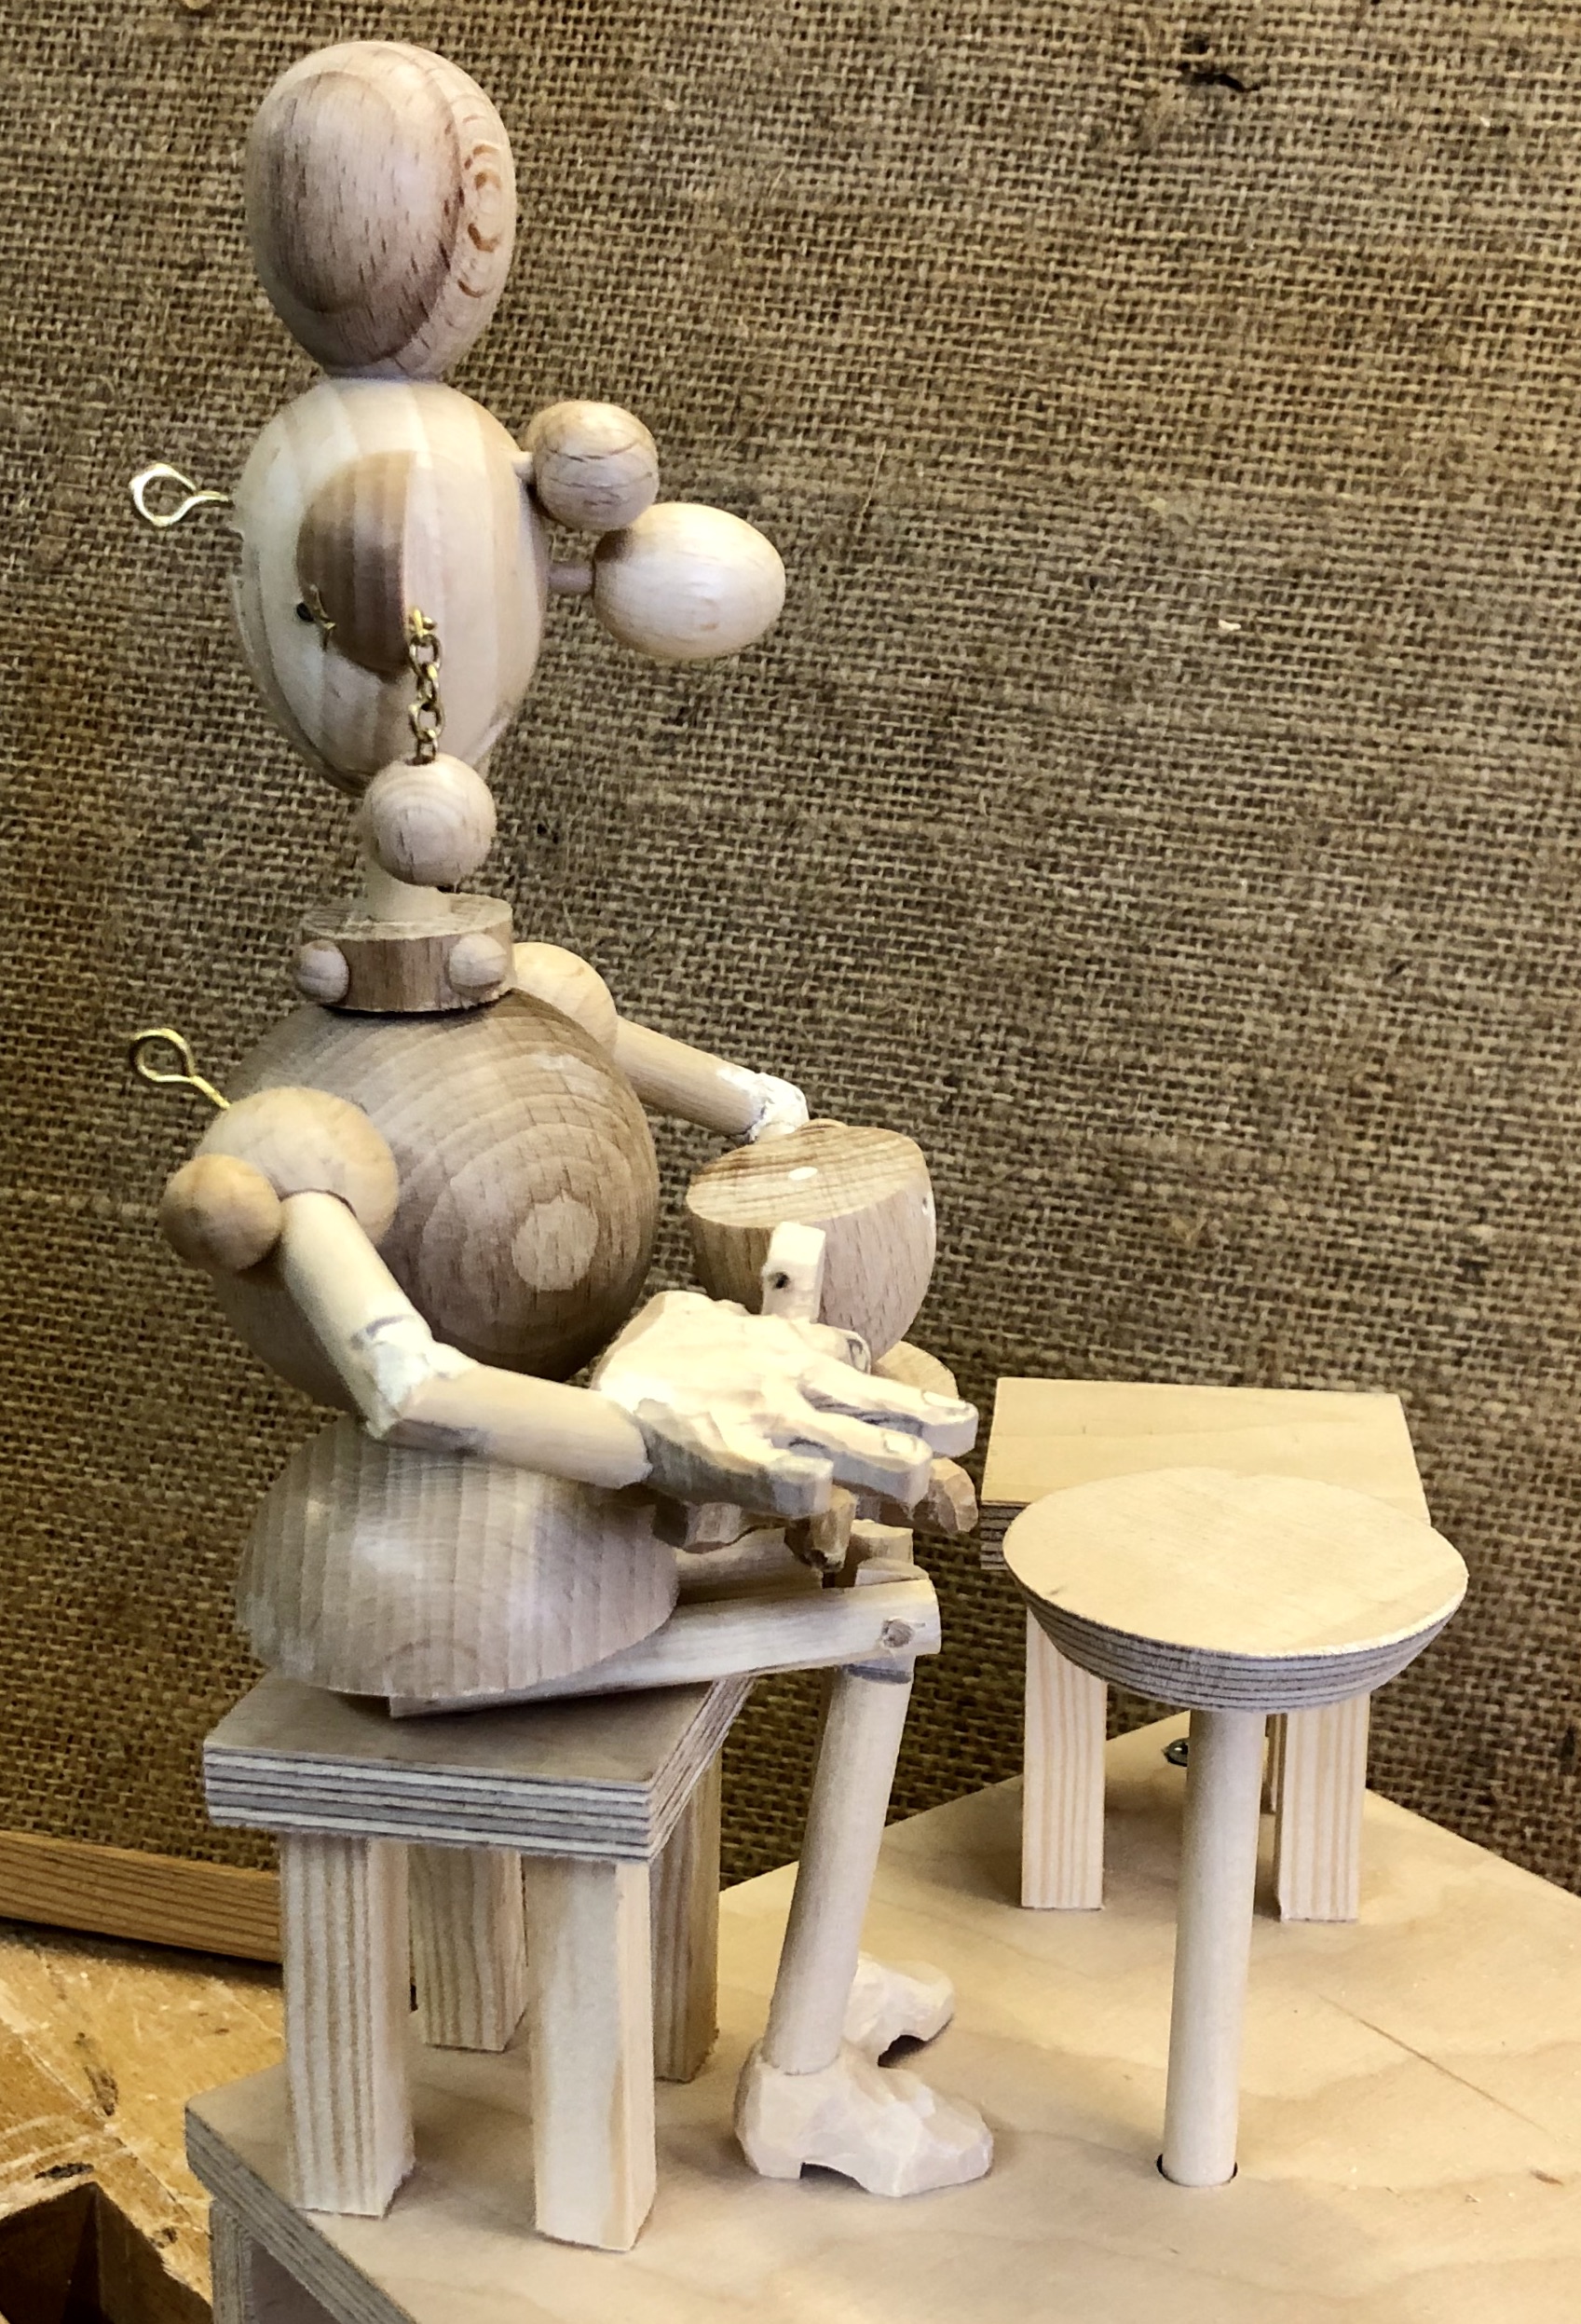
The head is a 40 mm diameter beechwood ball predrilled with an 8 mm through hole. Slid onto a slanted piece of 8 mm dowel this can be rotated to drill eight holes which are suitably spaced for hair at the top, but which are slanted so as to come together at the neck hole.

Body parts and base

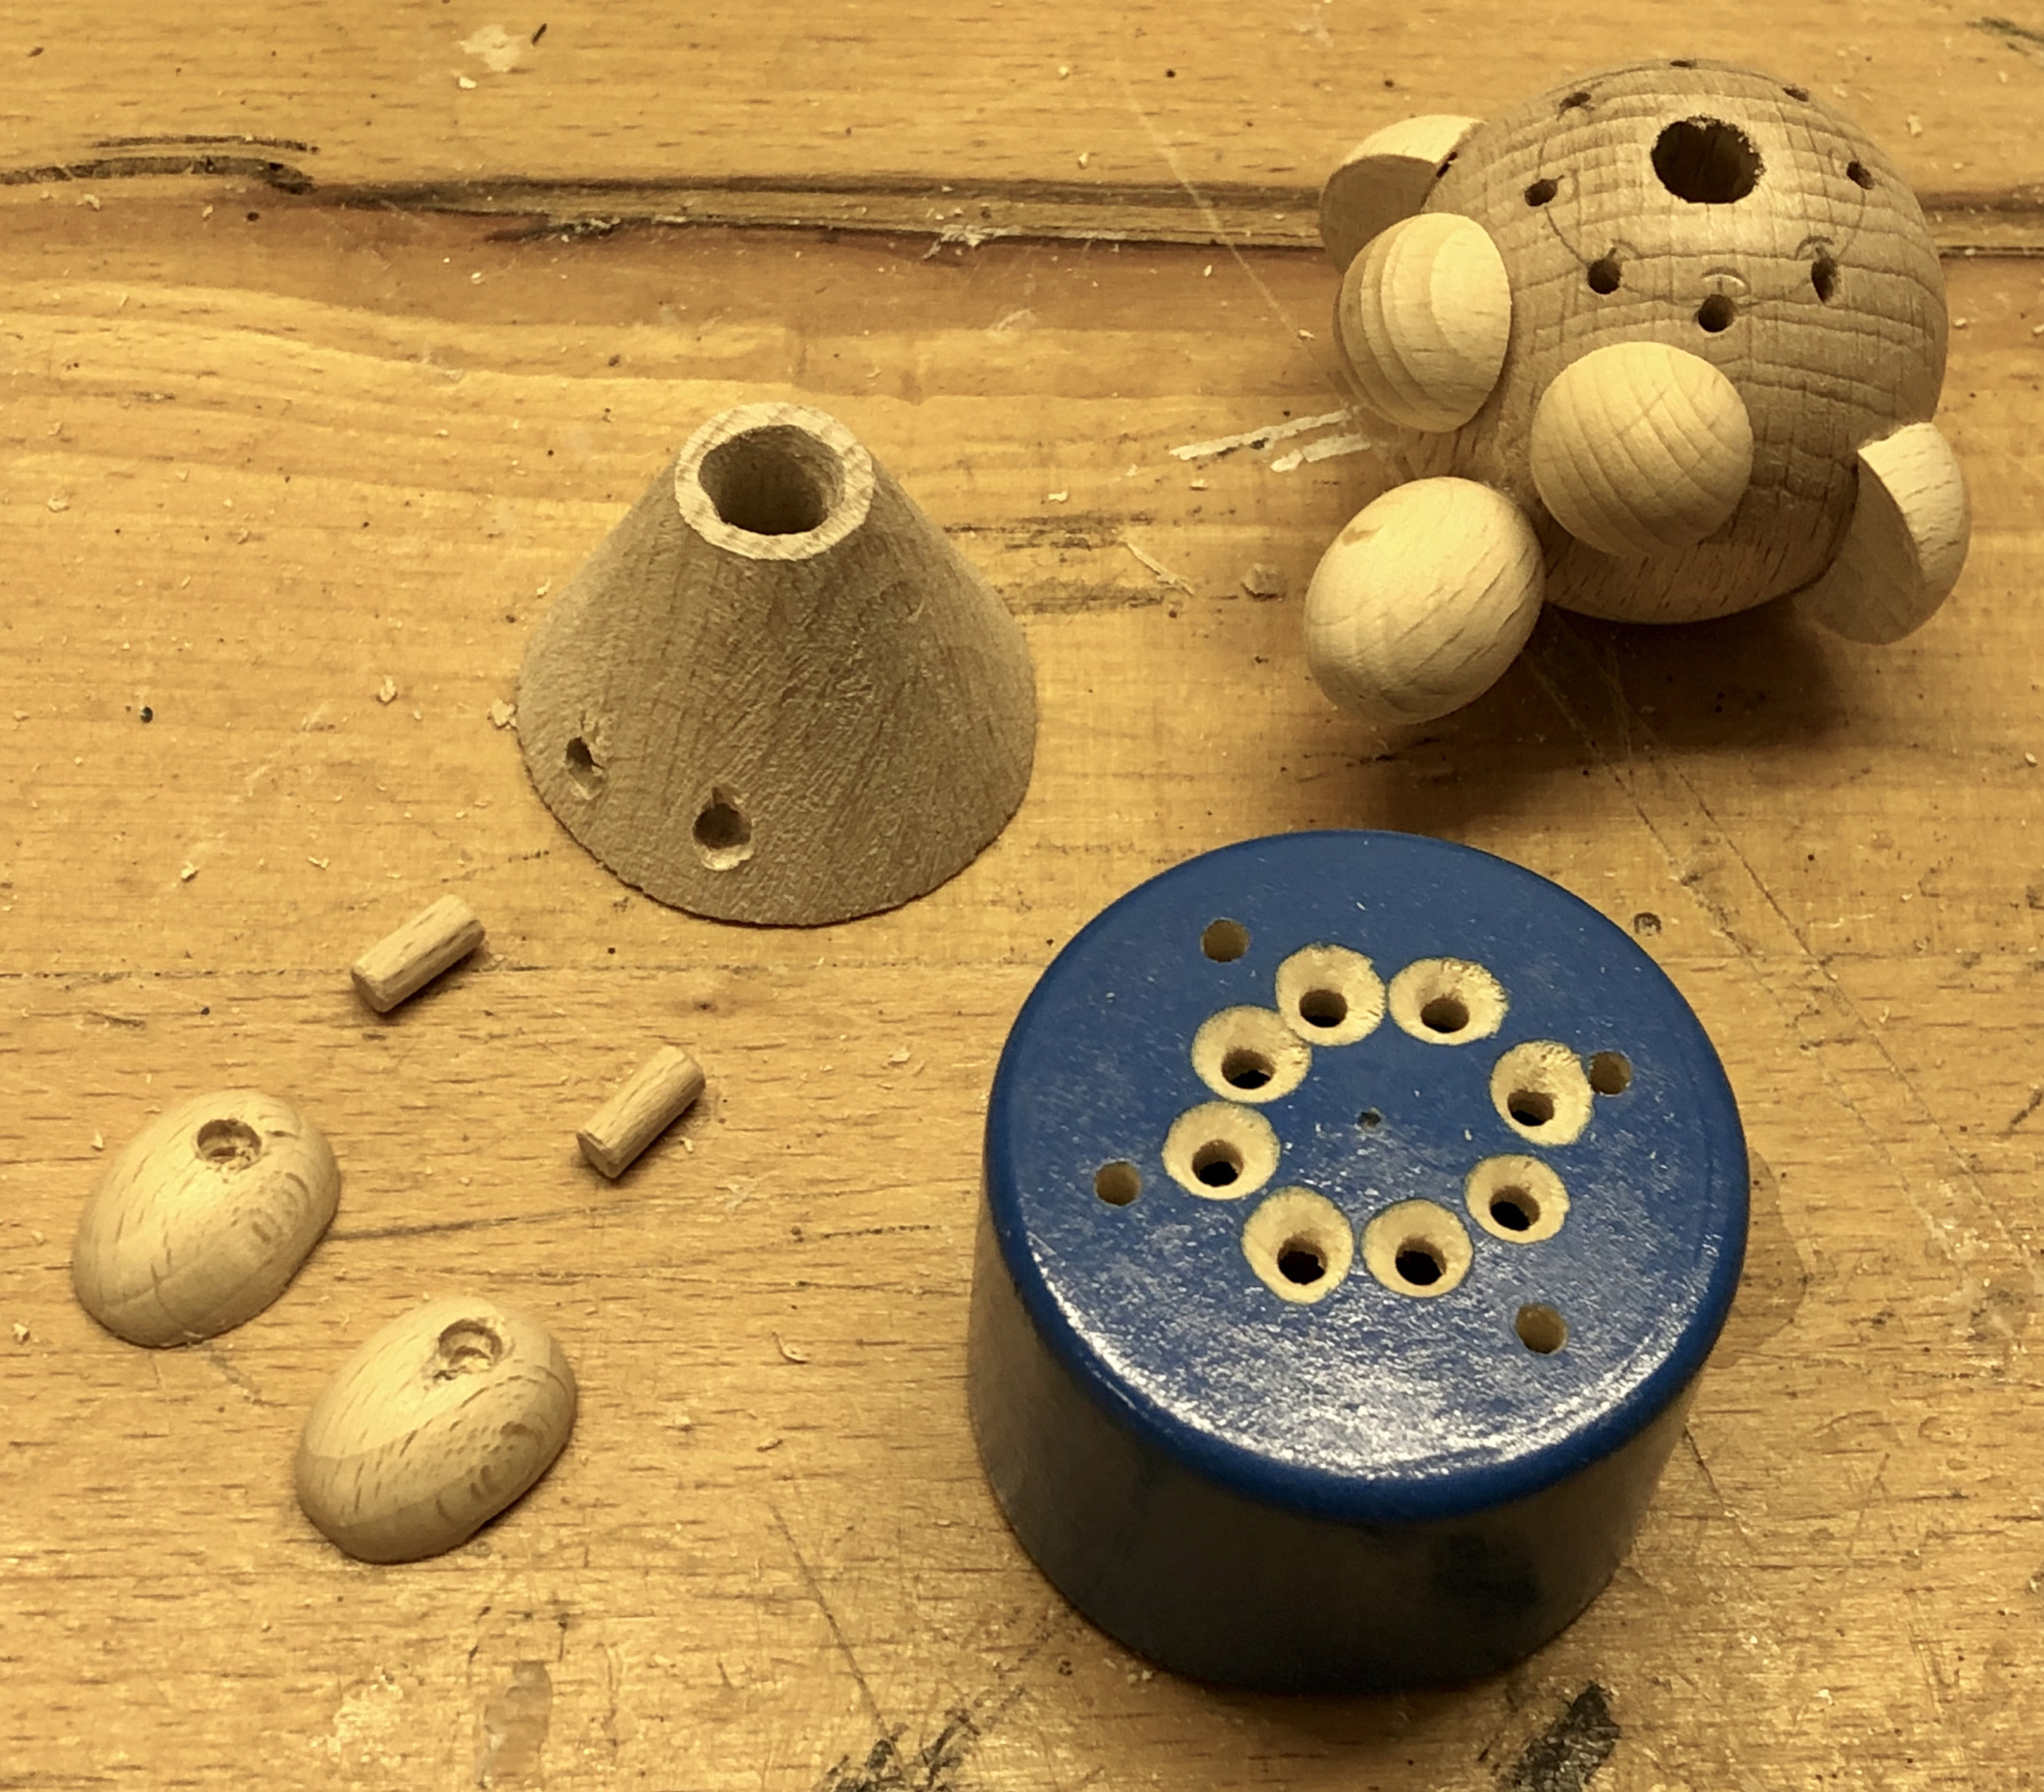
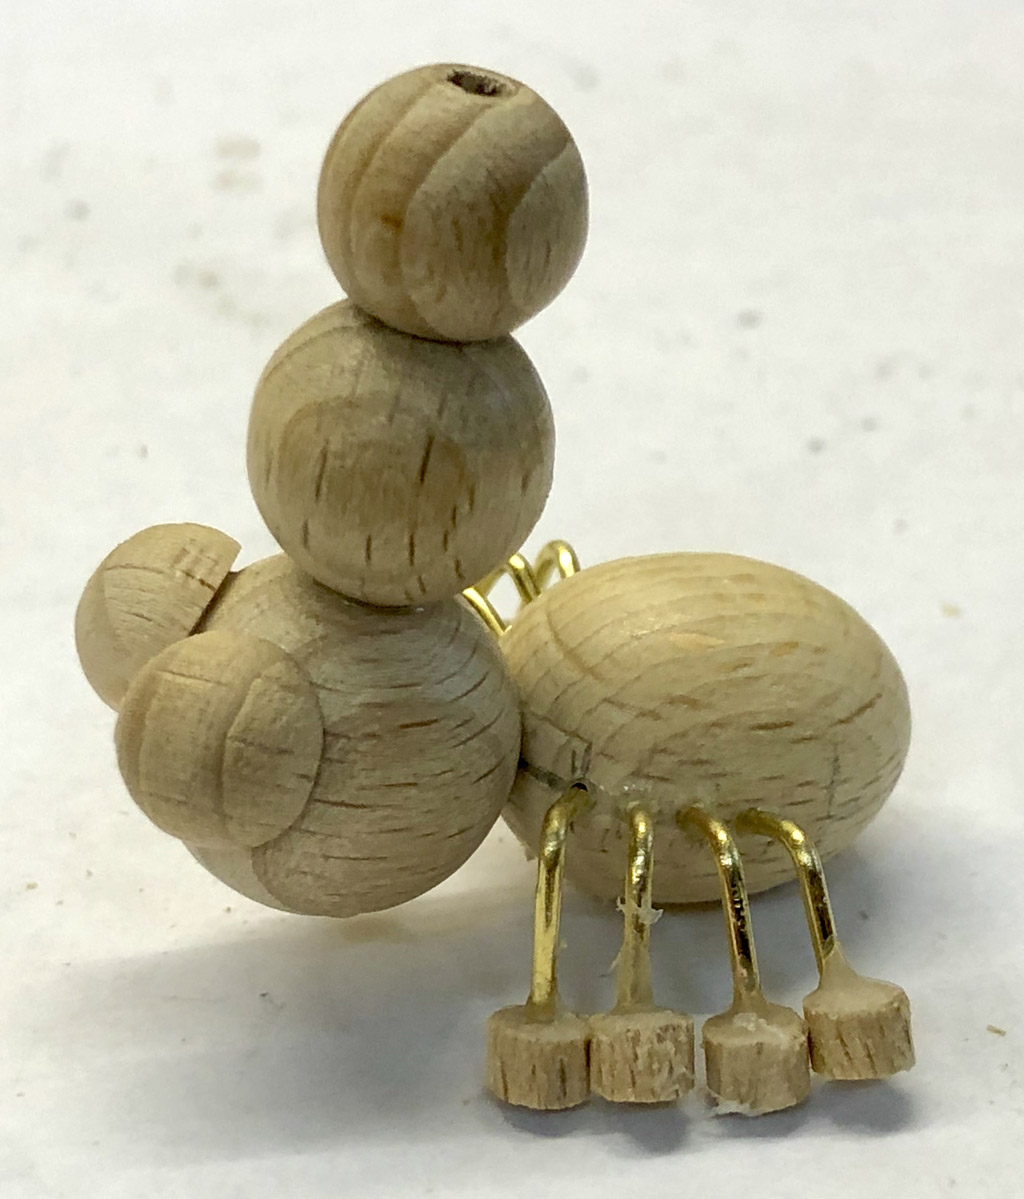
The figure’s body is a beechwood cone with the tip cut off and a through hole, widened at the bottom with carving tools. The strings come out of the holes in the base, pass through the conical body, out of the neck hole and into the head, where each string has its own hole from the neck up onto the top of the head.

Painted parts ready for assembly

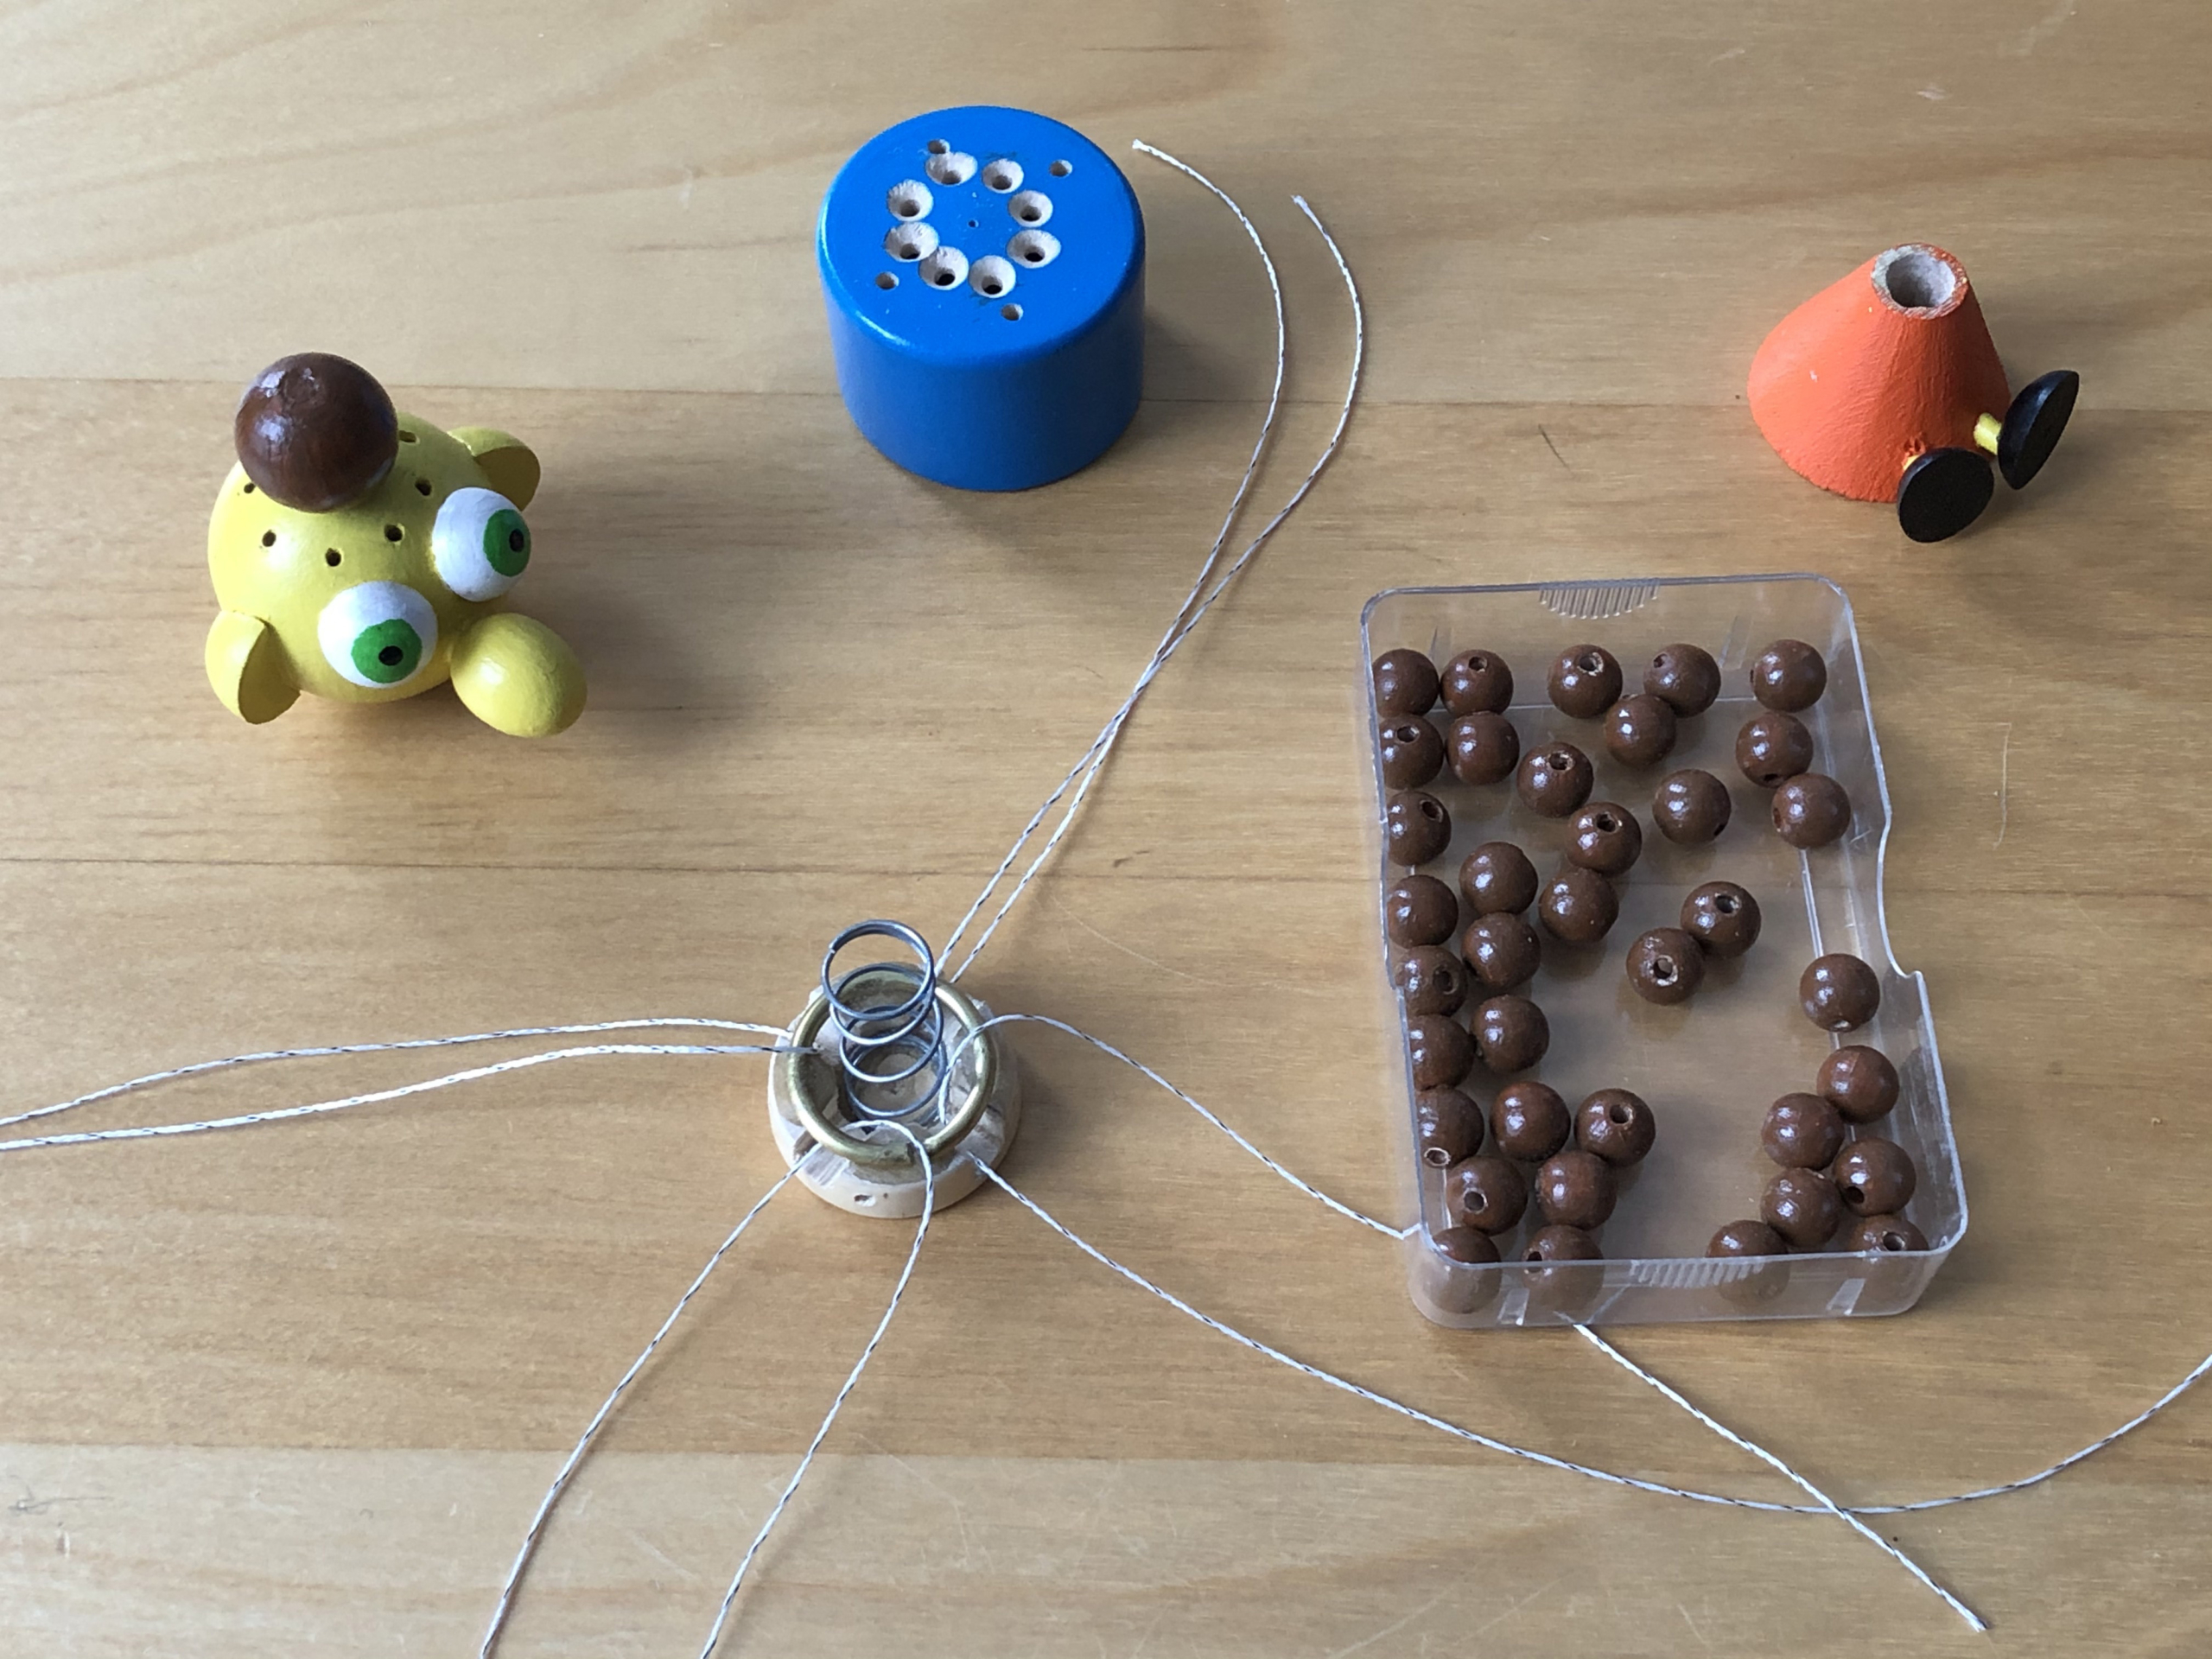
Before the final assembly, the parts have to be painted.

Compressing the spring for assembly

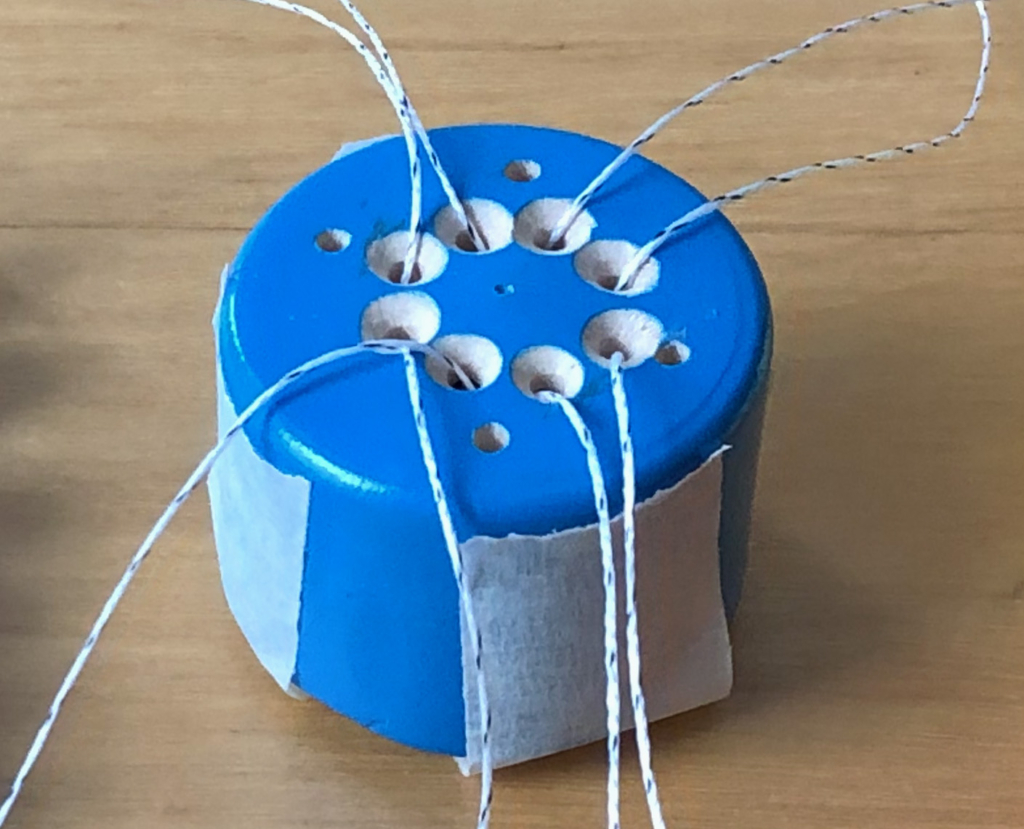
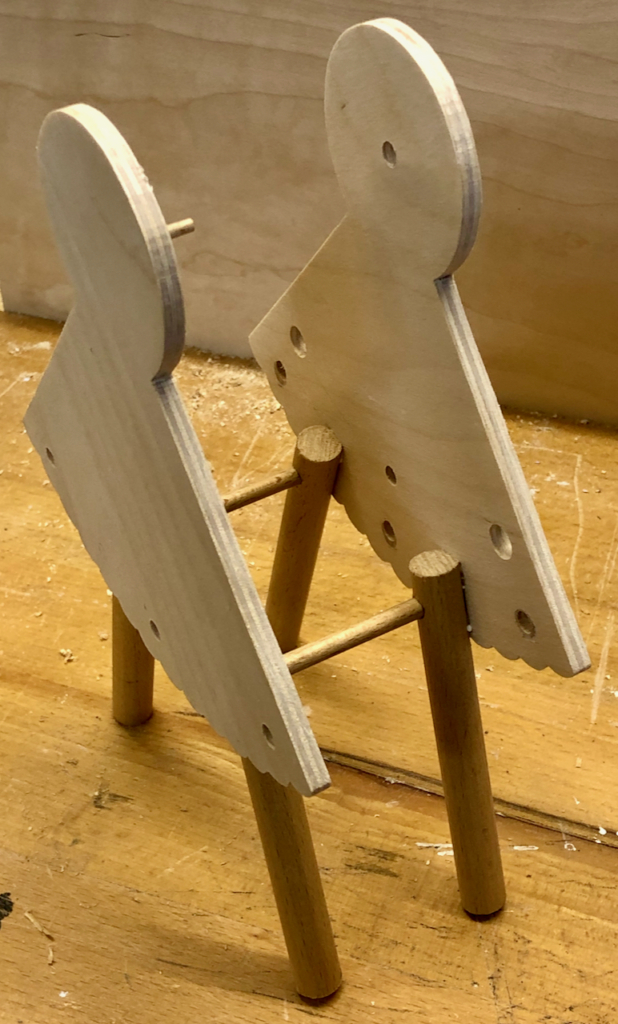
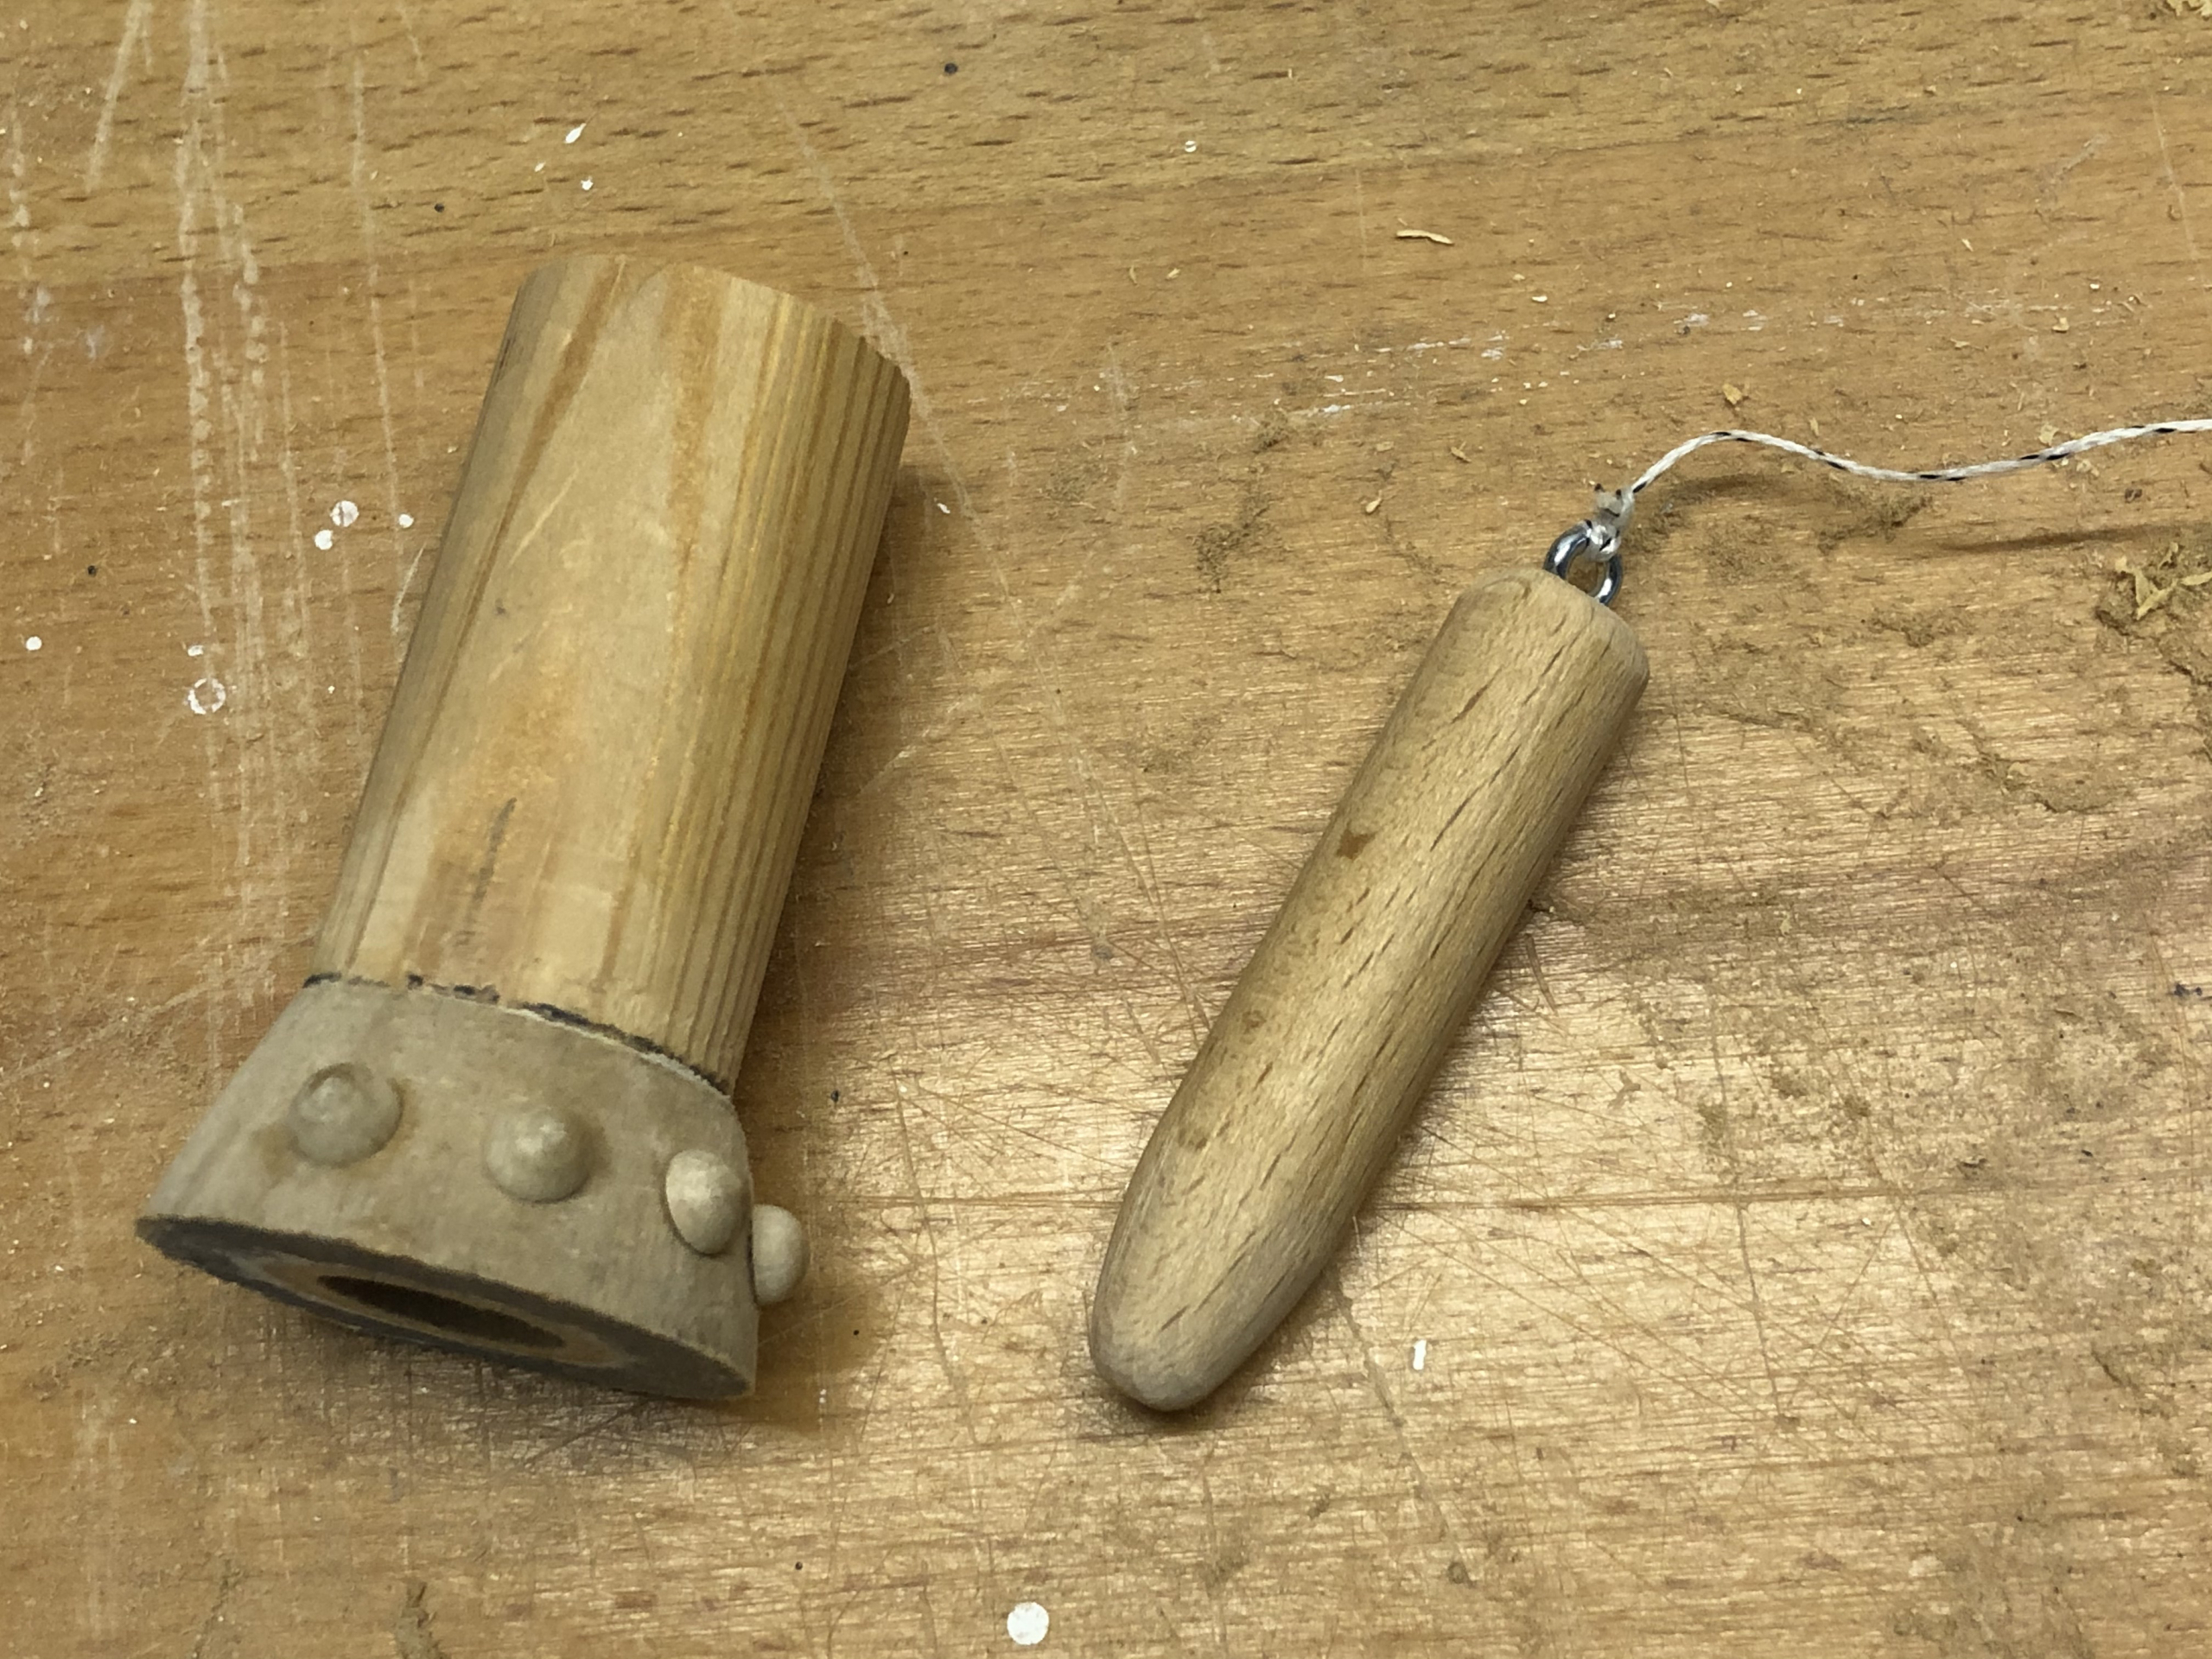
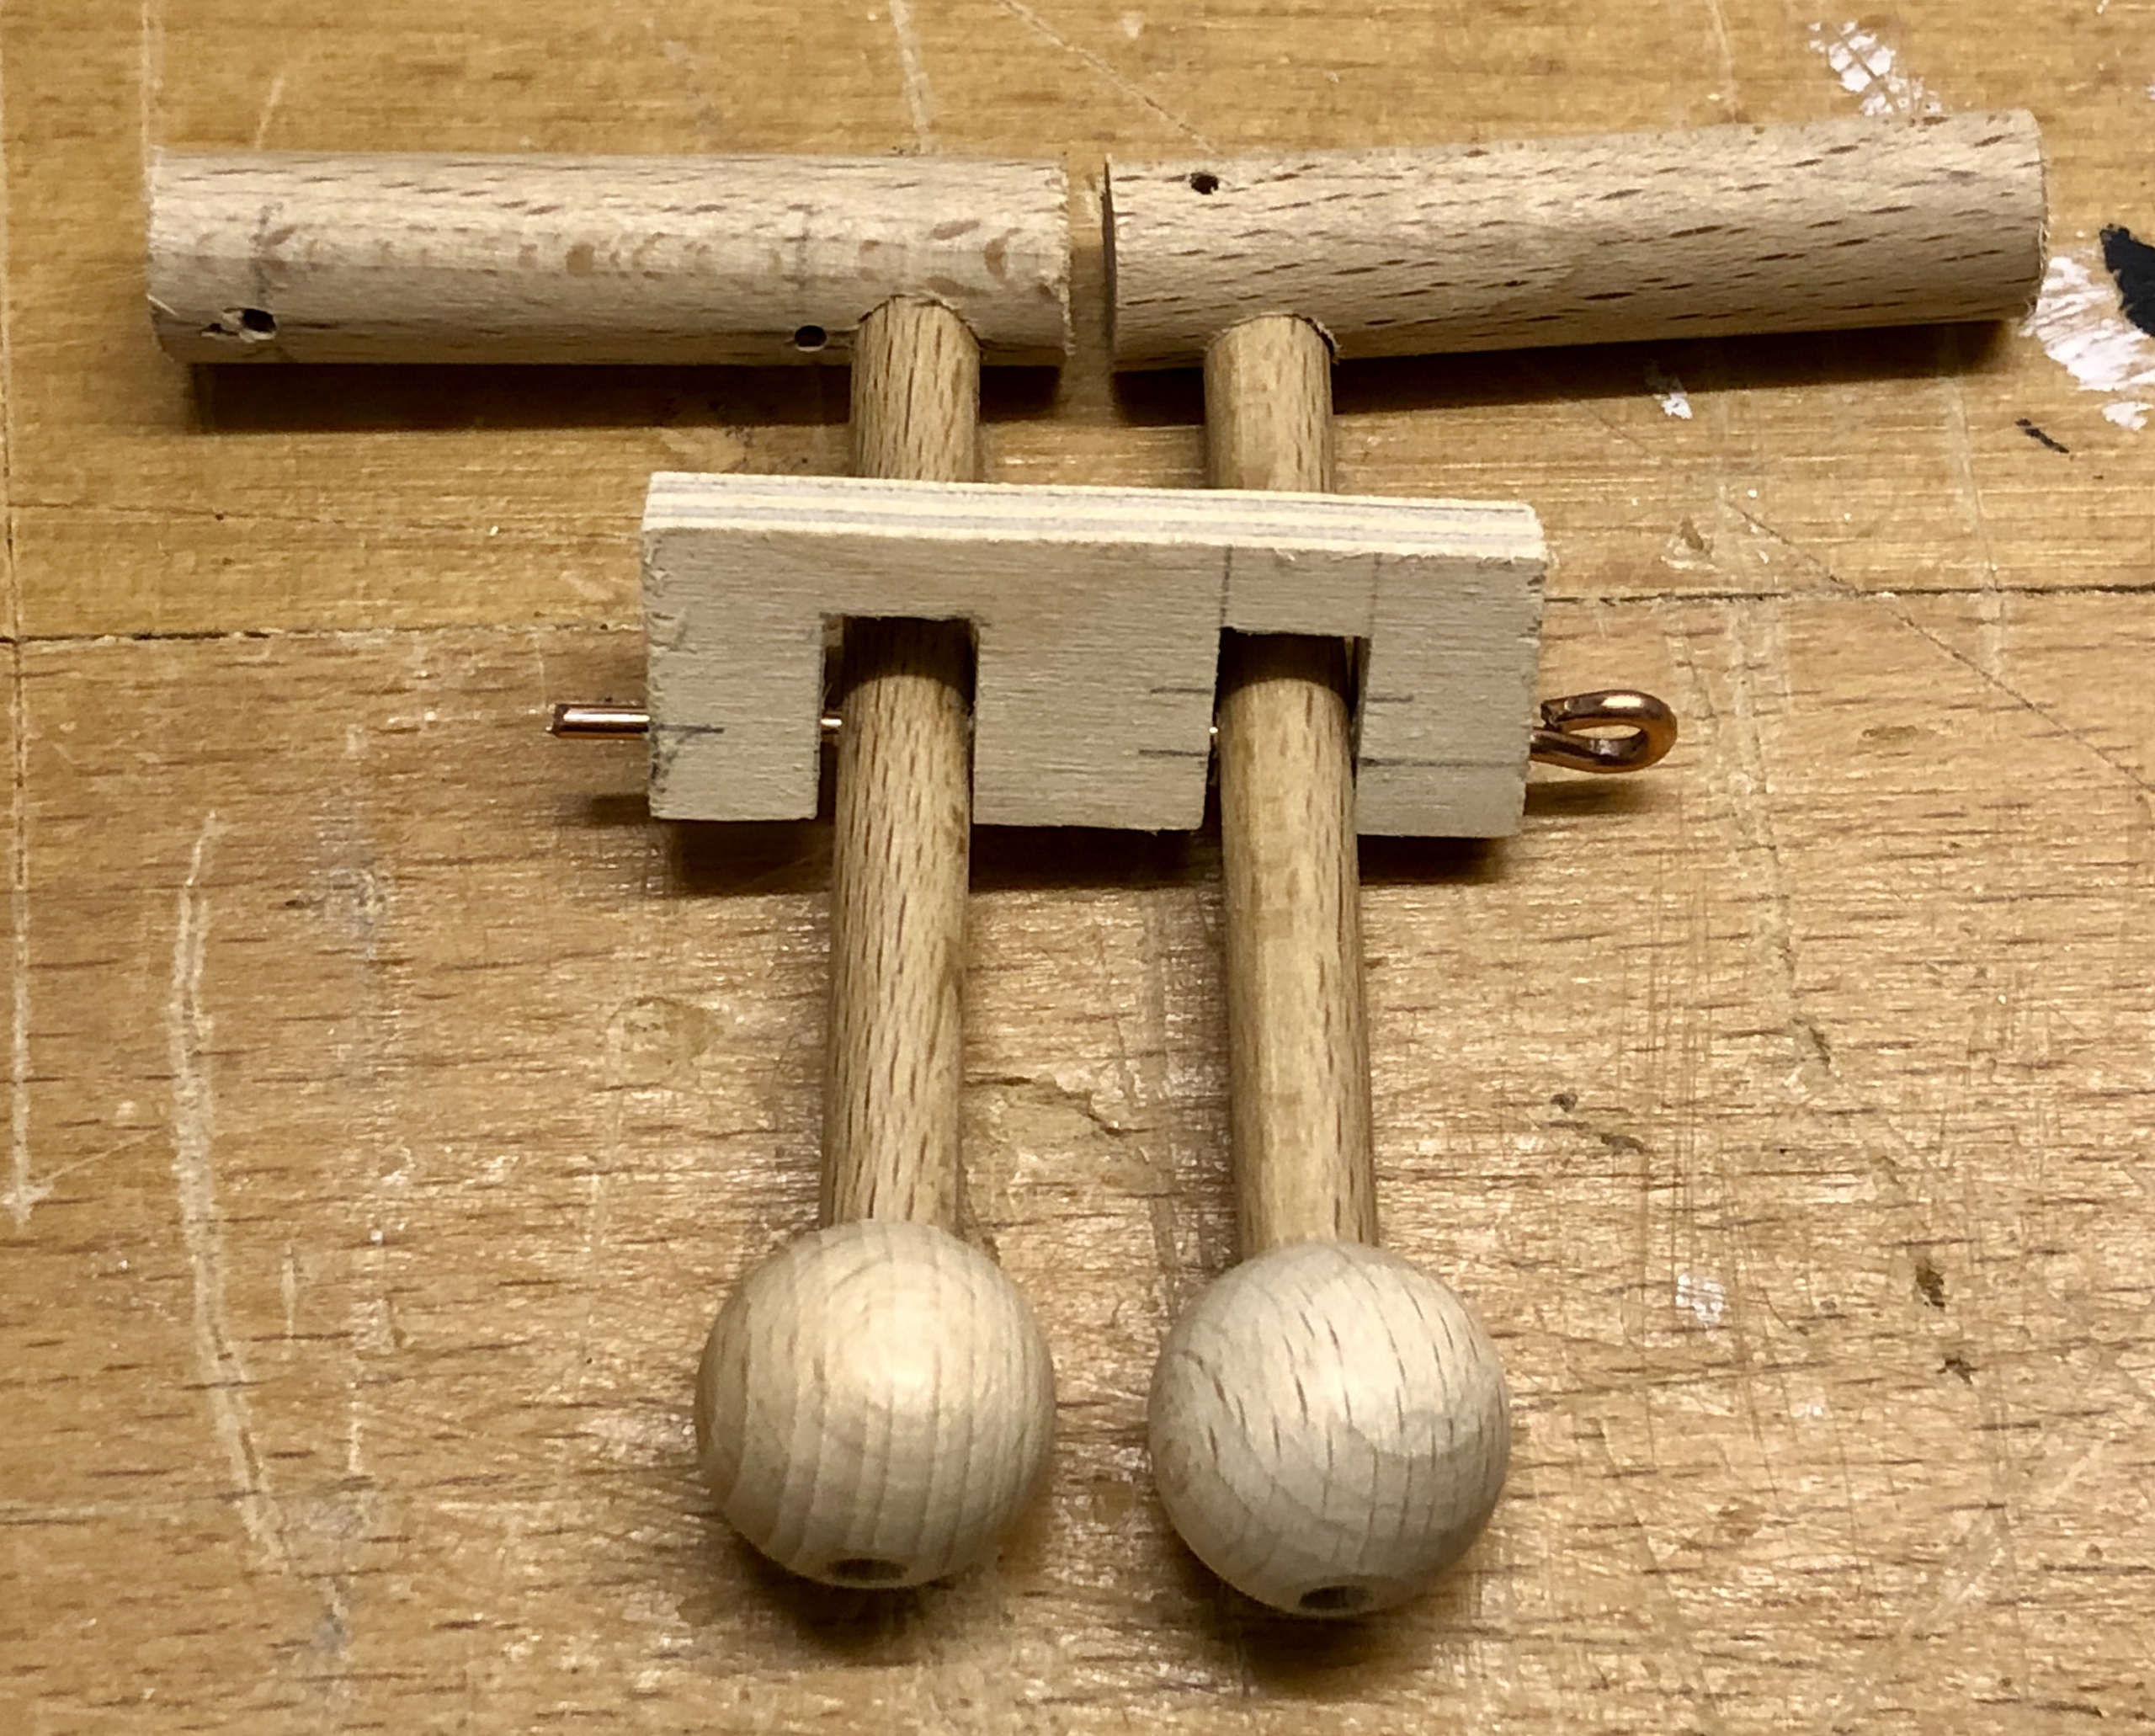
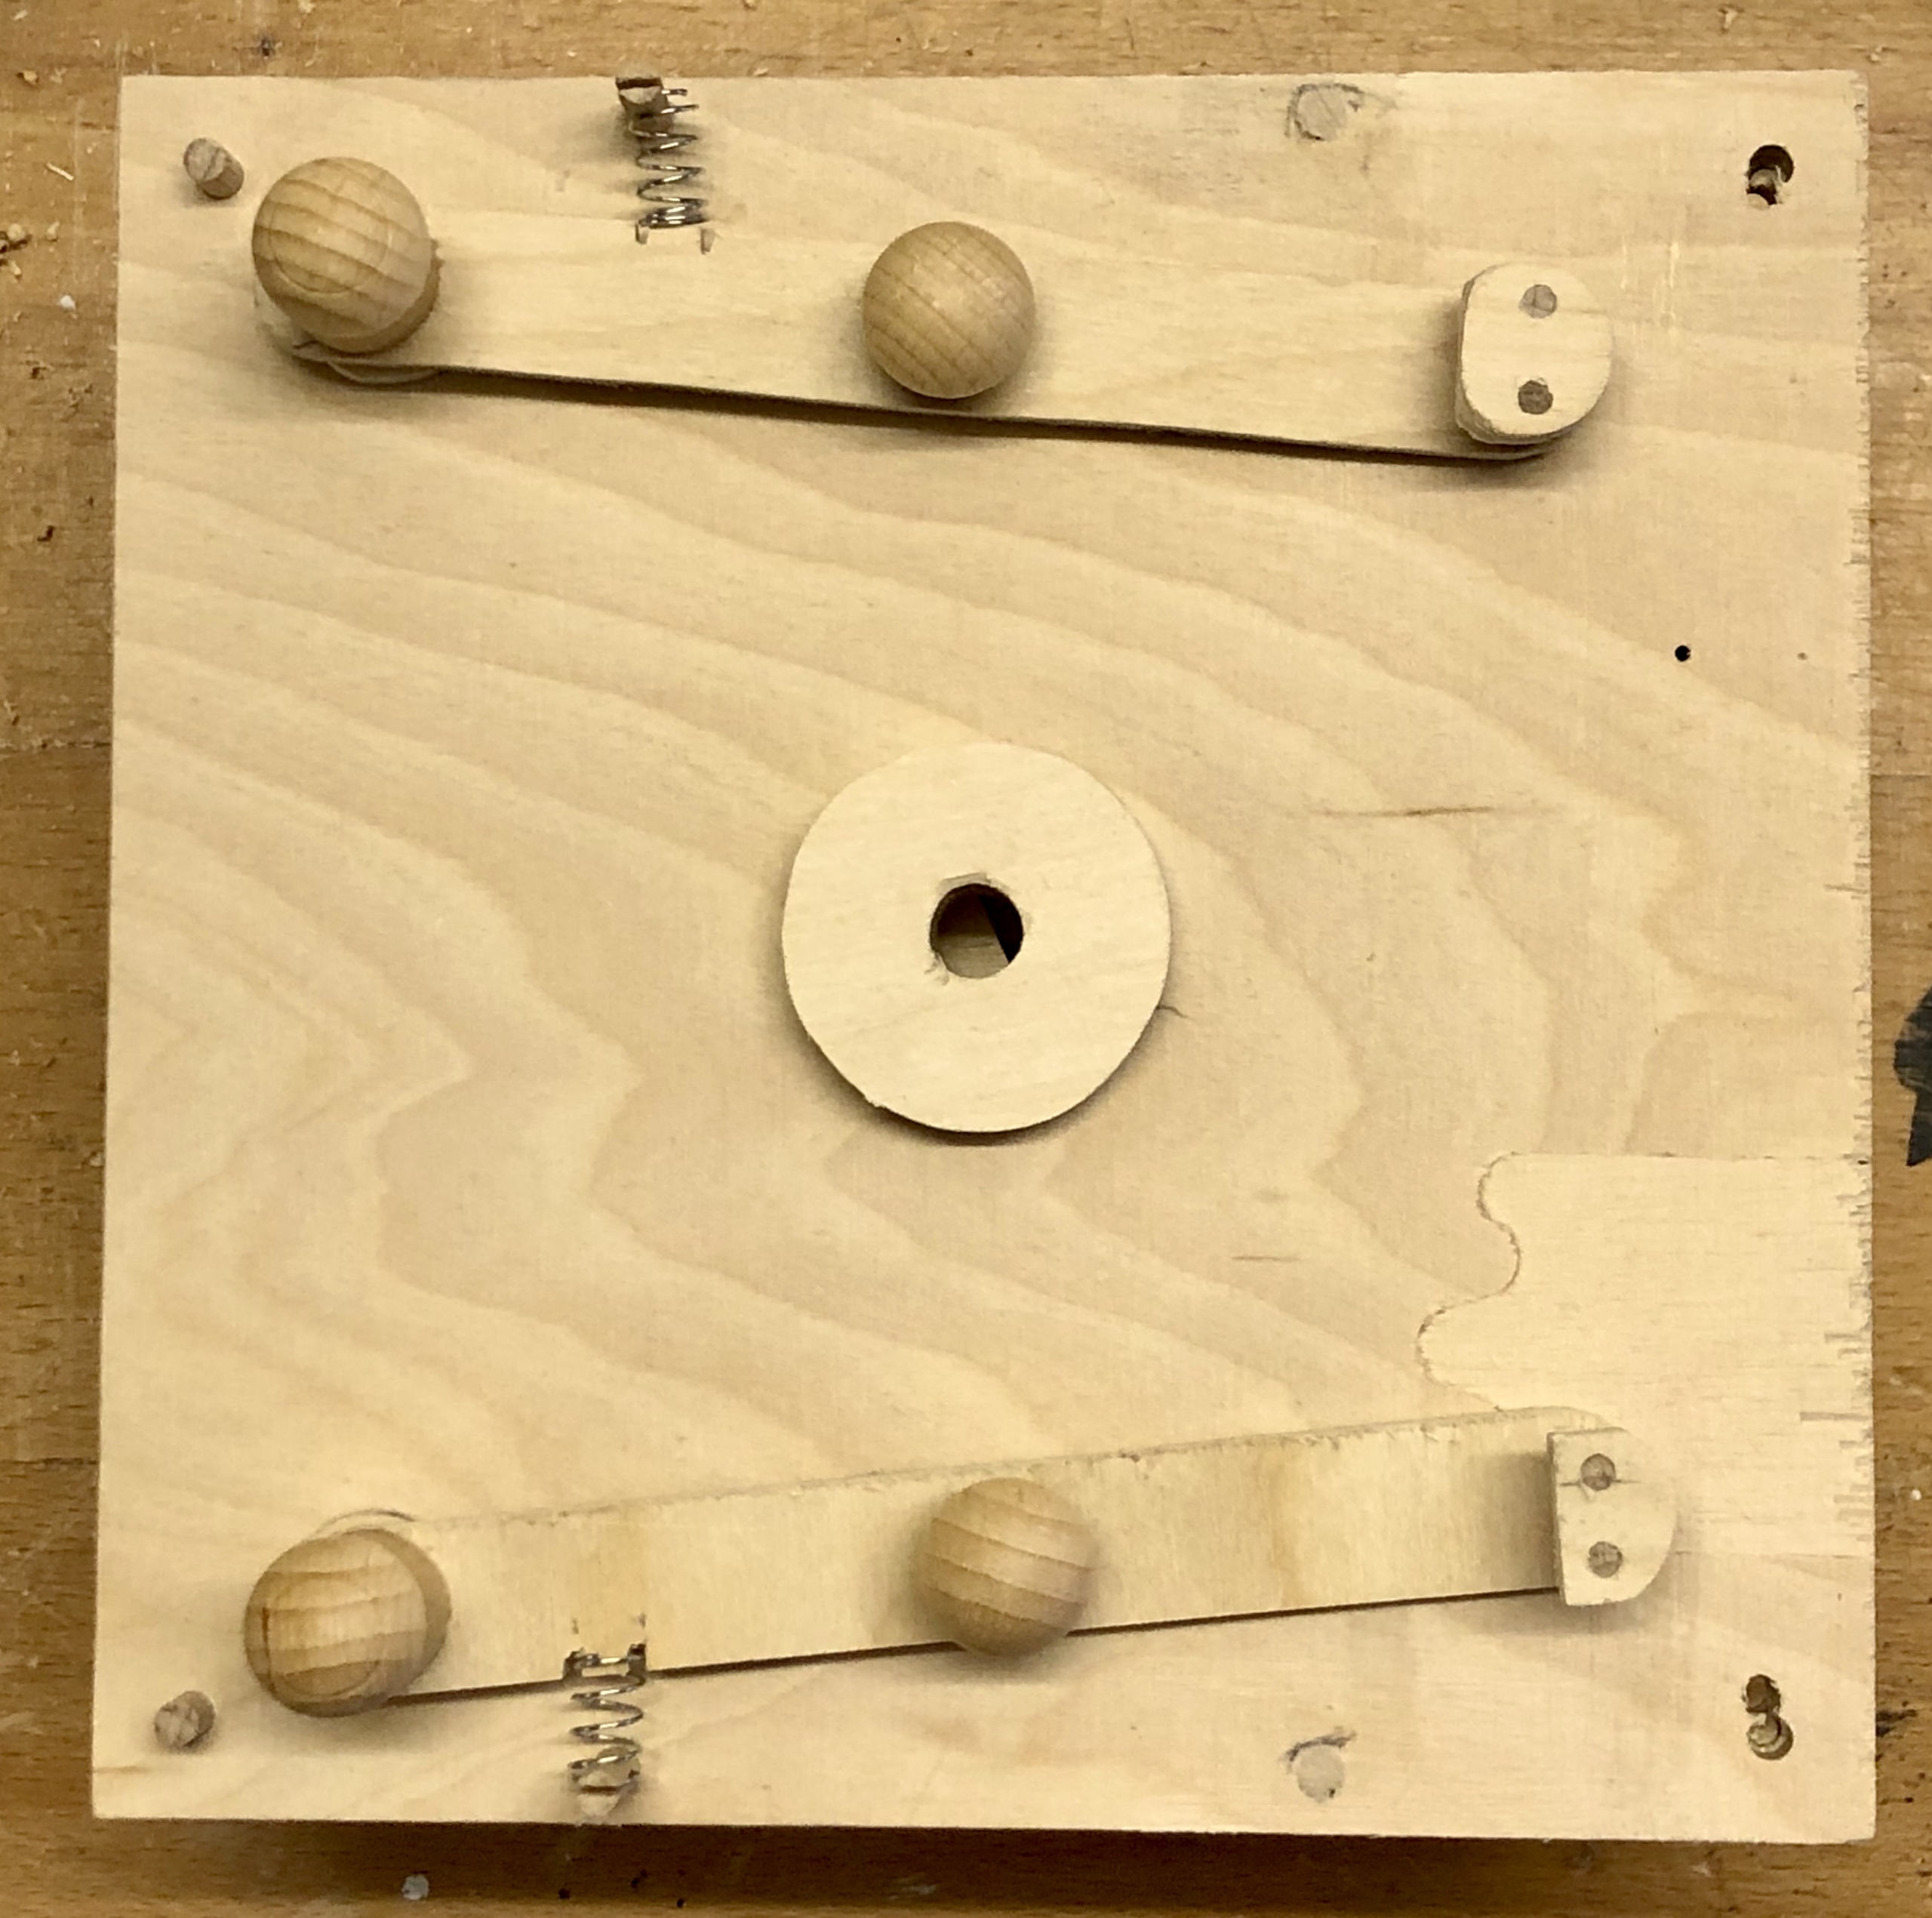
I used masking tape and a block of round wood to press and hold the disc up, compressing the spring a little and holding it in place while the strings are threaded up through the figure.

Strings threaded through the body and head

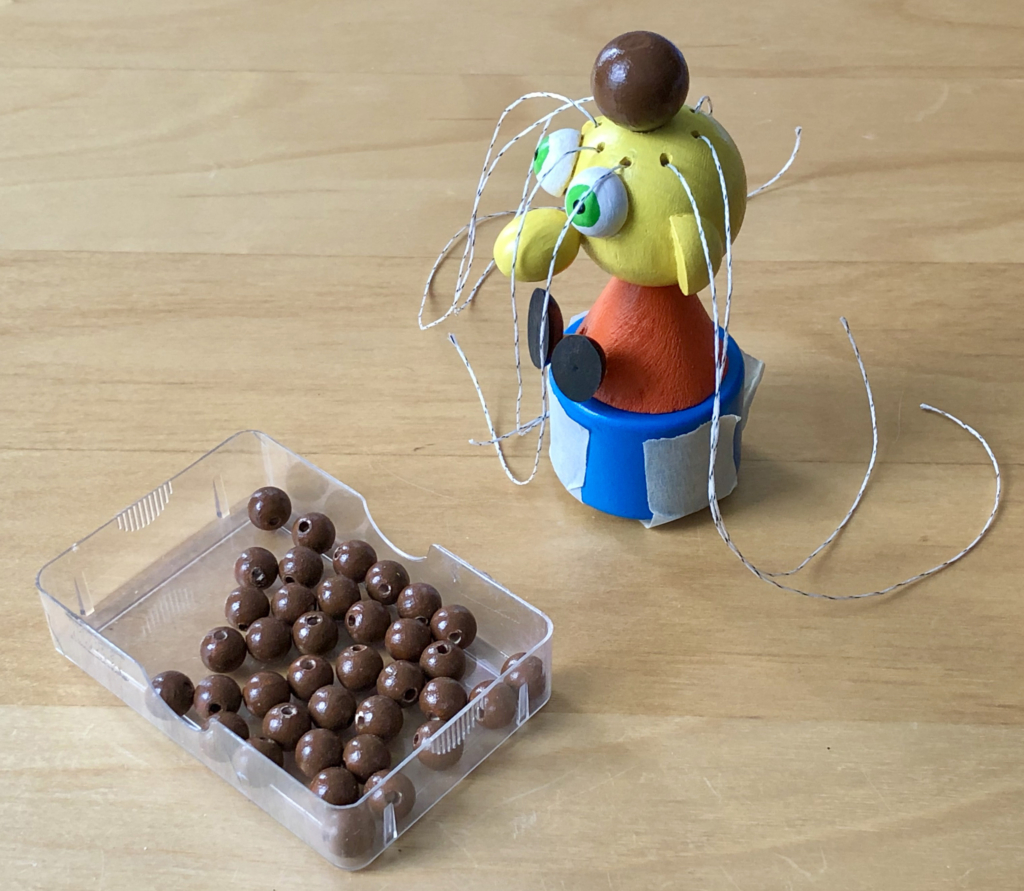
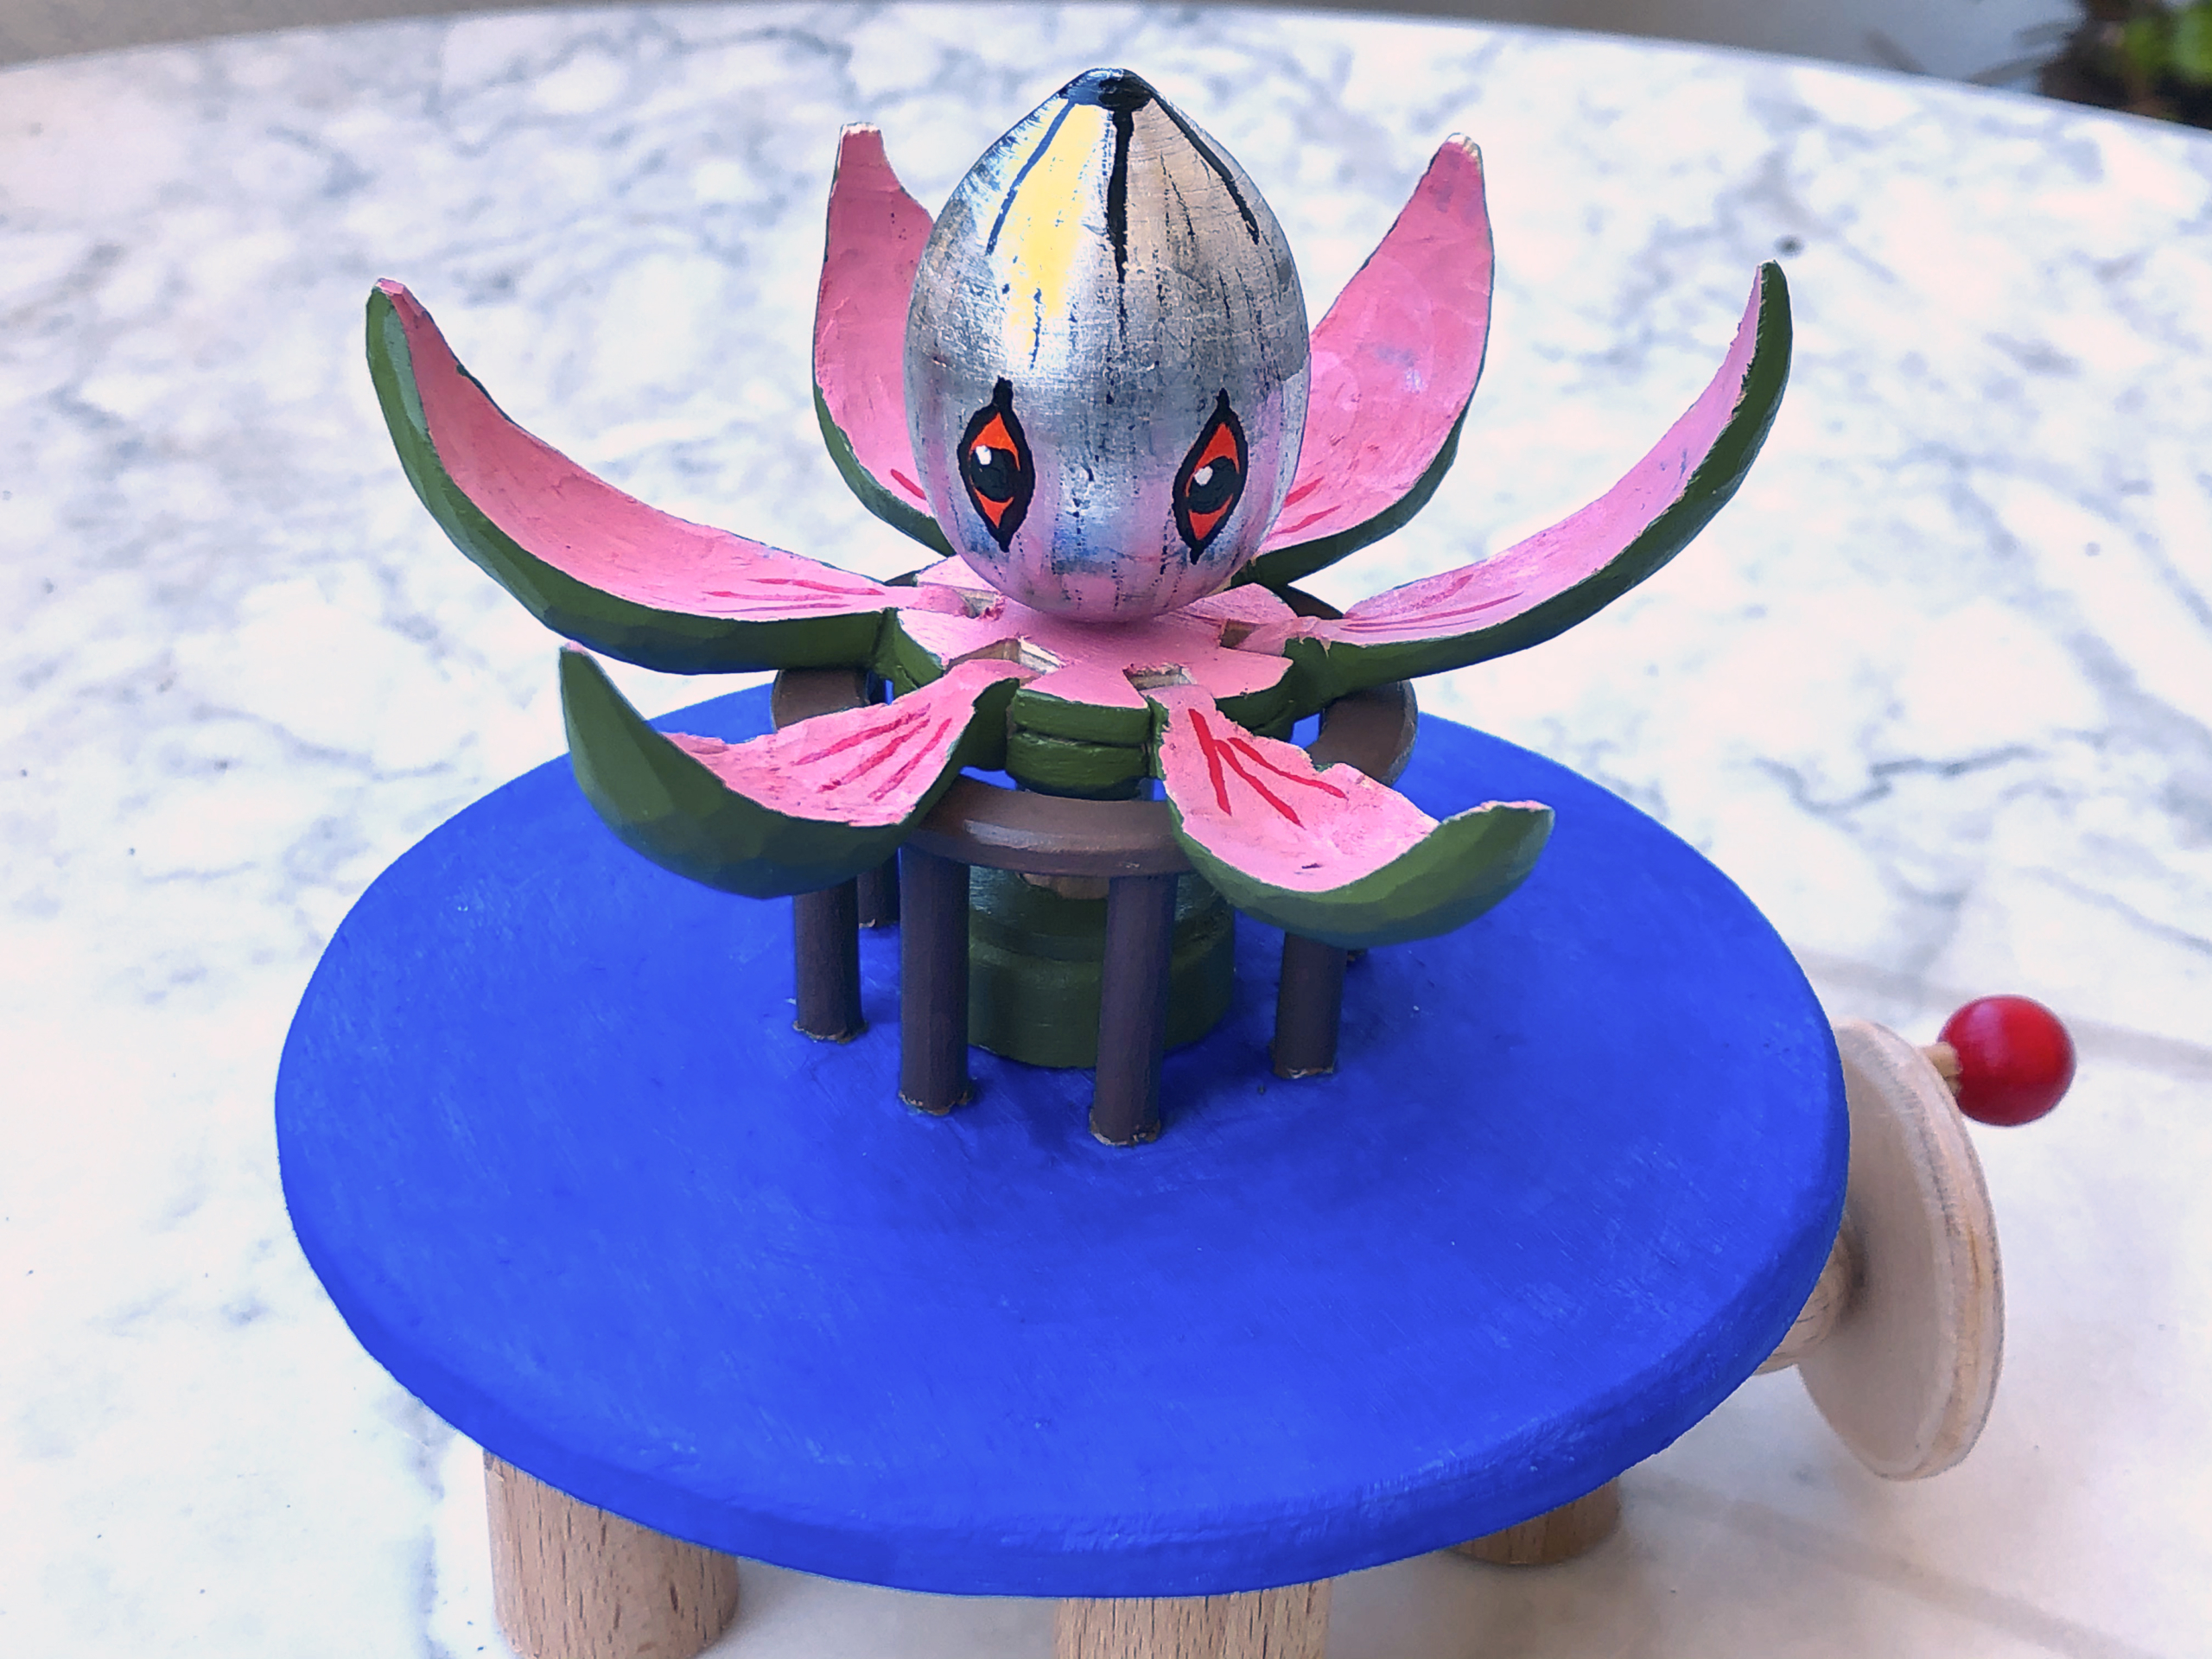
I used kite-flying string as it is both flexible and strong. Patience is required while threading, but using long strings helps. Five small brown balls go on each string and the last one to go on is then glued in place after closing the hole with a tiny piece of dowel which also jams the string as it is pushed in. It’s important to tension of all eight strands of “hair” about the same, so that they all stand up when the spring is released. If one string is less tense than the others, two strands of hair will flop down and spoil the effect. It took me three goes and much gnashing of teeth to get this right.

Hair finished and equally tensioned

I almost added arms to the conical body but decided they would just make it harder to hold and operate, so I painted them instead.

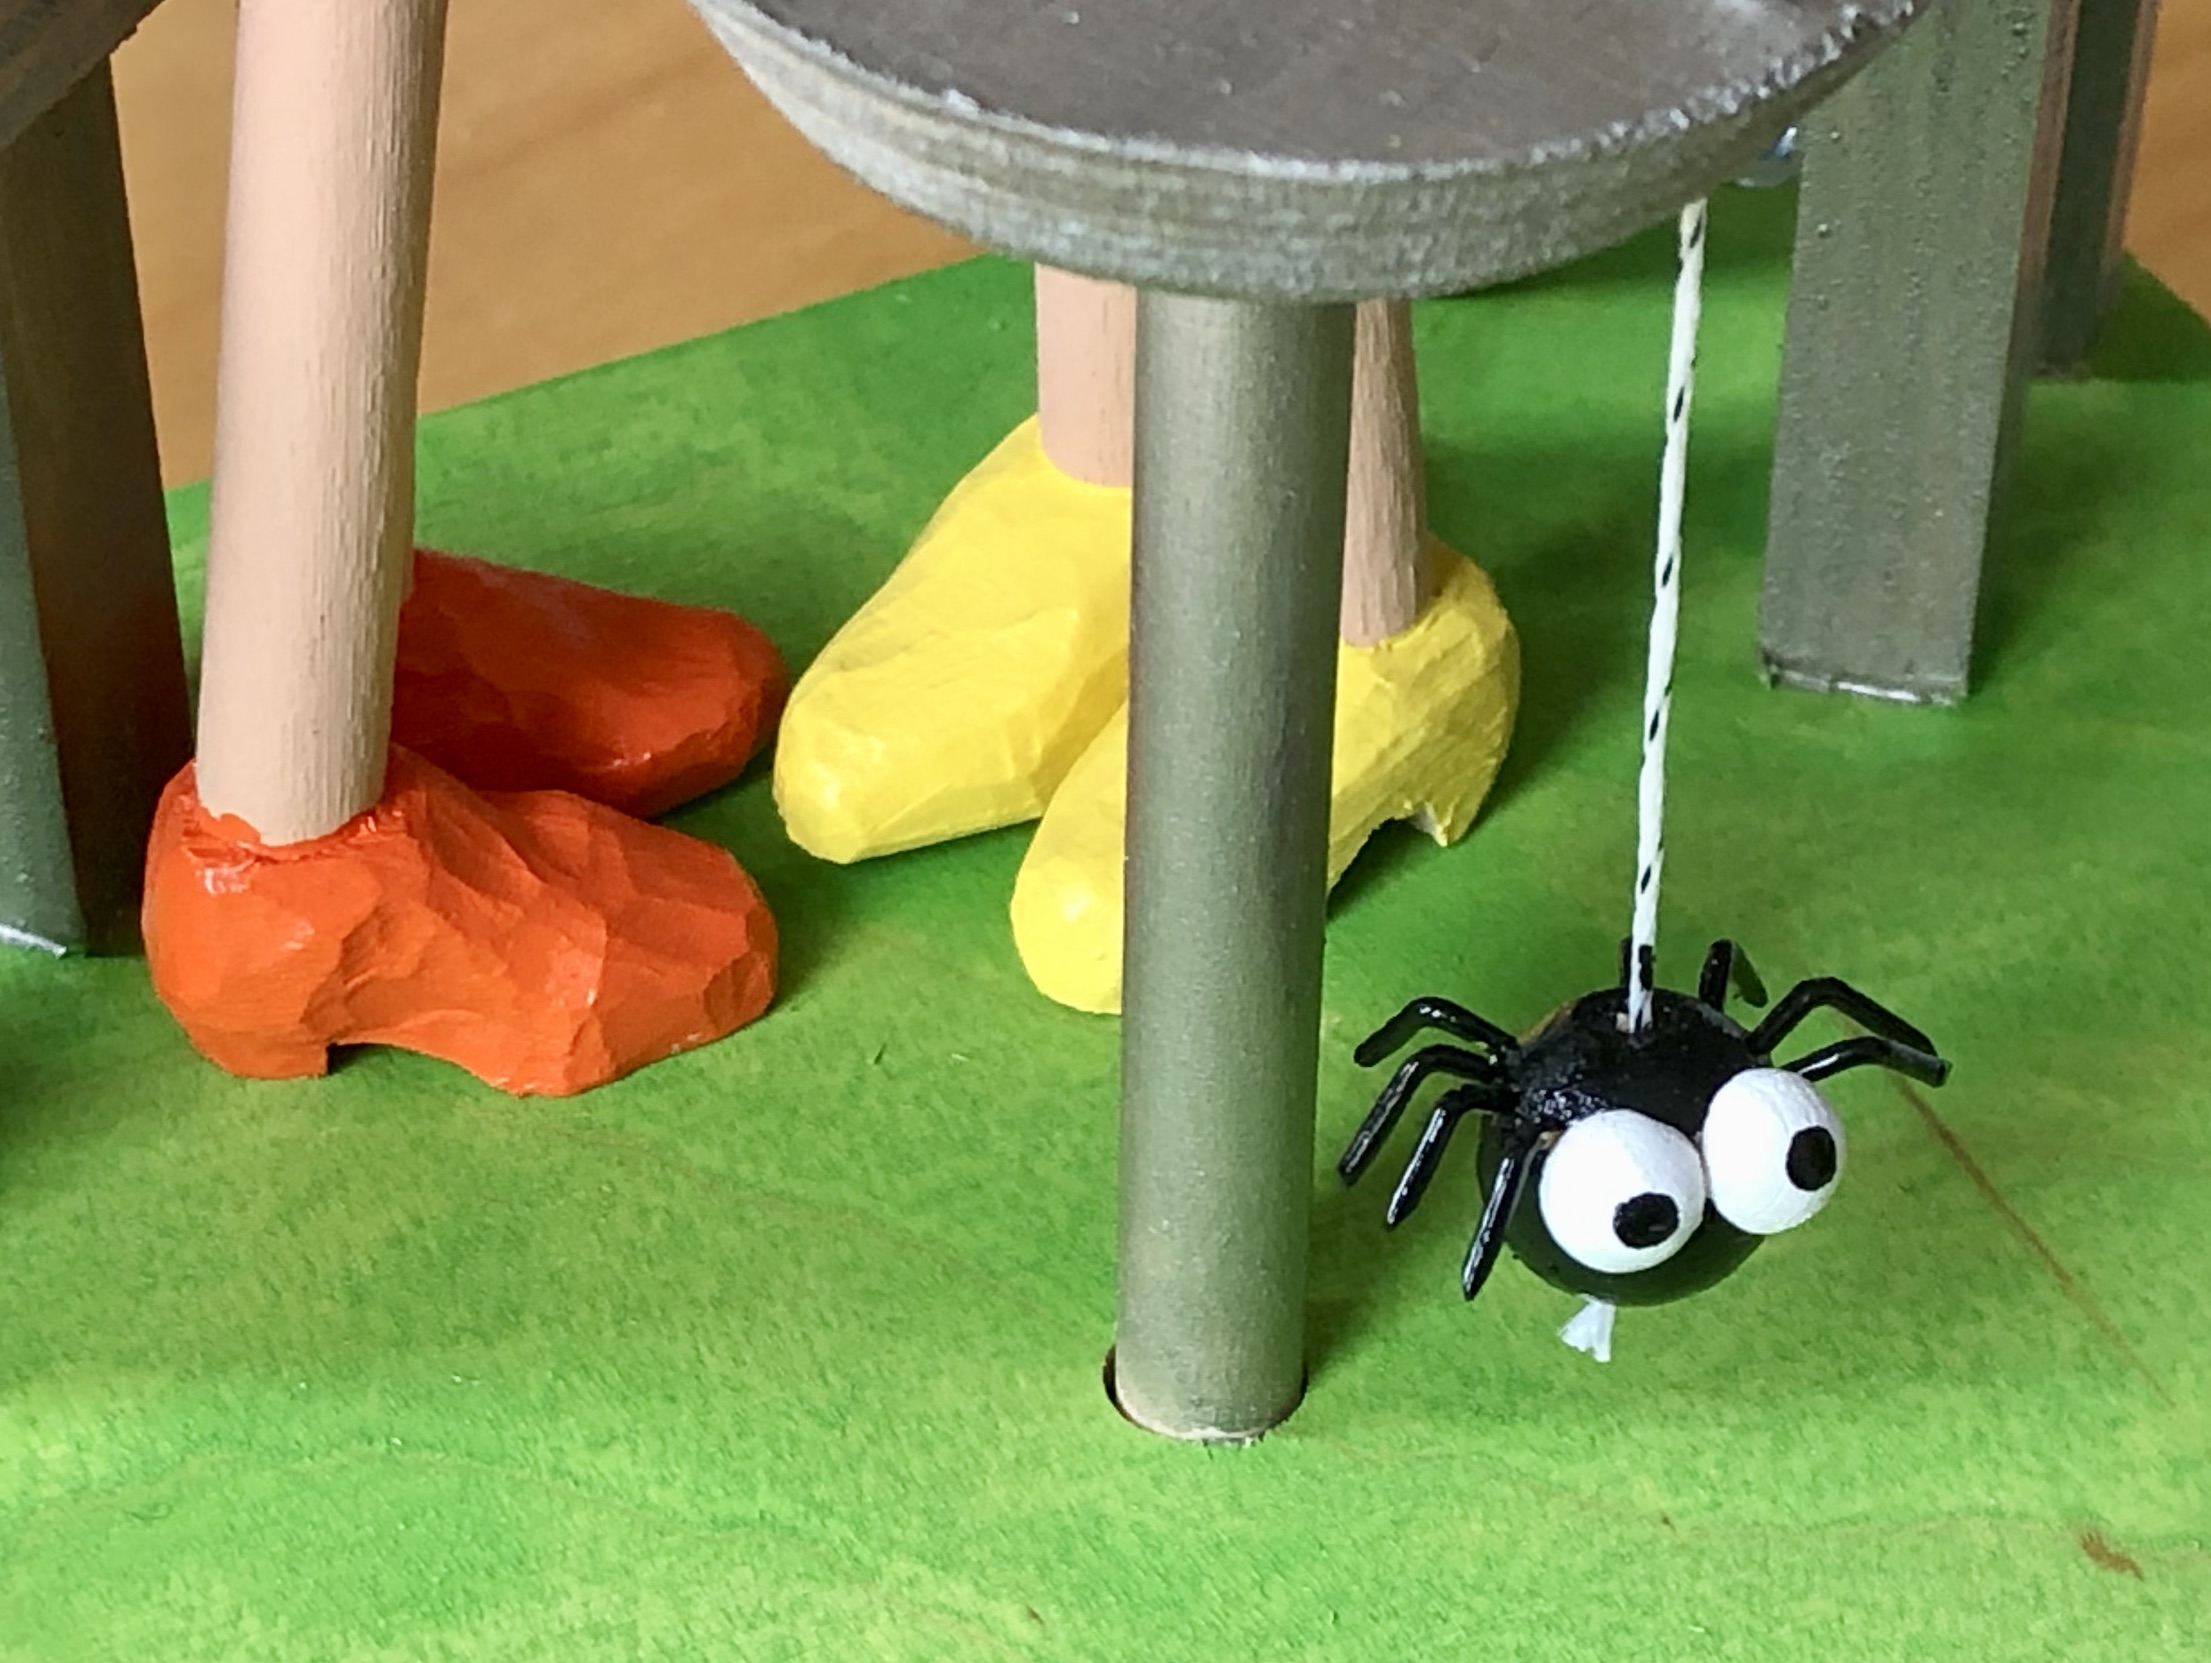
For the video I borrowed the story from a well-known English nursery rhyme. https://www.youtube.com/watch?v=fB6XfBY2um8

Little Miss Muffet
Sat on a tuffet,
Eating her curds and whey;
There came a big spider,
Who sat down beside her
And frightened Miss Muffet away.

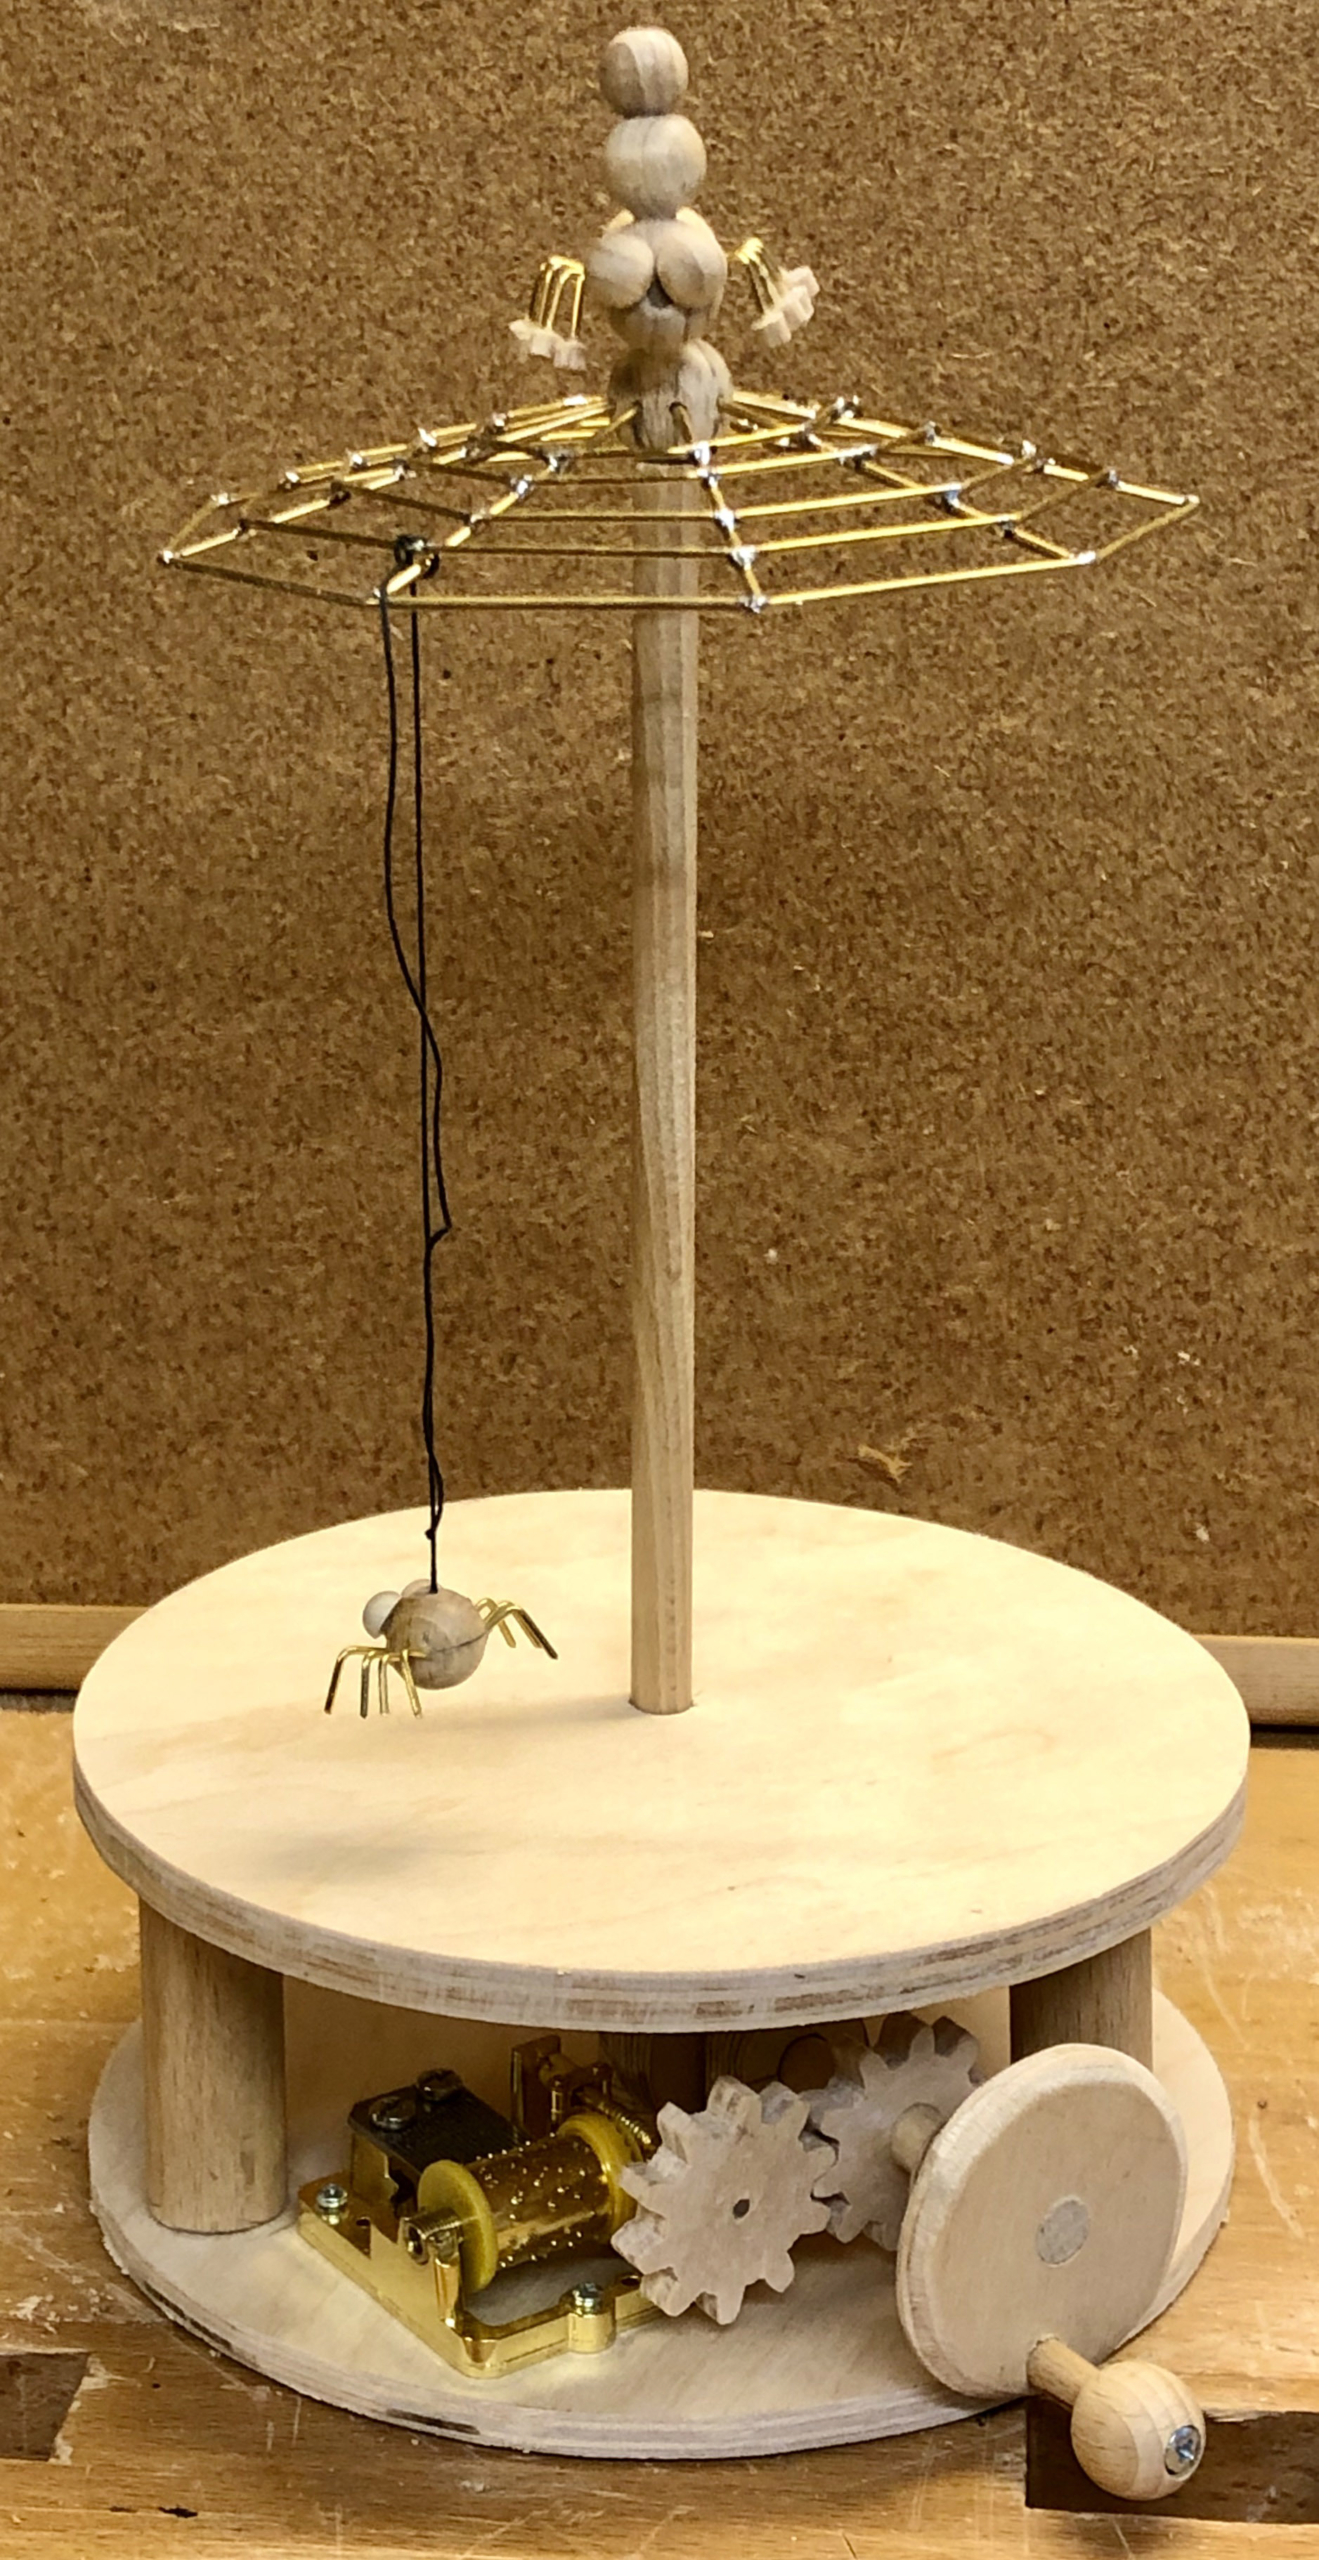
I have no idea what a tuffet is. In my case it’s obviously blue, whatever it is. In retrospect my thumb puppet could have been a cranked automaton where a spider appearing causes her hair to stand on end. Some other day perhaps.

Photo archive https://www.wordwise.de/Hair_Raising_archive.zip
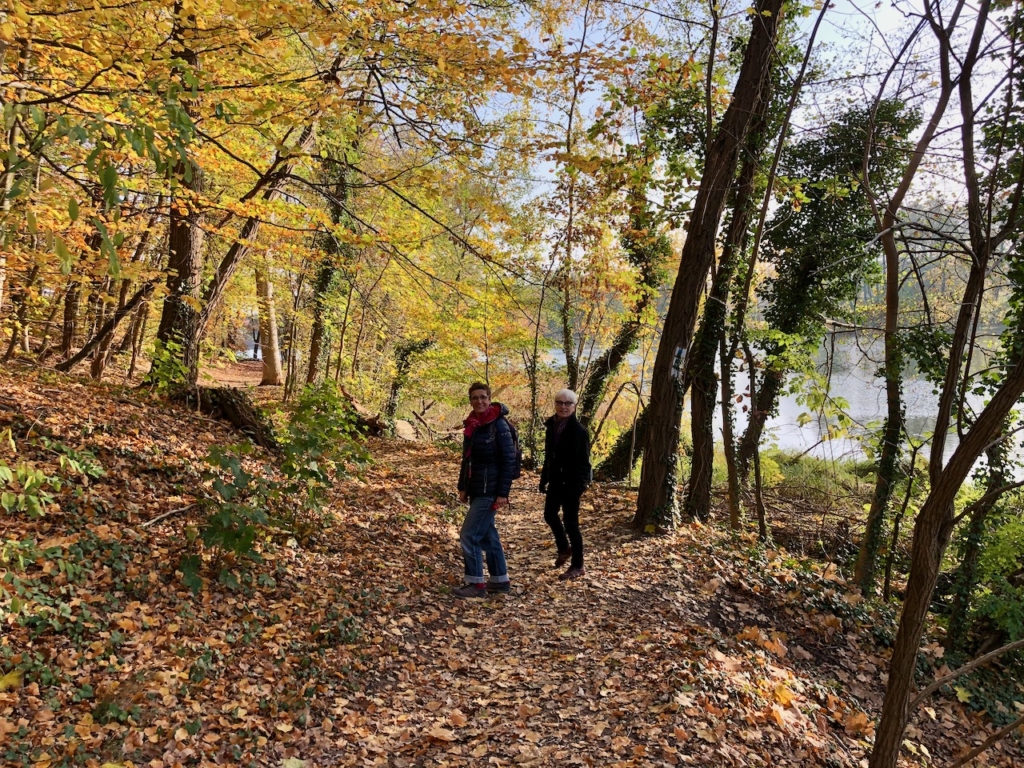
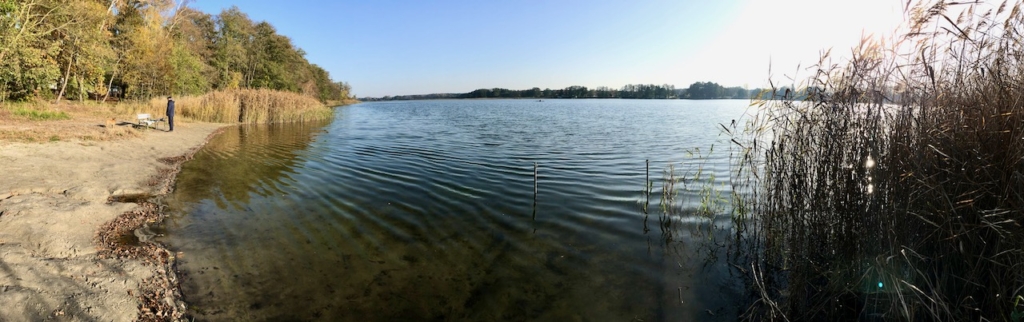
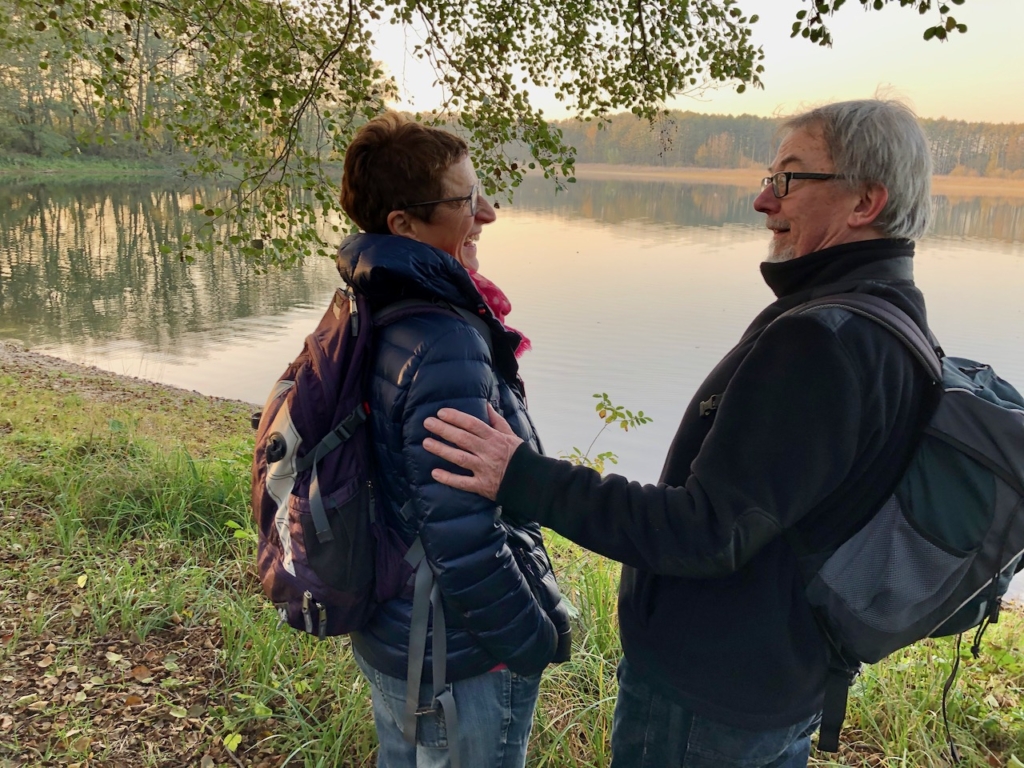
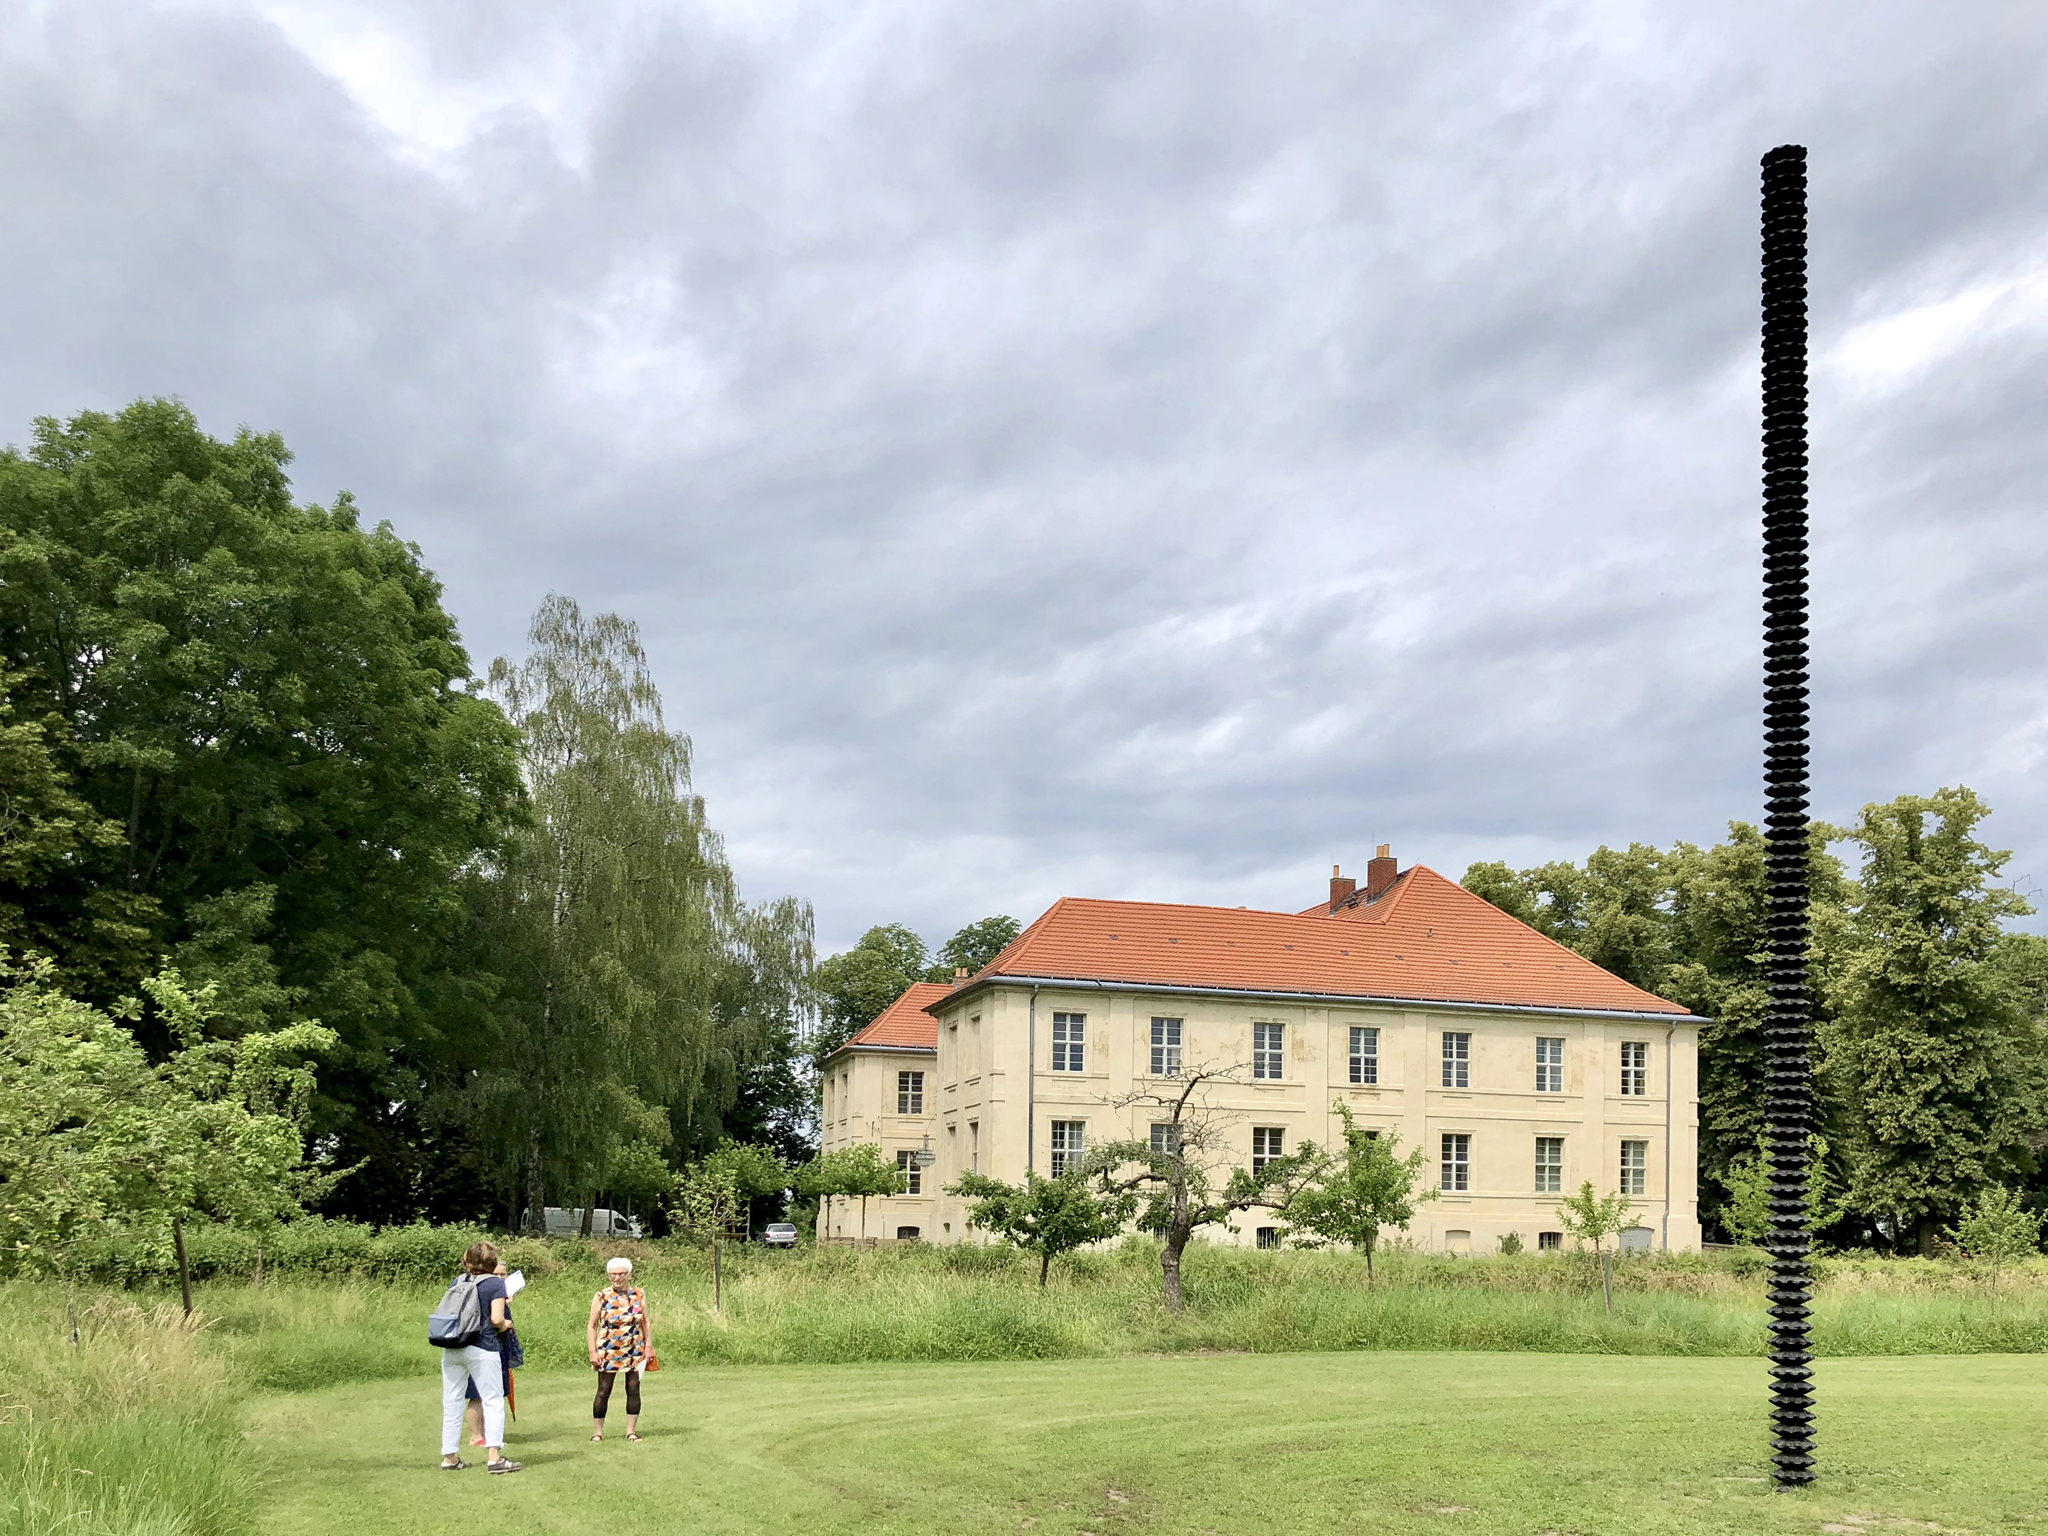
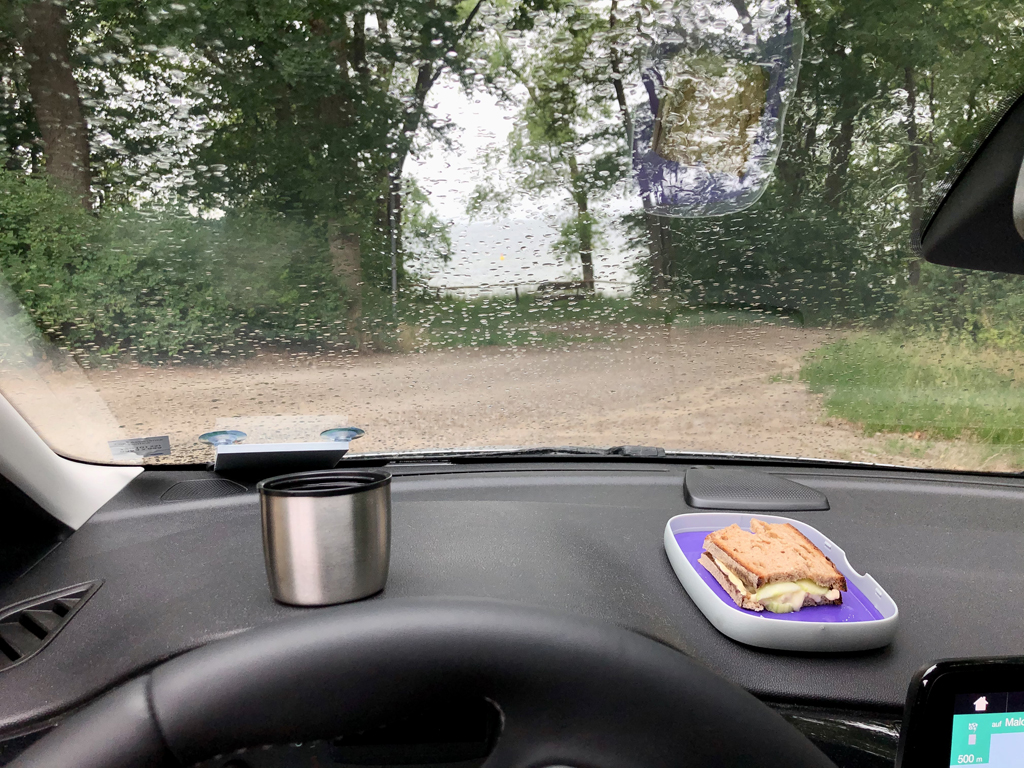
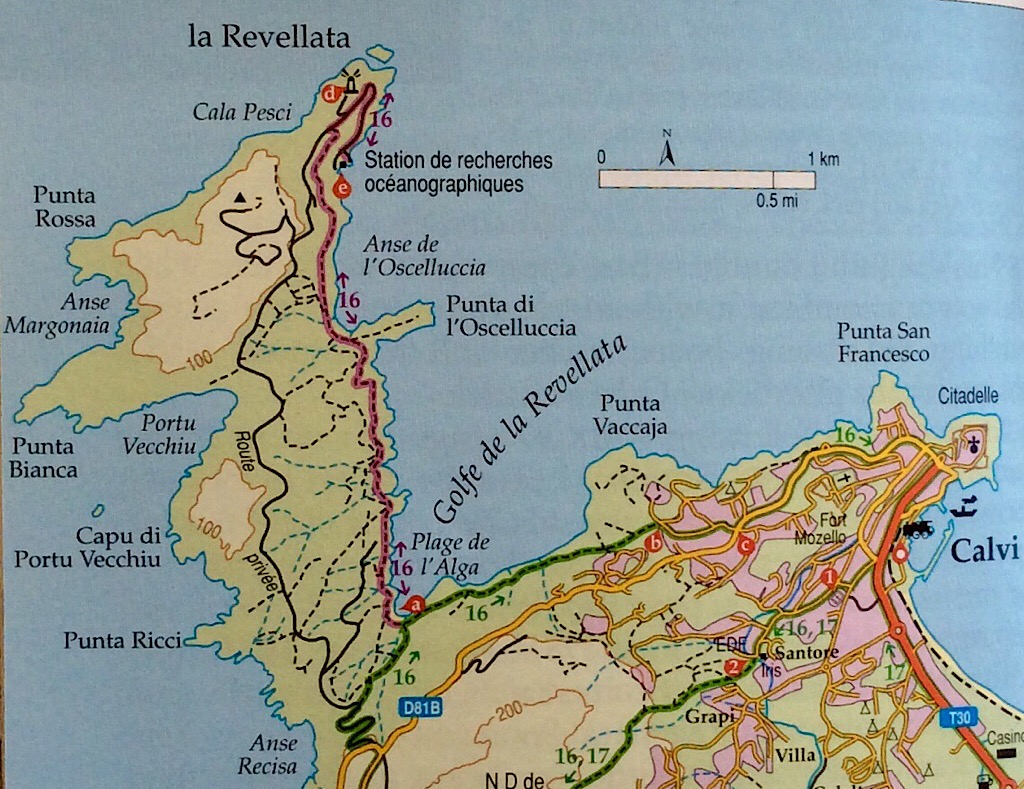
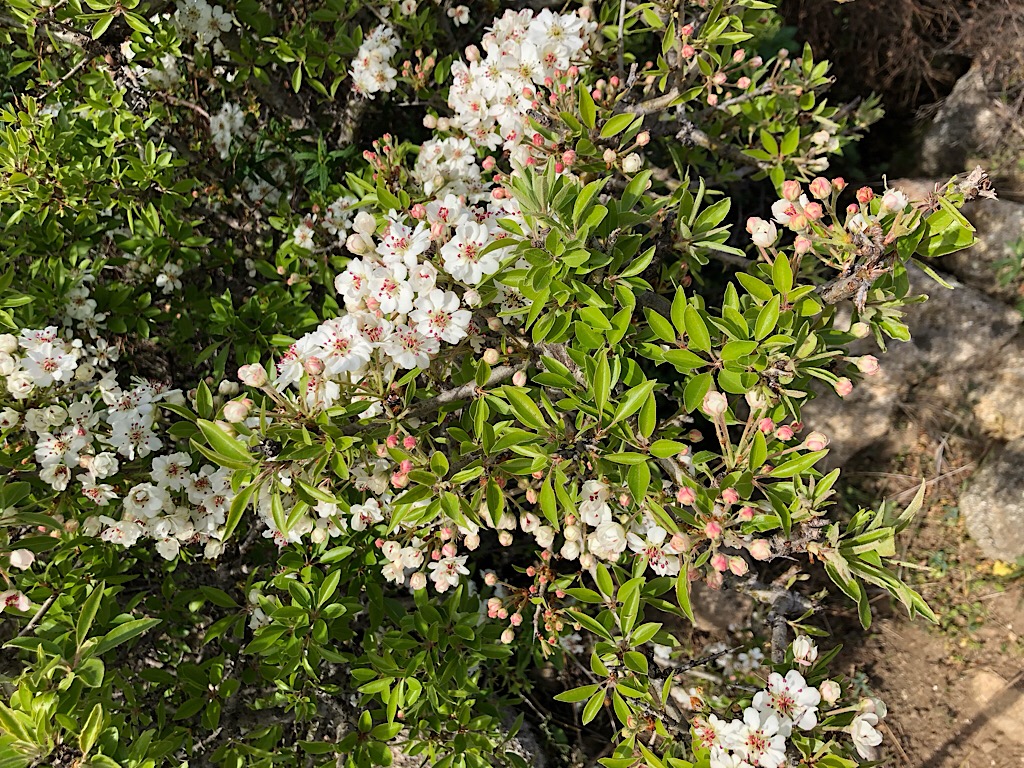
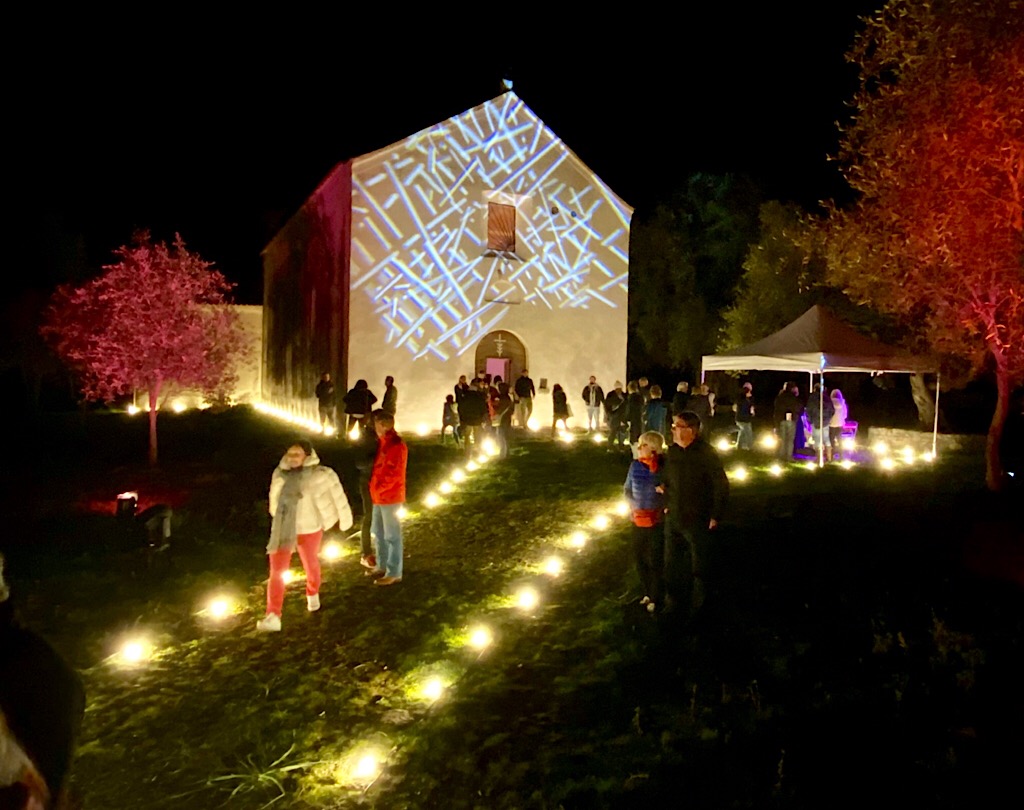
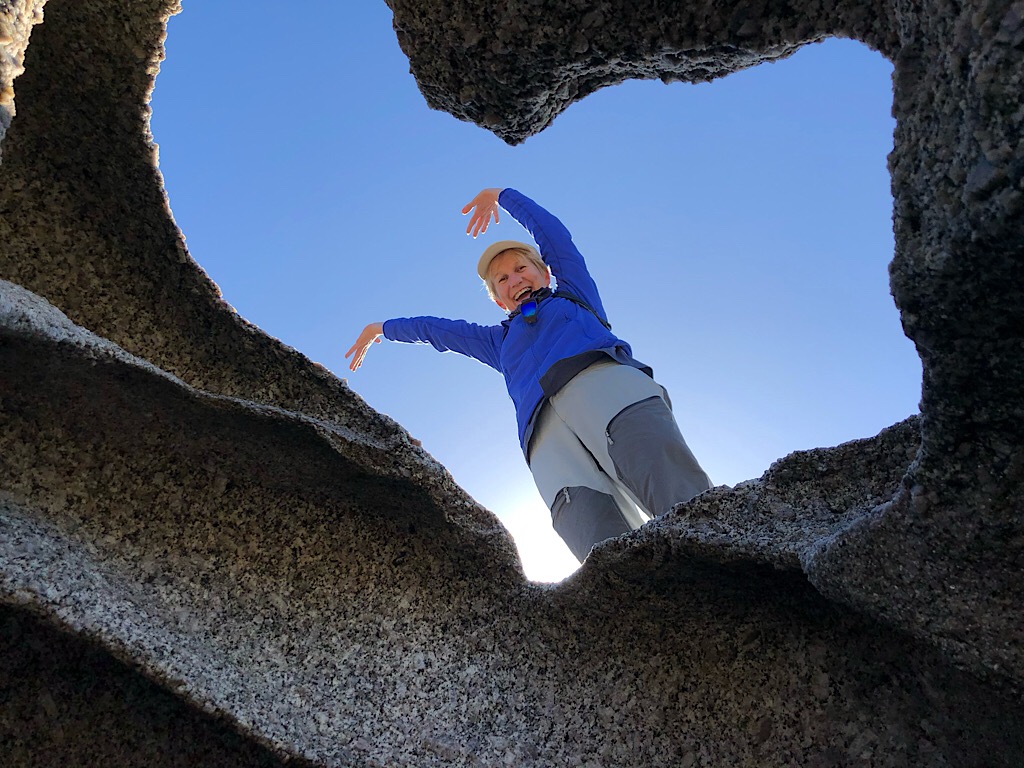
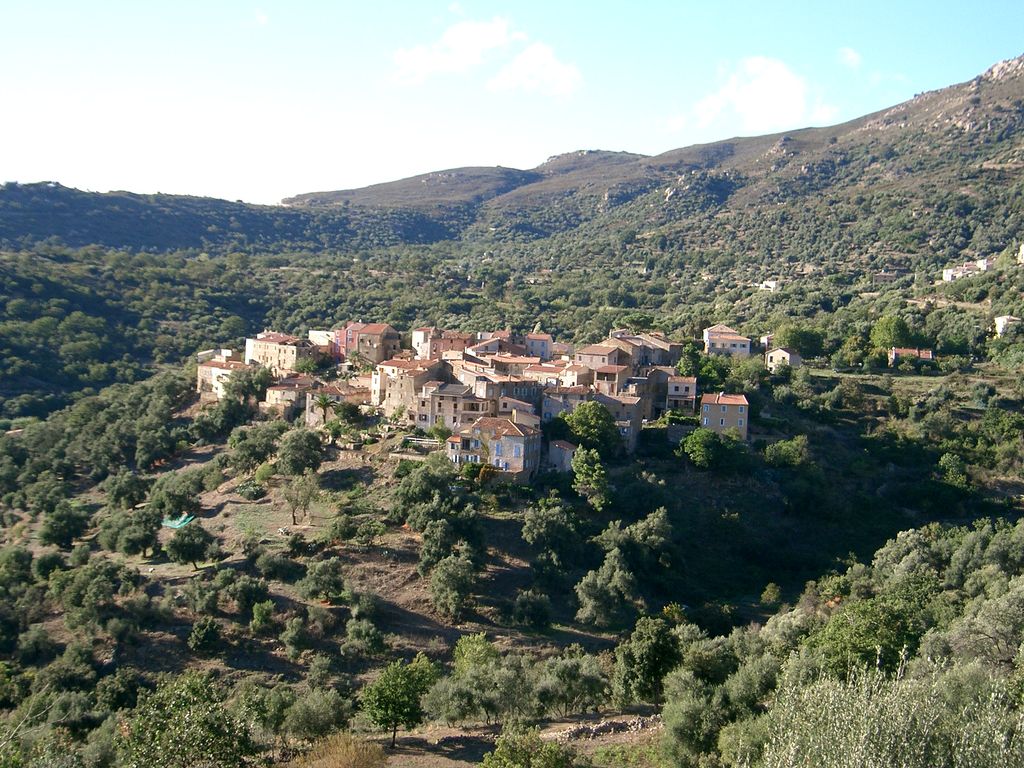
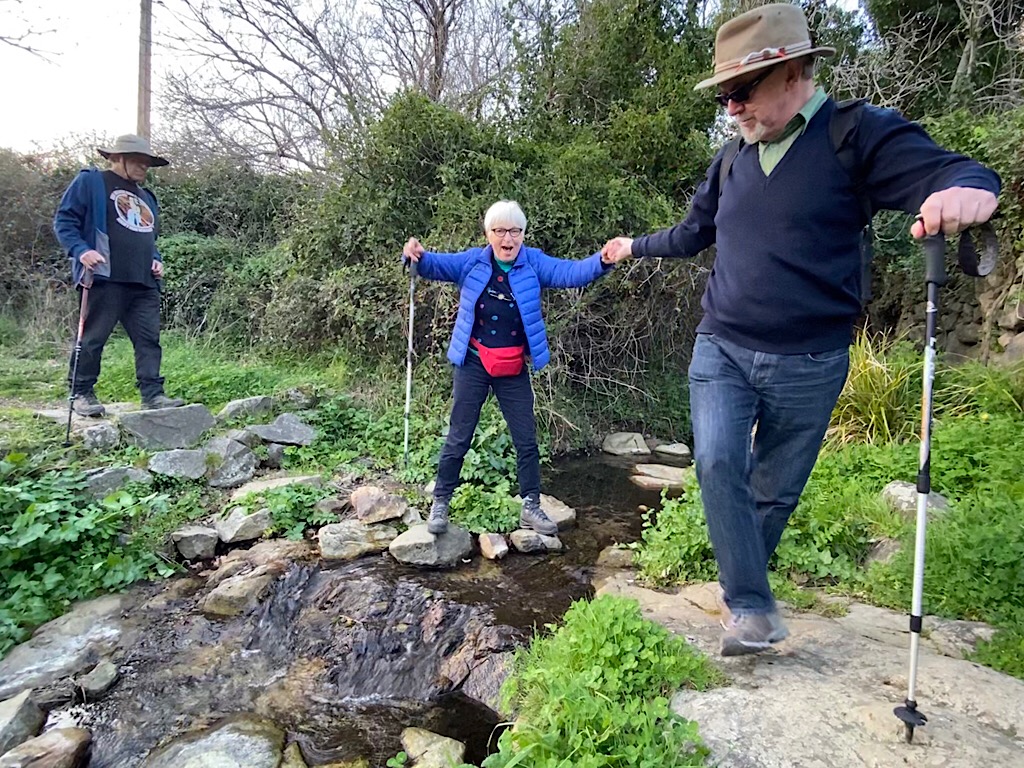
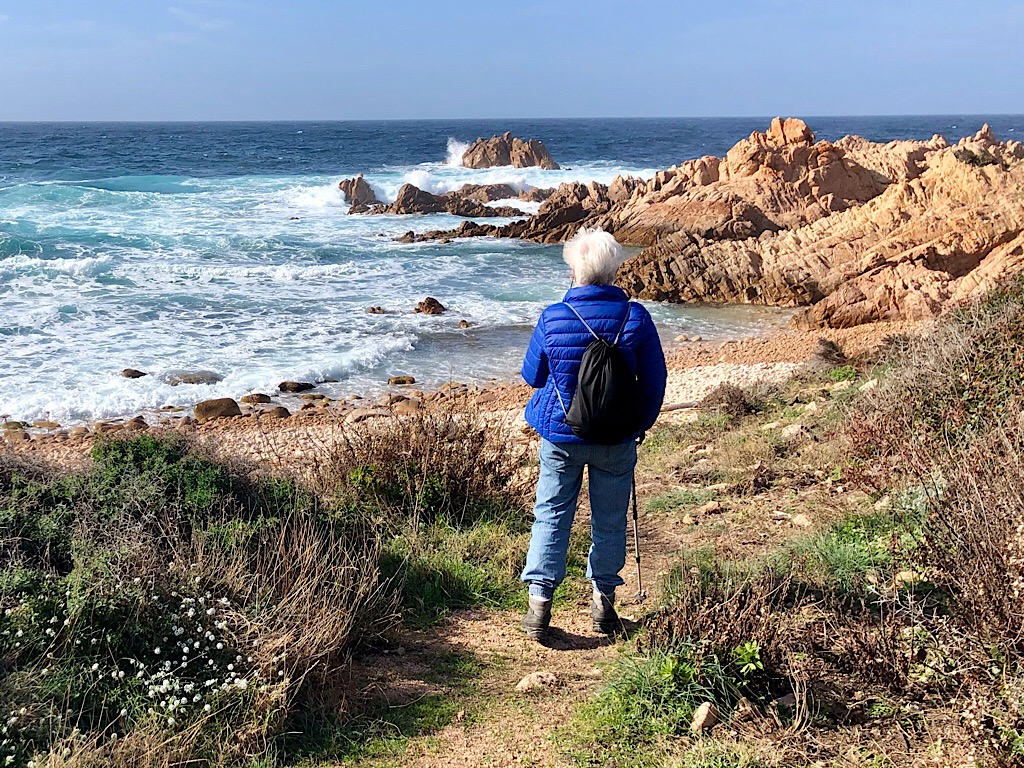
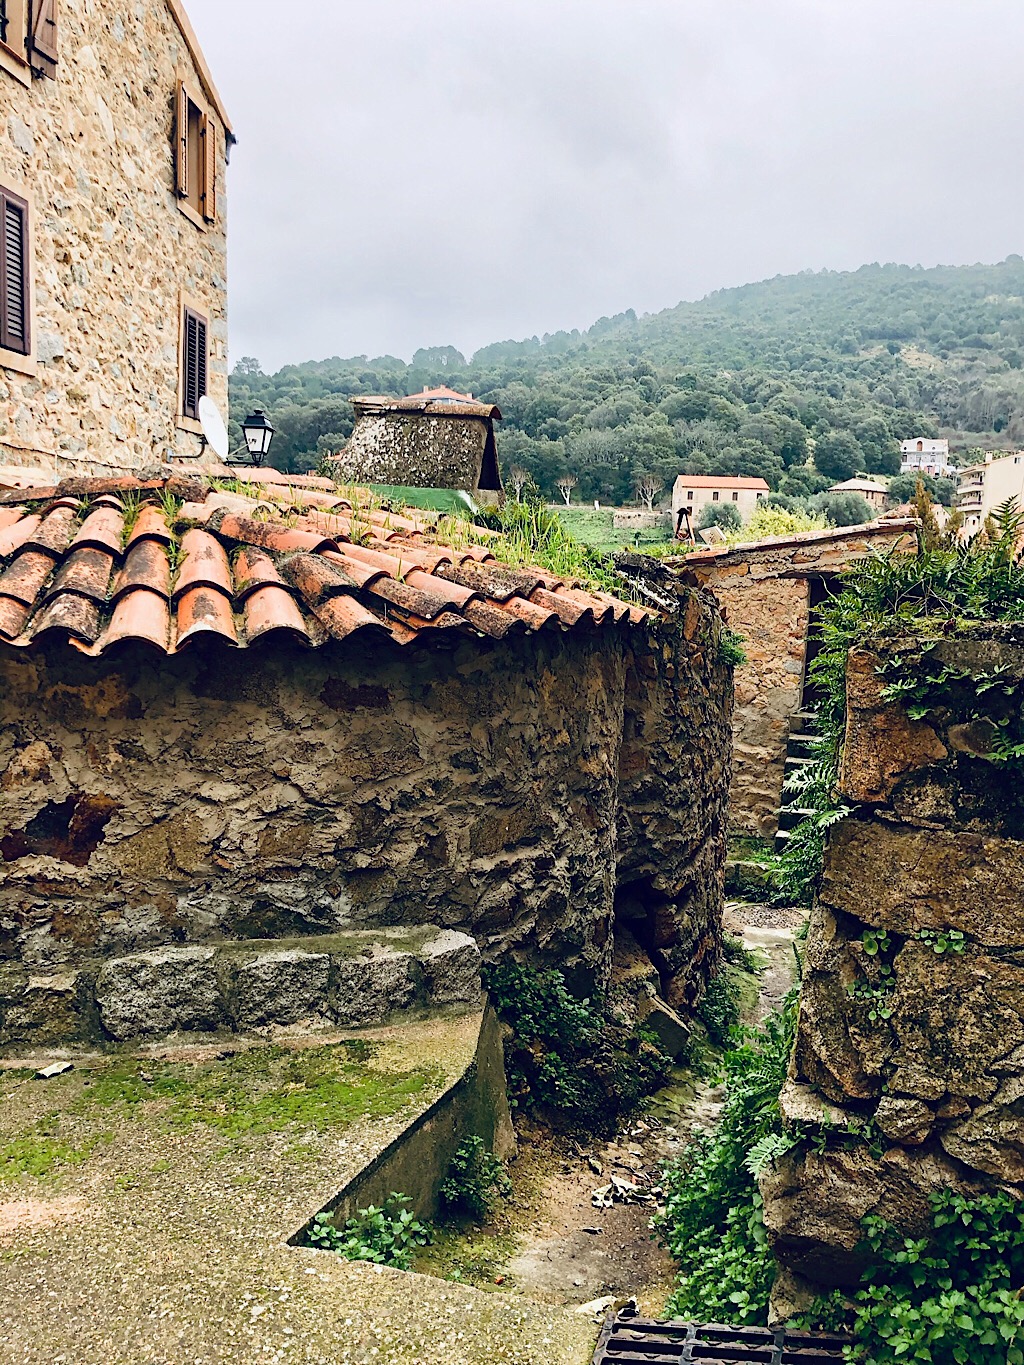
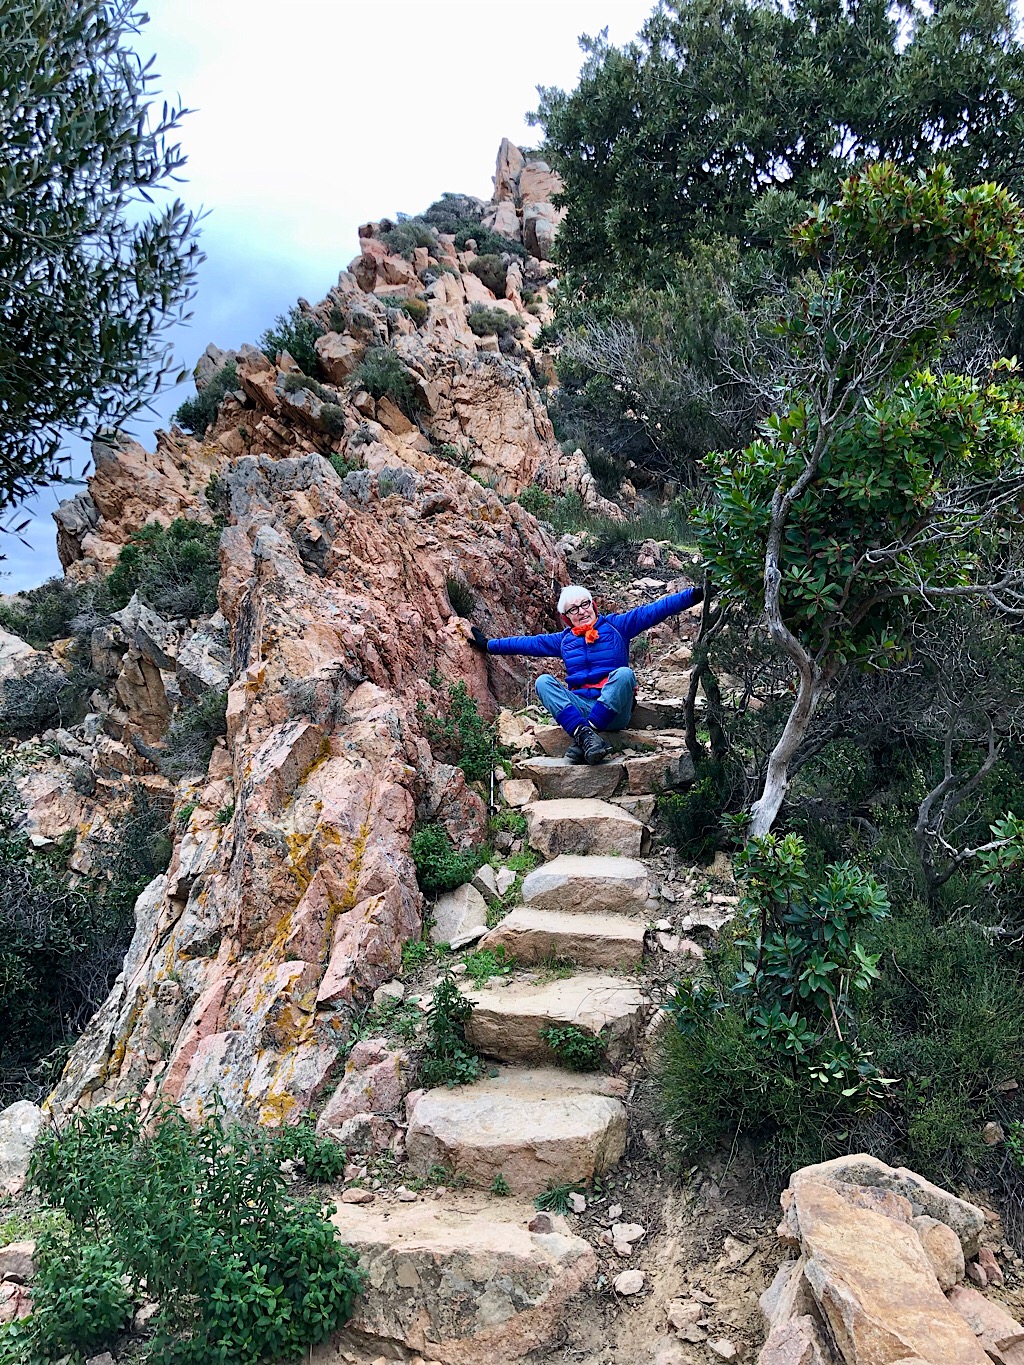
The Bizarre Belle of the Ball

The Bizarre Belle of the Ball

Some while ago I enjoyed a video produced by an Italian artist Giuseppe Ragazzini (https://www.youtube.com/watch?v=VurUCgxdp8E) and I thought it would be fun to make my own real world, wooden version which doesn’t need an internet connection. Then a friend gave me some doll’s eyes, the sort of eyes which close when a doll is put to sleep. That was enough to finally get me started on the Bizarre Belle of the Ball.

Requirements

I chose to have 8 sets of eyes mounted on one disc, 8 noses on a second disc and 8 mouths on a third disc which is enough for 512 distinct faces so that our belle can go to 512 balls and never have to look the same twice.

To frame each face and concentrate the viewer’s attention on it, it seemed best to use our bizarre belle’s arms. Whenever her eyes are correctly aligned, both arms should come up. To make it a more convincing gesture, she should hold a mirror in one hand to admire the finished effect and a comb in the other to tidy her non existent hair. One turn of each control knob should rotate the disc through exactly one eighth of a turn.

Making

The smallest 3 mm plywood disc is attached to a solid 6 mm axle. This axle runs inside a thicker hollow axle for the middle-sized disc. The largest diameter disc turns around both with several spacers joining the disc to its cog while leaving room for the doll’s eyes.

three discs to mount the eyes, noses and mouths

If that sounds complicated, here is a section through the middle. This means you are looking at these discs from the side

section through the middle (not to scale)
The “eyes” disc connected via spacers to its large cog

To make the 3 discs turn, you then need 3 large cogs behind them.

Three large cogs

Small cogs will drive the big ones, so the number of teeth is important to set the speed of rotation of each disc. With 8 noses etc., the number of teeth on the big cogs must be 8 times the number of teeth on the small cogs, so that one turn of the control by the user moves from one nose to the next. I chose 7 teeth for the small cogs which then means 56 teeth for the big cogs. I find that cogs with small numbers of teeth can jam easily and 7 is actually quite close to the limit.

To shape the cogs I used Matthias’ splendid online gear template generator https://woodgears.ca/gear_cutting/template.html. To save time and work here, I first pinned three sheets of 6 mm plywood together, glued the template on top and then cut the three large cogs at once with my scroll saw.

Body and legs

body front (left) and back (right) and four legs

To hold the rotating discs and cogs some sort of frame is required. A dress with a wavy frill at the bottom and a round upper body seemed about right. Two legs would be a bit unstable, so my bizarre belle has four legs. The front part also has to take the mechanism to lift the arms up. Some elegant carved shoes are, of course, needed to equip our belle for the ball.

The front part of the body with the lifting mechanism for the arms

The hole between the legs takes an axle fitted with an eccentric cam. As the axle is turned the cam presses the vertical actuator down, which pulls the arms up. The loose round part at the top is the lid to keep all of the parts in place and it also has a hole in the middle which serves as the bearing for the axle for the rotating assembly.

The rear part of the body with 6 small cogs to drive the large cogs

The rear part of the body carries 6 small cogs, 2 for each large cog. They are each set at the correct height to drive their own large cog and hence the corresponding disc with noses (left) eyes (centre) and mouths (right). Each knob on the front of the figure turns an axle which turns one of the small cogs. The reason for the second, identical cog is to provide enough space for the hats on the largest dic to move unimpeded. As the two cogs are identical there is no change to the transmission ratio and one turn of the knob will still move its disc through one eighth of a turn.

Unpainted partial assembly

Putting the parts together after carving eight noses, our bizarre belle starts to take shape. I was surprised to see that, when near horizontal, the doll’s eyes close and open one at a time, as if they are winking at me. Only having four sets of doll’s eyes, I improvised eyes for the other four faces.

Lessons learned

I had originally planned to use three cranks in front of the dress to turn the parts, which would have meant putting the figure on a heavy base. I find that on the up-stroke when turning a crank, models tend to skitter around unless they are heavy enough or have a non-slip coating underneath. By changing to spherical knobs, which you have to twist to operate, the upward force disappears and with it the need for a base. Magic!

The video

It is easiest to understand the mechanisms when you can see them in action so here is our belle of the ball deciding how to look for her next ball. https://www.youtube.com/watch?v=gMLE70_scGE

Download

Download images here https://www.wordwise.de/Belle_images.zip

Seddiner See Rundweg

Den Findlingsgarten haben wir verpasst. https://findlinge-seddin.de/index.php/anfahrt – Das nächste Mal!

Stechlinsee Rundwanderung

.

ROHKUNSTBAU – Tenderness in Schloss Lieberose

Ready to go to Rohkunstbau in Schloss Lieberose
Auf der Autobahn, auf der Autobahn …
2 power girls and 1 power station – Kraftwerk Jänschwalde


You can’t carp about the size of the fish here in Peitz
A dragonfly joined us for lunch at Gasthaus Schillebold


Alicja Kwade
Freaky!
Julian Rosefeld video
Laser disc video tower
What are they doing here, those Berliners?
I don’t know?
Don’t ask me.
Grrrrrrrr.
Woof, woof!
What is Gerhild doing?
Melting away …
Space for some quiet reflection
Anice time was had by all!
Zwei liebe Rosen in Lieberose.

Camper plan

11.05.2020 bis 22.06.2020


https://thomasdambo.com/works/forgotten-giants/

https://trollmap.com/#/@54.2891×12.0375z6.13

https://uk.arken.dk

Uta recommended Lofoten

Norwegens Nationalfeiertag 15 Mai

Kistefos Museum of modern art

Danish sculpture parks

https://www.visitnorway.de

https://www.nasjonaleturistveger.no/en/

Internationale Festival in Bergen from 20 May for 15 days program.

Mandaljazz 2020 20 -29 June – very southern tip of Norway.

https://www.rorosfolkfestival.com/ June ??

Jotunheim national park

Blubot


Image source https://developer.apple.com/augmented-reality/quick-look/models/vintagerobot2k/vintagerobot2k.jpg


Blubot

The idea

Recently I was playing around with an augmented reality robot on my mobile phone https://developer.apple.com/augmented-reality/quick-look/ (it doesn’t do much on a desktop computer). After a while of course you get fed up with virtual stuff and I thought that it would be more fun to make a tangible desktop robot with parts that really move.

I wanted something friendly that wasn’t too complicated and something which initially looks like nothing special but which you can discover by pushing bits to see what happens. Best would be something to make you smile as things start to move. A sort of stringless desktop puppet, which reminded me that I always wanted to have a go at a pinocchio puppet with an extensible nose for when it starts telling lies. The hands should be useful but, for simplicity’s sake, should not have too many fingers so a spanner shape seemed just right. To make the nose extend, I made Blubot’s top tilt around its centre line, and a rod attached to the back of the top yields enough of a push to make the nose stick out. I even did a simple drawing to check that it would move far enough.

Drawing to check the clearance for the eyes and the movement of the nose

Making

This is basically a 10 x 10 x 8 cm box. The parts are cut from 10 mm plywood with a saw or a scroll saw for the curved bits. Good quality plywood means that the individual layers are properly glued and cutting doesn’t cause too much splintering.

Parts for the box

The nose is a piece of 12 mm diameter dowel in a 13 mm hole. It was then handy to use a piece of the same 12 mm dowel to fix the nose linkage to the hinged lid. The linkage is a piece of 1.6 mm brass rod.

Top part of the box with eyes and nose

The nose linkage

I painted the eyes before gluing them in place and I glued a row of small hemispheres along both sides to make a sort of rivety impression.

Initial version of Blubot

Addition to the design

At this point I painted all of it and tried it out on my four-year old test pilot. More or less her first comment was that it has no legs. I had originally thought that legs wouldn’t add much to the narrative and might destabilise things. On reflection, I thought, OK well let’s add something moveable to the legs and decided on child-safe rocket flames, which come out on lift off. They just dangle on the string and disappear when you place the model on a flat surface, sliding back up into the legs.

Making the legs and feet

For the feet, I used MDF, drilled a hole for the flame, used a bowsaw to cut a round shape and then sanded a taper. Continuing the rivet theme, I added 4 hemispheres to each foot which then look like toes, elephant’s toes!

The flame (right) slides out of the leg (left) and is retained by the string

I thus added three chunky legs, each with a hole drilled through the centre to accommodate the flames, each made of a piece of suitably shaped and painted dowel. Add a piece of string to prevent the flames from completely falling out and Bob’s your uncle!

Lessons learned

It was good to work with better quality plywood than I sometimes do and I was very pleased with my simple wooden hinge at the back of the box. I generally find working with brass hinges quite hard work in such small items. Also, tilting the lid with two fingers to reveal the eyes and extend the nose gives you a very good level of control. Just right for puppeteering!

I find that the longer something takes, the more ideas that you have, don’t you? Even when you are painting, things can occur to you and it was only while painting that I thought of rivets for the eyebrows. 3D rivets were no good, as the lid wouldn’t close so I opted for nice painted red dots instead, which are the very first things to appear as you start tilting the lid. Almost the last things to appear are the two goofy teeth which is quite a funny climax to the opening of the box. I had originally planned on a full set of teeth, changing my mind at the last instant.

The flaming legs were quite simply an afterthought. It’s hard to imagine everything in your head right at the beginning. As things come together in reality, it is then easier to think a bit further and to grow your original idea.

Video https://www.youtube.com/watch?v=SjslFvD8-VI

Link for images https://www.wordwise.de/Blubot_images.zip

Link for leg images https://www.wordwise.de/Blubot_new_images.zip

Altabadia 2021

https://www.altabadia.org/media/paraisc-di-mituns-de-en.pdf includes lots of easy walks.

https://www.altabadia.org/en/tours/hike-from-corvara-to-the-col-alt-pralongi-plateau.html

https://www.theguardian.com/travel/2020/jul/05/italy-summer-holidays-tuscany-coast-dolomites-piedmont?CMP=Share_iOSApp_Other

Sculpture parks in Germany

Schlossgut Schwante

https://schlossgut-schwante.de

Martin Creed

Alexandra Hopf “Spell Around the Corner”

Gregor Hildebrandt “Column 2018”

Monika Sosnowska “Stairs” + pony

Katja Strunt “Unfolding Process”

Toshihiko Mitsuya “The Aluminium Garden Structural Study of Plants” (detail)

Carsten Nicolai”Echo 2020″ (detail)

Toby Ziegler “Slave 2017”

Dan Graham “Play Pen for Play Pals”

Anette “Pitchforks”

Anette, Gerhild & Sabine “Picnic”

Kim “Three happy girls”

The Kremmen barn quarter http://www.scheunenviertel-kremmen.com


Coming soon! In Schloss Lieberose: From 27  June the 25th “Rohkunstbau”.
About 1h 30 min drive.

https://www.rbb24.de/kultur/beitrag/2020/06/rohkunstbau-schloss-lieberose-brandenburg-kunstfestival.html

Darß Juni 2020

Picnic in the rain next to Plauer See
https://www.boutiquehotel-lenz.de

Our room in Fuhlendorf

Ramir, Birgit & Catya’s house

On the dyke in Zingst

Music on the pier

Dancing on the pier

Banana boots on the ropes

Ramir lends his mobile to this cool girl

Do dogs like lollies?

In Ribnitz-Damgarten

Feeding the sheep

Catya out for a spin

I see no ships!

Near Saal

Catya and her kite on Wustrow beach

Ramir and his kite

The big girls having a chat in the sunshine

Pinocchio awaits his fate

The Happy Couple

The Happy Couple

Artistic brief

Happiness is infectious, so a happy couple must be doubly infectious, no bad thing to catch whatever else might be going around. The challenge is to move a happy couple into the fourth dimension so that they aren’t just in a happy state, they must also move happily too. I thought back to one of the United Kingdom’s prime ministers, Edward Heath, who was renowned for his heaving shoulders when he laughed, copied by many, not least by a later prime minister Theresa May (see https://www.youtube.com/watch?v=U_wGgPvoysQ).

Our happy couple are also confronted with the eternal question of what to do with your hands whilst on the podium. I decided to have the woman hold a cheerful bunch of flowers, in her personal colour scheme. For the man, another, smaller happy couple seemed just right, even if children have their own ideas about when to be happy or not.

Technical brief

My test engineer, a very smart 4 year old girl is so entranced by talking figures that she likes to not just follow the programme set by the cams, she likes to improvise too, inventing her own narrative about what is happening. This often means grabbing brass rods and yanking them to achieve her desired effect. In this automaton I thought that it might be smart to anticipate that and offer two ways to bring our cameo scene to life. A red handle turned on the side gets the cams moving stubbornly through their preprogrammed sequence and blue and green levers on the front allow free improvisation.

With the blue lever, the man can chatter or laugh endlessly, while his partner waits patiently. With the green lever the woman can return the compliment, while he listens attentively. Of course both can join in the action as and when they wish.

This means that a logical OR function is needed. The shoulders lift and the mouth opens if the red lever is turned OR if one of the blue of green levers is pressed. This means that if the red lever has opened a mouth, pressing the corresponding blue or green lever will have no effect. Blue or green can only do their thing if the red lever is in a passive position which would leave the corresponding mouth closed.

Cranking the red lever turns two cams, one with eight regularly spaced movements, the other with nine. This means that the two figures laugh together, but they are not synchronous, making a pleasantly chaotic impression.

Making

The heads are made from hardwood (beech) eggs which are cut through diagonally at a smiley sort of angle. There are a few tips for a successful cut. (1) It’s tricky to clamp an egg and then cut through it, so it helps if you first drill a hole in the end of the egg and then glue in a dowel. Now you can clamp the dowel, leaving the egg freely accessible for your saw. (2) My drill press produces two sparkly red laser lines which cross to show the position of the centre of the drill bit. If your drill has this feature too, it’s very handy to mark a “straight” line on an egg for cutting. (3) Drill the hole for the jaw hinge before cutting.

How to mark & cut hardwood eggs

The figures’ movement

The two figures’ movement is controlled in the same way. In this simplified section through the woman’s lower body you can see that one leg is fixed to the body (and to the base). The other leg moves up and down, which is not obvious to the casual viewer, pushing the waist and the upper body up and then allowing it to fall down.

Simplified section through the women’s lower body

The top of each head is attached by a brass rod to the lower part of the body. When the waist is pushed up this cause the rod to pull the mouth open. I used an old leather shoelace for the shoulder, elbow and wrist joints, allowing them to move quite freely.

Leather shoelace for the joints

Top of head is attached by a brass rod to the lower part of the body

The works inside the box

Turning the red handle rotates a small cog which drives a larger cog. This gearing makes it easy to turn and the outside lever is as long as possible to provide the best “leverage”. The larger cog is attached to the same shaft as the two cams which each drive a simple cam follower.

The geared drive for the cam with 8 curves. The other cam has 9 curves.

Pressing the blue or the green lever simply lifts one of the cam followers. At rest, the weight of the inside parts moves the outside knobs up into their inactive positions.

The blue and green levers

With slots cut in the front panel to allow the levers to move, the complete mechanism looks like this. Now you can see that each cam follower can either be lifted by the turning cam OR by pressing the lever at the front of the box (at the right in the picture).

The complete mechanism with two alternative ways to lift each cam follower

Note that if the cams are lifting the followers, then the blue and green levers will have little if any effect. You can’t lift something that has already been lifted.

I painted the parts for the figures prior to assembly and allowed them to dry properly to ensure that I got the clearances right for easy movement. The babies are very simply made and don’t move, their tiny fists and feet represented by small spheres.

Video is here https://www.youtube.com/watch?v=DhEzWAcQC1g

Download images here https://www.wordwise.de/Happy_couple_images.zip

Spider roundabout


Artistic brief

There was an old spider who lived in quite a stew.
She had so many children, she didn’t know what to do.
So she span a nice roundabout from silken thread;
And whizzed them all around until she put them to bed.

Mum spider was worried about the kids just hanging about and wondered what she could do to keep them busy.

Then she saw this bare tree and thought this will do nicely.

With a little bit of work, there’ll be room for everyone.

The technical brief

The mechanism to turn the roundabout should be as simple as possible and should also drive a small music box mechanism which plays “Die Berliner Luft” – a tune that every Berliner knows about Berlin’s fantastic air. Spiders can have phenomenally large families, but I decided to go for a token number of nine baby spiders. What was good enough for Queen Victoria and Prince Albert is good enough for me. They had four boys and five girls, I will leave it to the viewer to decide on the sex of the various members of my little family. Brass rods will be strong enough to make the web and wood will do for the rest.

Making the family

The parts to make a baby spider

Baby spiders are uncomplicated creatures made of a small drilled wooden ball for the body, two wooden hemispheres for big appealing eyes and eight pieces of bent brass rod for the legs. For the strand of web for them to dangle from, I used a cotton thread glued into the predrilled hole which I then filled with a piece of 3 mm dowel.

Finished baby spider waiting for its colour

Fashion-conscious mum spider

Mum spider is larger of course, has a more stylish hairdo and shoes and a 3 mm hole in her underside to attach her to the top of the tree.

The web

Spider mum and her freshly spun web

As there are nine spider children, the web has to have 9 segments. Mum spider needed a bit of help to make the web so I used slim brass rods, bent carefully to shape which I then soldered together, arranging for a slight “umbrella” shape. The web is mounted into a wooden ball which just rests on top of the tree, with a 3 mm dowel through the middle to hold mum spider, glued safely in position. As the ball is not glued, it is turned by friction. This allows mum to jig around and issue instructions to her brood and also allows the web to coast gracefully to a stop when the tree stops turning.

The base mechanism

The bare mechanism

On a circular base, I mounted the small music box mechanism which I bought for a few euros. After cutting its bent metal handle off, I could push on a wooden cog which I cut using my bow saw. An identical cog drives it, when the handle is turned. Fortunately the music mechanism doesn’t mind if you turn it the wrong way, it just goes click, click instead of playing its merry tune. Turning the handle also rotates the drive wheel which is in frictional contact with the larger wheel glued to the vertical “tree”. I added a wooden bearing at the base of the tree which, together with the hole in the upper part of the base, keeps the tree nicely vertical.

The assembled roundabout, ready for testing

The upper part of the base rests on three fairly chunky pieces of dowel. Careful alignment is required to ensure free rotation of the tree before gluing things together.

The video

Link to the video https://youtu.be/RCSqZP25s30

Images to download

https://www.wordwise.de/Spider_roundabout_images.zip

Corona Sunday 3 May

It’s Sunday so let’s wind the clocks up!

And watch the Andrew Marr show on the telly.

Look who’s on the show today!

Check how the flowers on the balcony are doing.

And it’s time to cook lunch.

Yum, yum, yum!

Delicious strawberries from the farmer.

His and hers expresso.

Need to fill up the sugar bowl.

Time for a stroll around the block.

This way?

Or that way…

Cheerful tree stump.

Young man, can you bend down far enough to do my loose shoelace up?

What time is it?

Do you think we could tow this behind a tandem?

A musical pond (Gustav Mahler Platz).

Busy mushrooms eating what’s left of this tree.

I’ve already got that but in a nicer colour.

Kim is flagging.

Nearly home again.

Who said strawberries are just for eating?

Now wash your hands.

And read a good book.

Kim can only manage one with pictures.

Cheers

Episode 30 of Hope@home (https://www.arte.tv/de/videos/RC-019356/hope-home/) – particularly liked the Schnittke music.

Gardening for the impatient

The creative brief

Summer is a cumin in Berlin and my wife is busy planting the balcony so that we can enjoy our evening cocktails in a fragrant, colourful environment. Young plants grown in Dutch greenhouses do give you a really quick start but much patience is still required. As an impatient man, I thought about what I could conjure up that gives instant satisfaction for friends of the floral.

The technical brief

The mechanism was to be as simple as possible. A handle rotates a cam which friction drives a wheel perpendicular to it, so that the wheel and its shaft are both lifted up and down and rotated a little. Petals are attached to the other end of the shaft and as the shaft is lifted, the petals should open up to reveal an egg-shaped centre.

Petals & hinge

To get the shape of a petal I used a piece of plastercine pushed against a wooden egg. From this I made two templates in card, to mark up my lime wood for cutting on a bowsaw.

Plastercine petal and two card templates

First cut for petals

Second cut and carving for petals

Instead of trying to hinge each petal separately, I bent a piece of brass rod into a ring and cut two holders to grab the ring in a sandwich.

A hinge for 6 petals

And when this is all assembled it looks like this

6 petals hinged on a centre piece

The base mechanism

The base has four chunky dowel legs. Two of the legs have holes to take the 8mm dowel axle with its cam and its disc-shaped crank

Parts for the base mechanism

The assembled base mechanism

There is a short video showing the effect of turning the crank.

Youtube link “https://www.youtube.com/watch?v=gQMXmhIrygE”

The flower and its “cage”

Adding a wooden egg into the centre of the petals completes the flower

The open flower

To push the petals up when the flower is closed, a wooden ring is required at just the right height. A certain amount of experimentation shows the correct height and some trimming of the outside of the petals gets them all to move synchronously.

A ring/cage at just the right height

Lessons learned

The flower jammed when open and didn’t want to close again. A lead washer fixed that.

Lead washer to increase downward force

It was caused by the vertical activating rod tilting due to the off-centre upward pressure from the cam. It’s a delicate balance between the diameter of the dowel and the diameter of the hole in which it moves. I used a 10 mm dowel in an 11 mm hole and that was too loose. Maybe a 10.5 mm hole would have been better, maybe I should have used a much slimmer dowel to reduce the surface area subject to friction? I will just have to try it and see in future.

What did the critics say?

My severest 4 year old critic asked “are those rabbit’s ears?

Rabbit’s ears?

It only has 6 arms so it can’t be an octopus

Octopus?

Something from outer space?

Alien?

This finished piece has a very short narrative. Each turn of the crank opens & then closes the flower. That is not much of a story. Nevertheless my official tester played with it happily for quite a while. I think it is more something to entertain kids and is of less interest for adults. I had fun making it and learned a bit, so I am content.

The video

Video link “https://www.youtube.com/watch?v=uwzTALIhS_c”

Download the images

https://www.wordwise.de/Gardening%20for%20the%20impatient.zip

Teatime

Teatime

What was the creative brief?

As an Englishman in Berlin I am naturally a staunch defender of English culture, so I aim to sell the benefits of teatime to the pagan Germans who much prefer coffee! When two chatty friends get together, the benefit of having to drink tea is that while one is drinking their delicious tea, the other can chat and vice versa. The more vivacious the chat the better, so waggling head & hair and dangling earrings are a must.

Dangly earrings are a must

What’s the technical brief?
I like the idea of cams controlling things, but as I live in a small flat I see a drawback in the size of the base needed to accommodate cams which turn around a horizontal axis. I wondered whether arranging cams to turn around a vertical axis is feasible and whether the resulting base would be more compact.

This simple illustration shows the 2 options. At first sight the vertical bearing option looks distinctly flatter.

  • With a horizontal bearing, as the cam turns, the cam follower is pressed onto it by gravity. As the edge of the cam moves up or down, the follower moves with it, or follows it.
  • With a vertical bearing, gravity stubbornly remains a vertical force, so some other force X is needed to keep the follower in contact with the cam. It does however mean that several followers could share the same cam with a “phase” difference depending upon how far apart they are, angularly speaking.

Force X could be a spring, or we could use a piece of suitable routed string attached to a weight to pull the follower against the cam, thus bending gravity to the required angle. The angle of rotation of the handle should also be left to the user, so the cams should be “bidirectional”. The base should be as open as possible, so that you can see “the works”.

Additional ideas which came while making

The bearing for the cams became the leg for a table.

As the cam is in the centre of the base and the two figures are at the rear, the empty space at the front begged for something to fill it, so each of the friends has space for their dog which, as we know, always looks startlingly similar to its owner.

Small dog which is strikingly similar to its owner

The table rotating seemed to make no contribution to the narrative of the piece, so I almost stopped it from turning, but then I thought that it would make a splendid carousel for someone small enough to enjoy it, so that’s what it became, a tiny subplot within the bigger story.

A tiny subplot within the bigger story

Gears

The cams will turn in the horizontal plane, around a vertical axis, but the crank for users to turn will rotate in a vertical plane, around a horizontal axis. Pin gears seem like a good idea, a small one with 8 pins for the crank and a large one with 36 pins to drive the cams.

The two pinwheel gears

The pinwheel gears engaging

For a smoother motion, (after I took this photo) I folded a piece of sandpaper into a V-shape and chamfered the tops of two of the pins at a time in the large wheel. This is not needed for the small wheel.

Cams

Each figure has two moving parts – the mouth and the arm which lifts the tea cup. As good friends they take turns to speak and while they are not speaking, that’s the opportunity to have a slurp of tea. I decided to just use two cams. Each figure is driven by the same two cams but with a 180 degree offset. While one figure is chatting the other one is slurping and vice versa.

Two cams

In the above picture the left sort of egg-shaped cam is responsible for lifting the arms, the right cam for opening the mouths. When not chatting (the wavy bit) the mouth is held open to await a slurp of tea. Note that there are no abrupt steps in the shape of the cams here to make sure that it will work in both directions.

Followers

There are 4 followers mounted on levers which are pivoted at the front of the base, two for the lower cam and two for the upper cam. In the photo you can see the pivot at the left, the follower in the middle with a plastic ring to cut down friction, and at the right the part which drives the mechanism mounted on the rear wall.

Two follower levers

In this photo of the base you can see two followers with small springs to keep them in contact with the cams.

Base with two follower levers & springs

The rear wall mechanism

Changing the direction of motion

As the lever to which the follower is attached moves, it in turn moves this small mechanism, which has the effect of changing a horizontal motion into a vertical one. As the lever moves out it turns the triangularish piece of wood around its axis at the bottom. The row of small holes in the side are to take the vertical brass rod which moves the model. Unsure as to how much movement was needed, I could thus choose a hole and shorten or lengthen the movement by trial and error. This mechanism is repeated four times for four followers.

The tea drinkers

Half of a 40 mm wooden ball serves nicely as hips.

The figures are assembled along a piece of 8 mm dowel which is fixed into the seat. This means that they are adjustable. I left the knee hinged on a piece of 3 mm dowel until I was happy with the pose, only then gluing it. Half of a 40 mm wooden ball serves nicely as hips.

A whole wooden ball makes a good torso

One of the arms is hinged on the body to lift the cup of tea. The other arm is fixed to carefully hold the saucer.

A few wooden eggs & balls serve as the head and hairdo

The jaw is fixed to the 8 mm dowel and the head is then hinged onto the jaw. This means that the whole head moves when the figure is speaking/drinking tea, causing the earrings to swing about most satisfactorily. The eyes and nose are removeable to make painting easier before gluing them in place.

The head is hinged onto the fixed jaw for maximum waggle

Hands and teacup

Carefully hinged woodwedge teacups

The hands are carved from lime wood with the smallest finger slightly lifted. When the arm lifts, the protruding pinkie then makes that elegant gesture so typical of polished tea drinkers. Of course the teacup must stay horizontal to make sure that nothing gets spilled so it is hinged on a bit of brass rod.

The brass rods in place

Lessons learned

I ended up with quite a compact base so it was worthwhile turning the cams sideways. Precision seems to be more important like this however, so I had to take great pains to keep the two cams parallel to one another as well as to the box. The spacing between the two pin wheels also had to be just right for smooth operation. Fortunately, I could adjust that a bit via the thickness of the washer underneath the cam assembly. When I was almost done, I decided to use what I had intended to be a collar as a waist instead. Happily, that just meant changing the order of the bits on the 8 mm dowel. The figures look much more stylish like that. When testing the movement, I decided that the mouth was chattering too quickly, so I made a new cam from 3 mm plywood to slow things down a bit. I tried to resist gluing parts together for as long as possible to keep my options open. That is a delicate balancing act. While things are not fixed the precision wobbles and occasionally pieces tumble all over the place and have to be carefully collected. Once glued it can be hard to take things to pieces again to change this and that.

Youtube link https://www.youtube.com/watch?v=COTnQGcVq34

17 pictures in a ZIP file

Friday 21 Feb


Drive from Cassano to Bastia airport (Googlemaps link) takes at least 1 hour 50 minutes.

14:15 Bastia AF4460 to Paris (Orly), arrive 15:50
20:40 Paris (CDG) to Berlin (Tegel), arrive 22:25

Thursday 20 Feb – Notre Dame de la Serra


Walk to the cemetery and back. Andy photographing us photographing him.

Corsican curiosity.

Notre dame de la Serra

Picnic under the church.

As the sun sets on our last full day on Corsica…

Wednesday 19 Feb – La Revellata


Tuesday 18 Feb – Cassano Monte Zingu


Kite flying into the sun to confuse the mice.

Almond blossom

The Asphodel

People used them to make crosses in order to protect the harvest and with the dry leaves they filled mattresses. Its popular names is fiori di morti – “flower of the dead”. The official name of the variety found in Corsica is in fact Asphodelus ramosus.

When heated its bulbs explode like fireworks, on the feast day for Saint John the Baptist children hold them in the fire built in the village square and then knock them against stones to make them bang.

For centuries it was planted near tombs to nourish the dead. It also fed the living.
The asphodel is edible: its bulb can be made into a kind of bread. It lost its importance as food after the introduction of the potato in the 18th century. The asphodel became known as “the bread of the poor”. It continued to be appreciated for its medicinal properties in treating ailments such as indigestion, coughs, inflammations, ulcers, toothache, as well as tuberculosis…

Source: https://www.terracorsa.info/aspho.html

Monday 17 Feb – l’île rousse


Kim tangled with a Triffid.

This pair really sock it to them.

Have you heard the one about …

Look at the wild asparagus which Fiona & Andy collected – yum!

Played Keith Haring cards in the evening – Black Lady aka Hearts

Sunday 16 Feb – Vallée du Fango


Another beautiful day.

Fango river

Having a little rest.

The world famous zebra stone.

Concert of Corsican songs

Saturday 15 Feb – Plage de l’Arinella


The living room in the morning

The view from the balcony

Coffee at Spar

Swinging time on the beach

Biggles on the beach

Corsican February

Friday 14 Feb – Montemaggiore


Cassano

Beautiful walk to Montemaggiore on Valentine’s day.

Eglise de Montegrosso

What is Fiona photographing?

Thursday 13 Feb – Corte


Walk 20 with a picnic today and a nice blue February sky.

Peekaboo

Kim‘s Corsican Cone hat

That‘s Corte castle down there.

Stony steps keep you on your toes.

Mirror, mirror on the wall…

Wednesday 12 Feb – Corte


Quick look at Ajaccio (pronounced Adjgaksio) after discovering that Napo-Rama is closed for the winter.

Window in Ajaccio.

Drive to Corte 1h 25 m

Well-aged entrance to the apartment.

Corte apartment https://www.booking.com

First impressions can be deceptive. Great apartment! Check out the wash-basin.

On the way up through the village.

View from the belvedere up to the old castle.

From one mountain goat to the next.

Small, free contemporary art museum in Corte https://www.frac.corsica

Gerhild shows solidarity with the Corsican women.

Kim is trying to understand the Corsican man.

The motto over our fireplace –

Friends are silent angels who put us back on our feet when our wings no longer know how to fly.


Corte tourisme walks

Tuesday 11 Feb – Ajaccio, pointe de la parata


Walk 27 – Sentier des Douaniers

There was so much to enjoy on this walk, we only did half of it.

Shadow selfie

Our picnic spot

Monday 10 Feb – Ajaccio


Last look around Piana

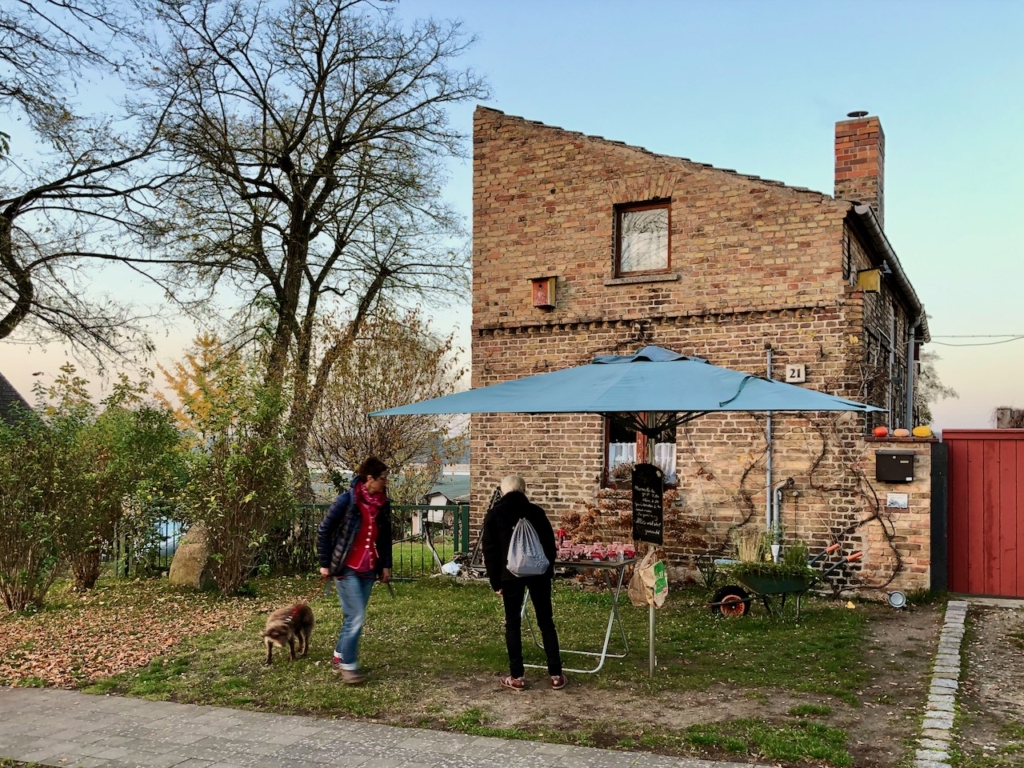
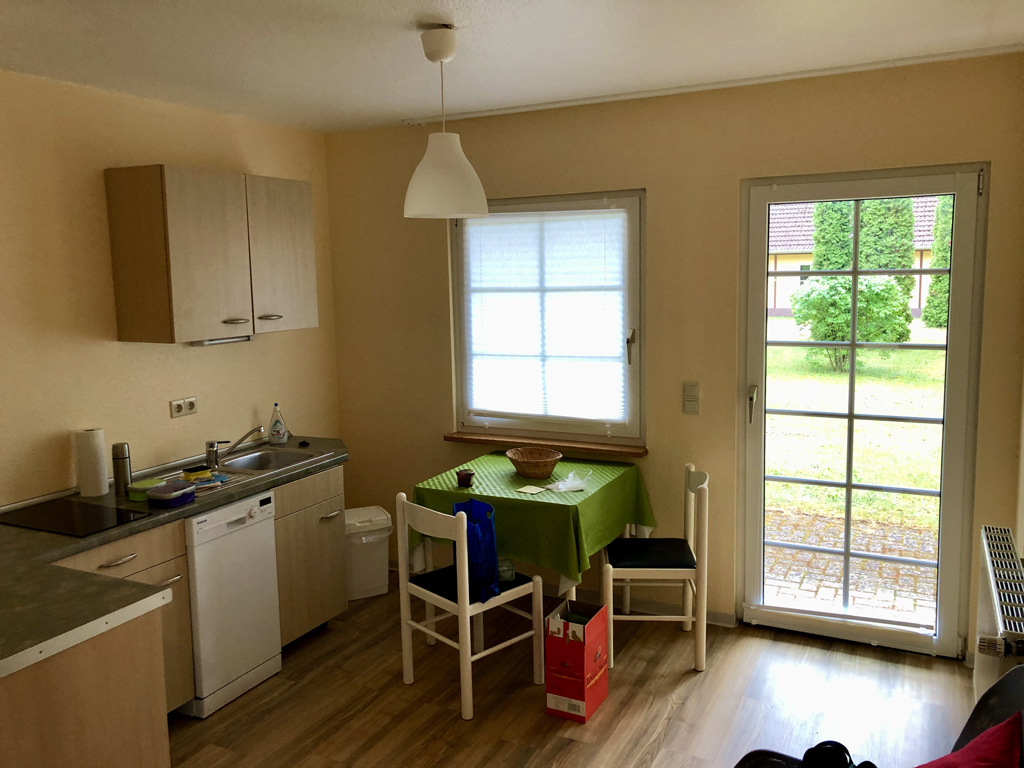
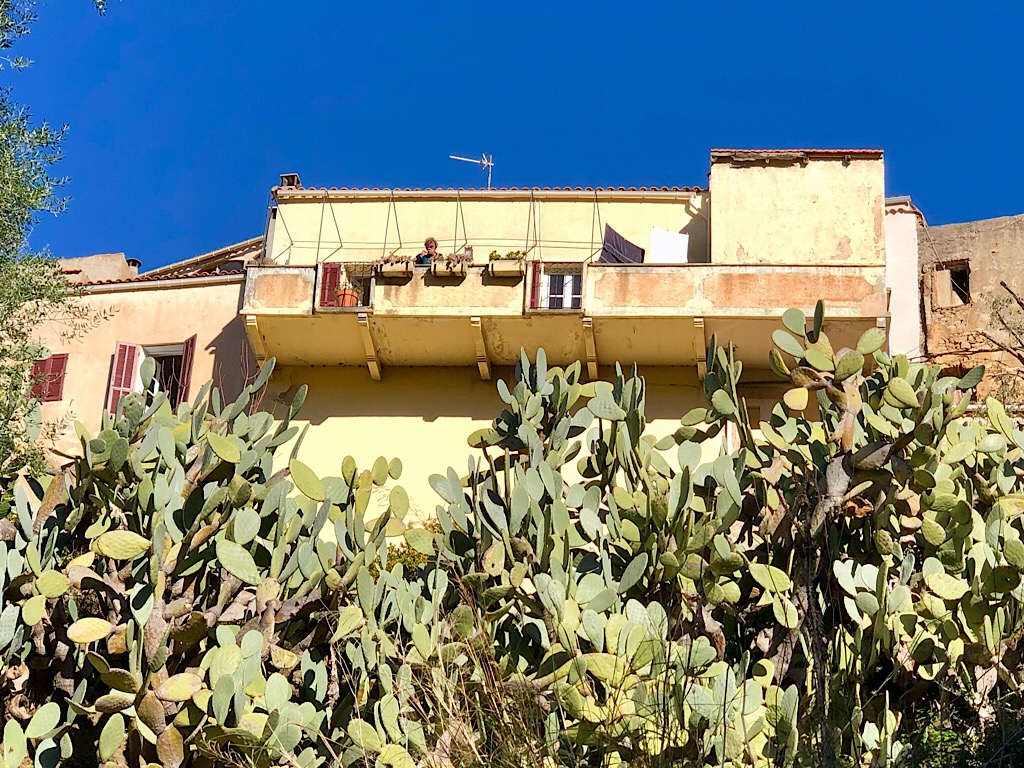
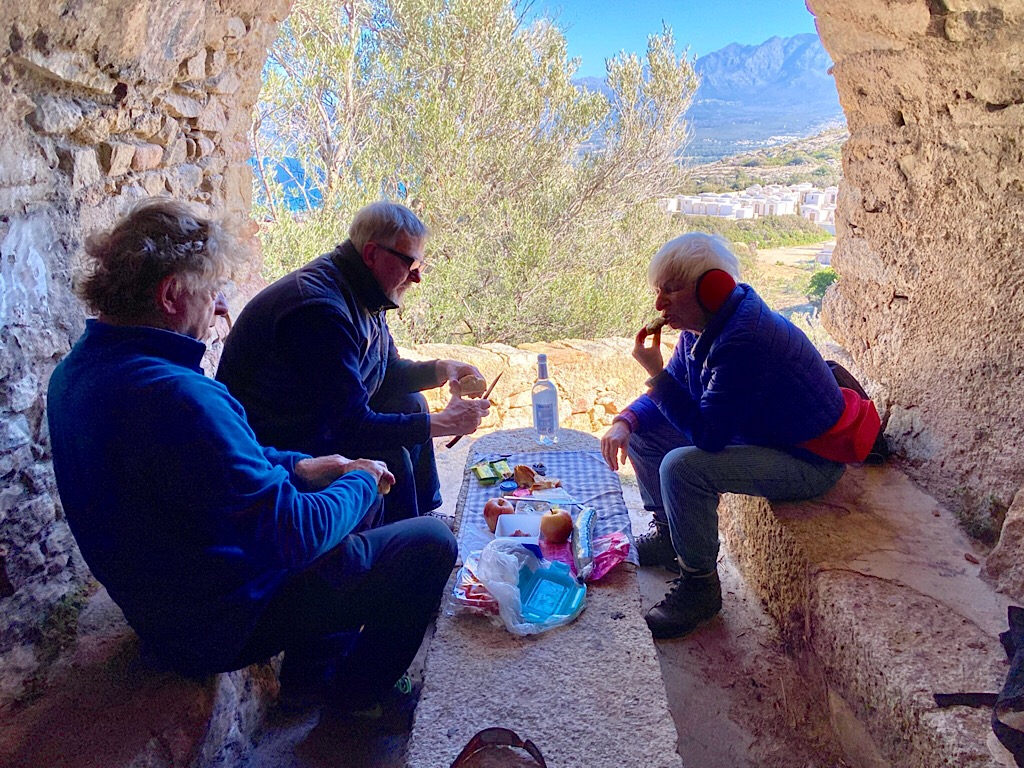
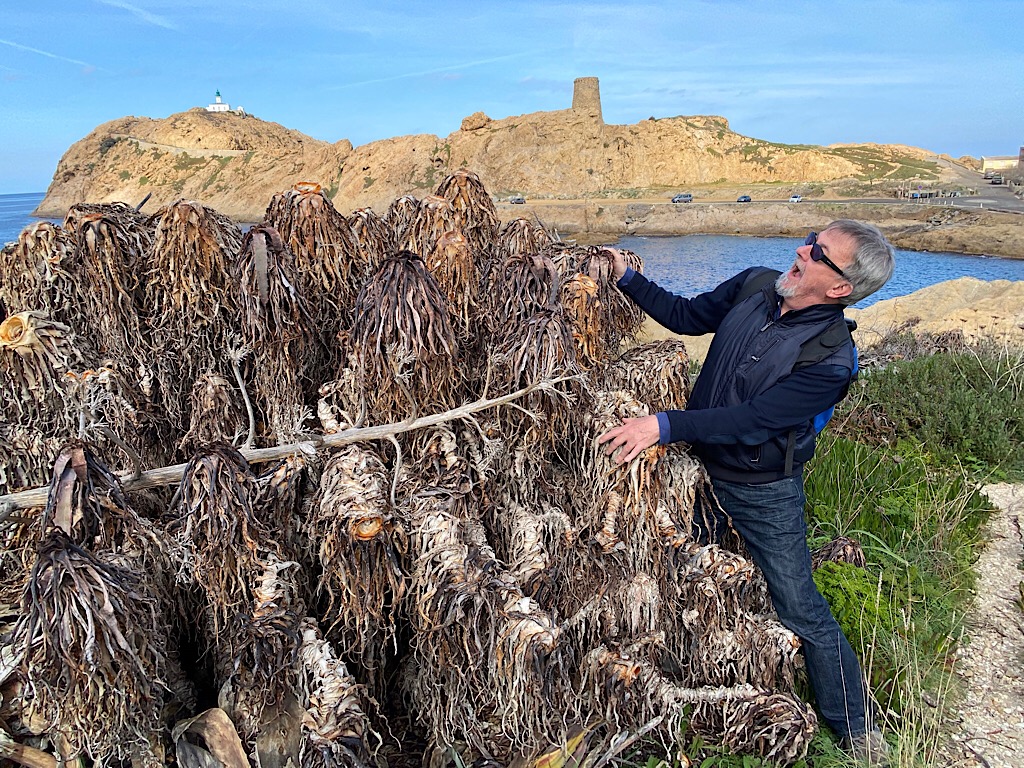
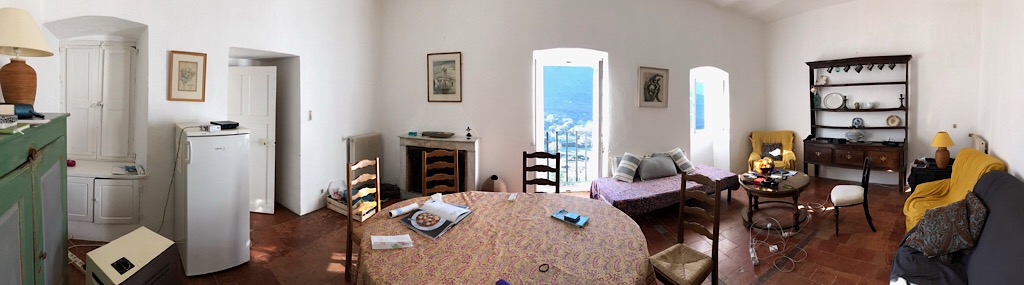
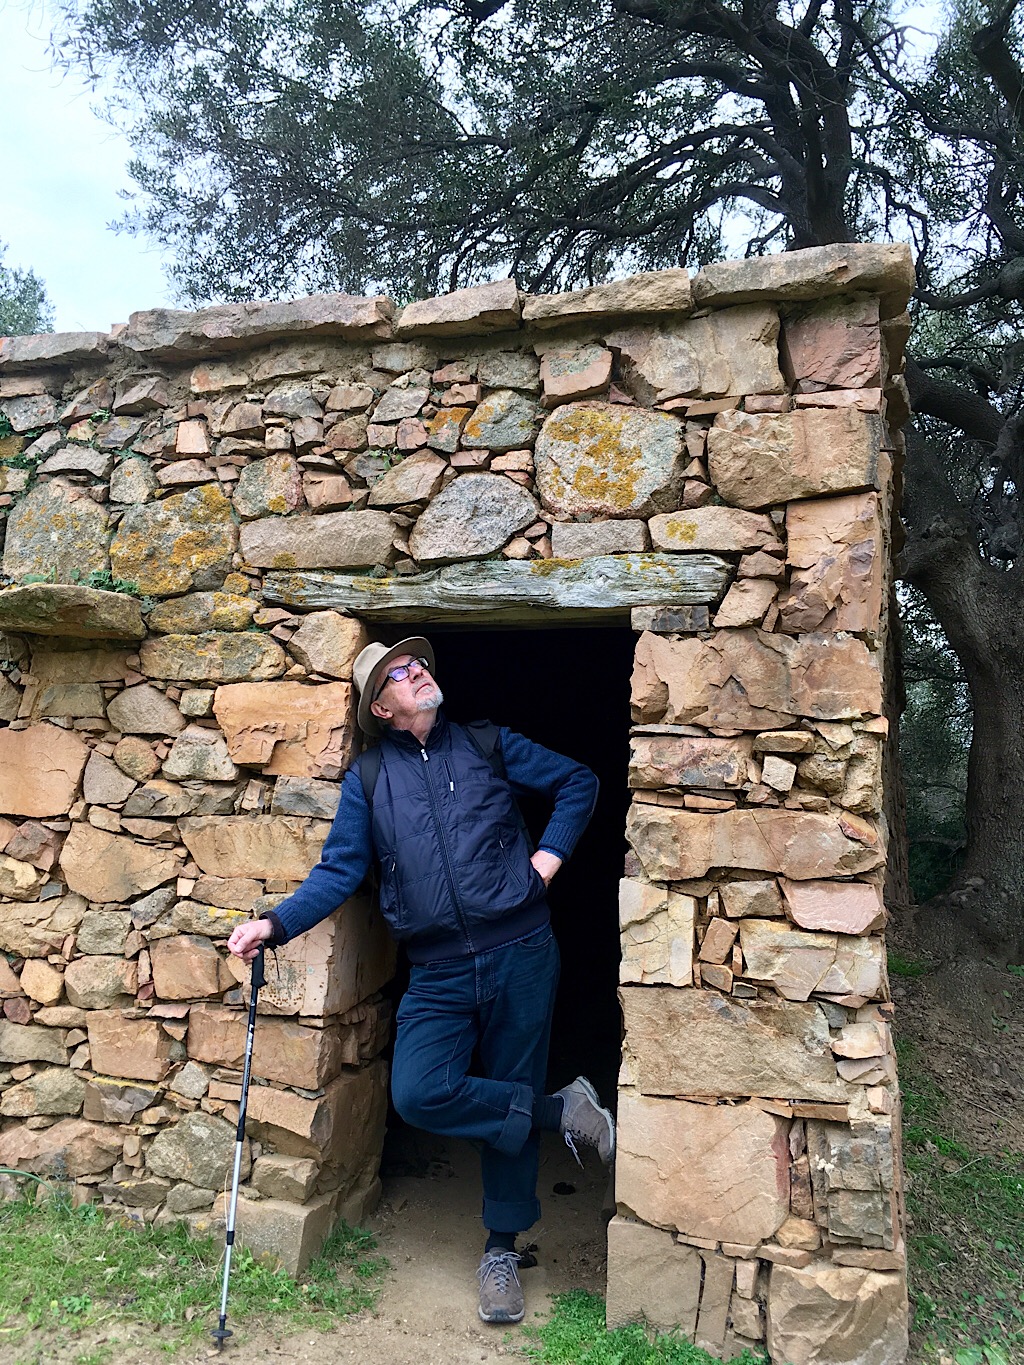
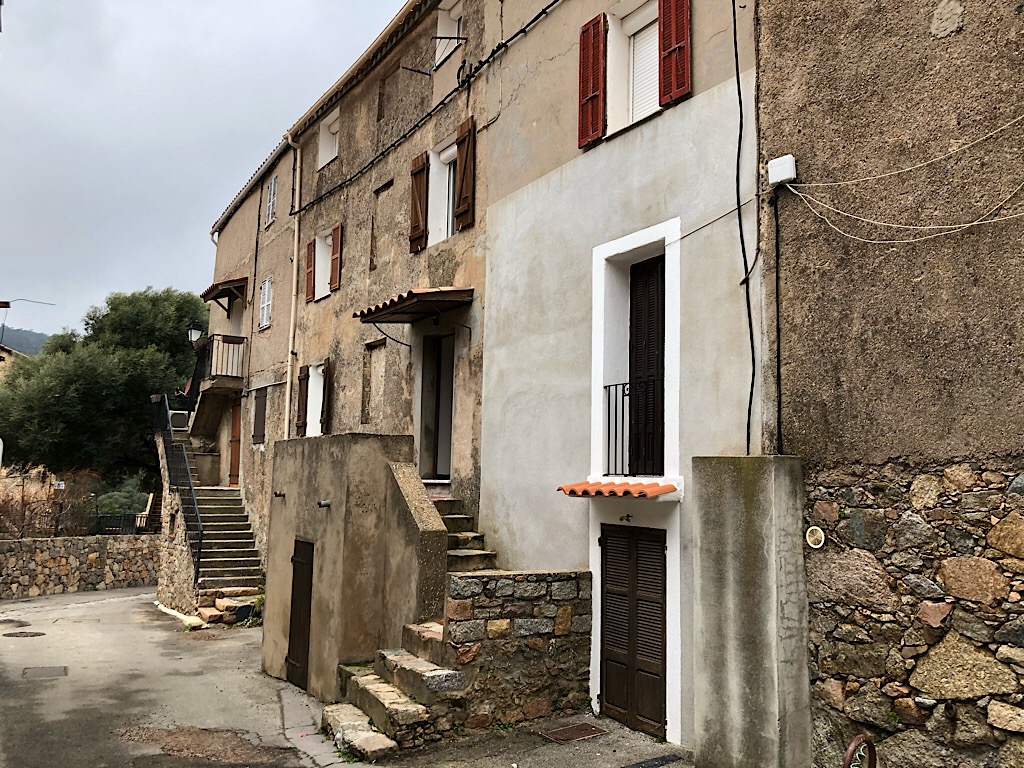
The house where we stayed.
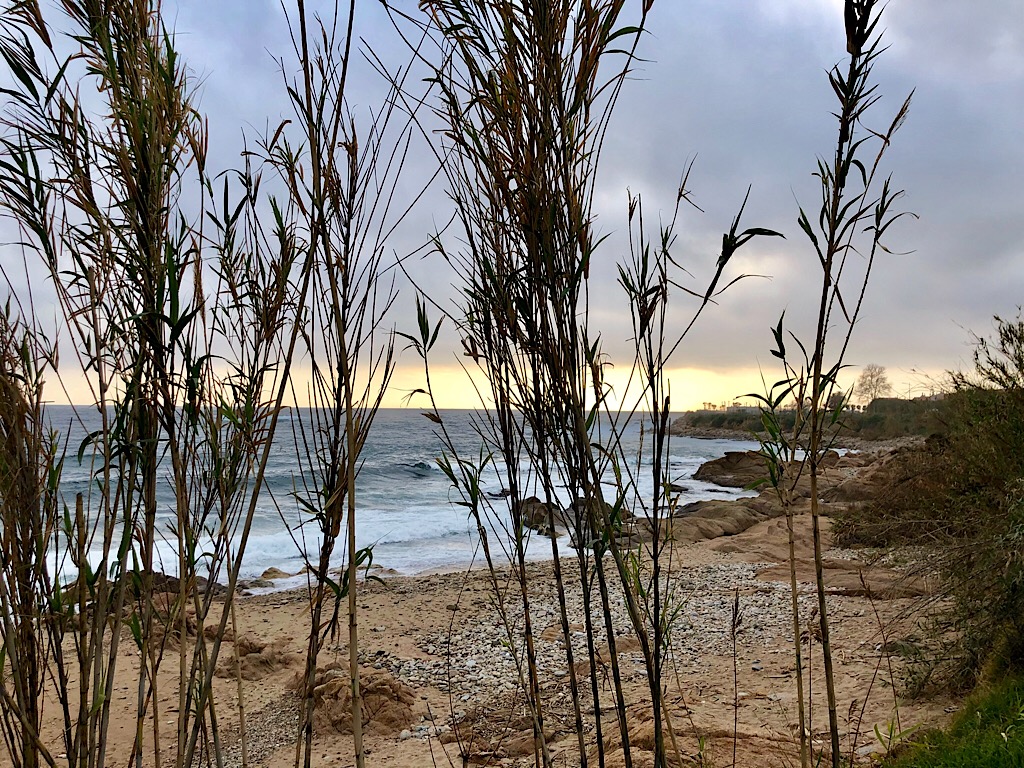
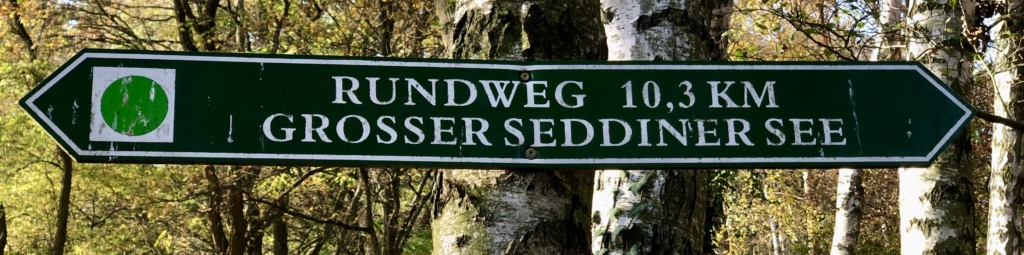
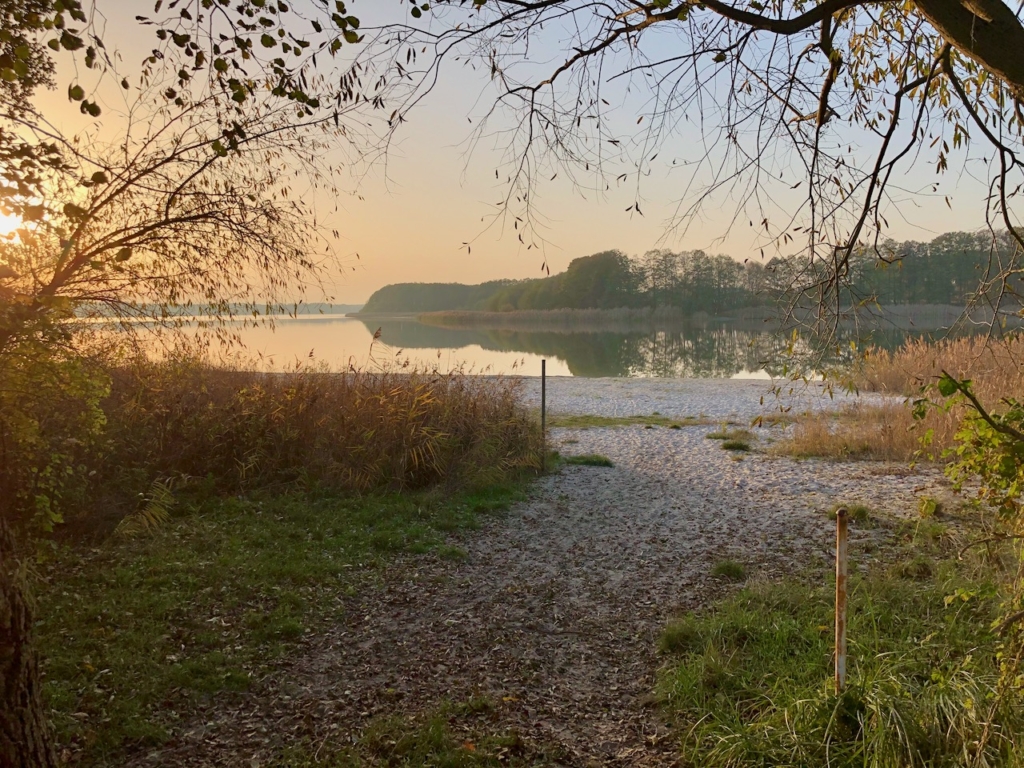
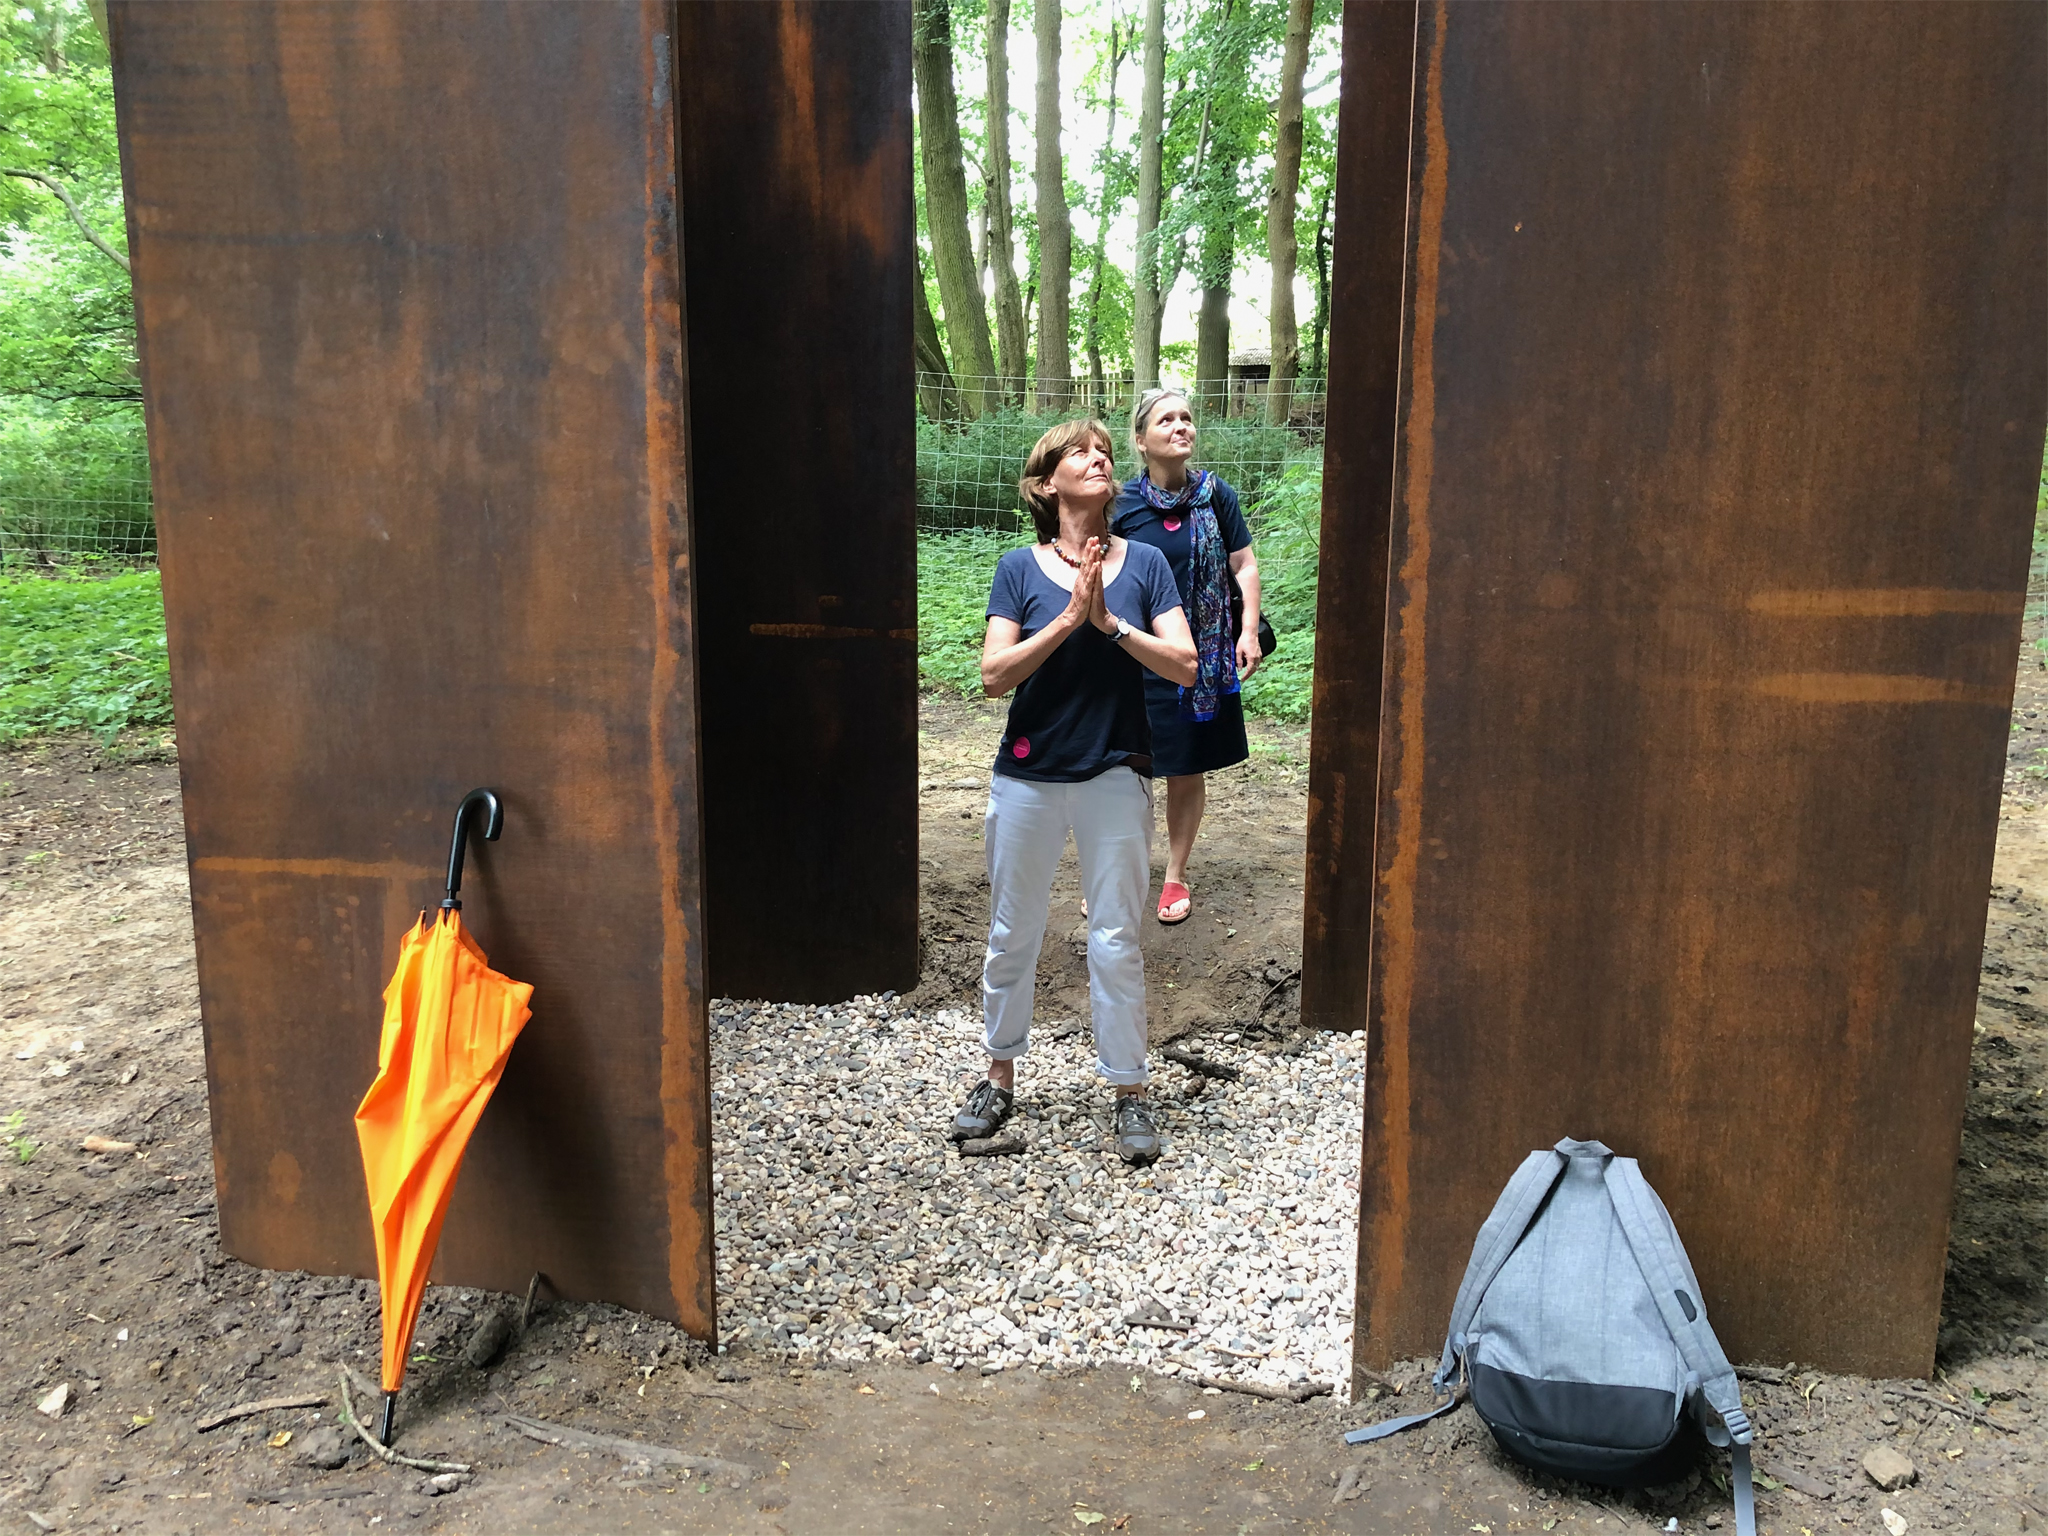
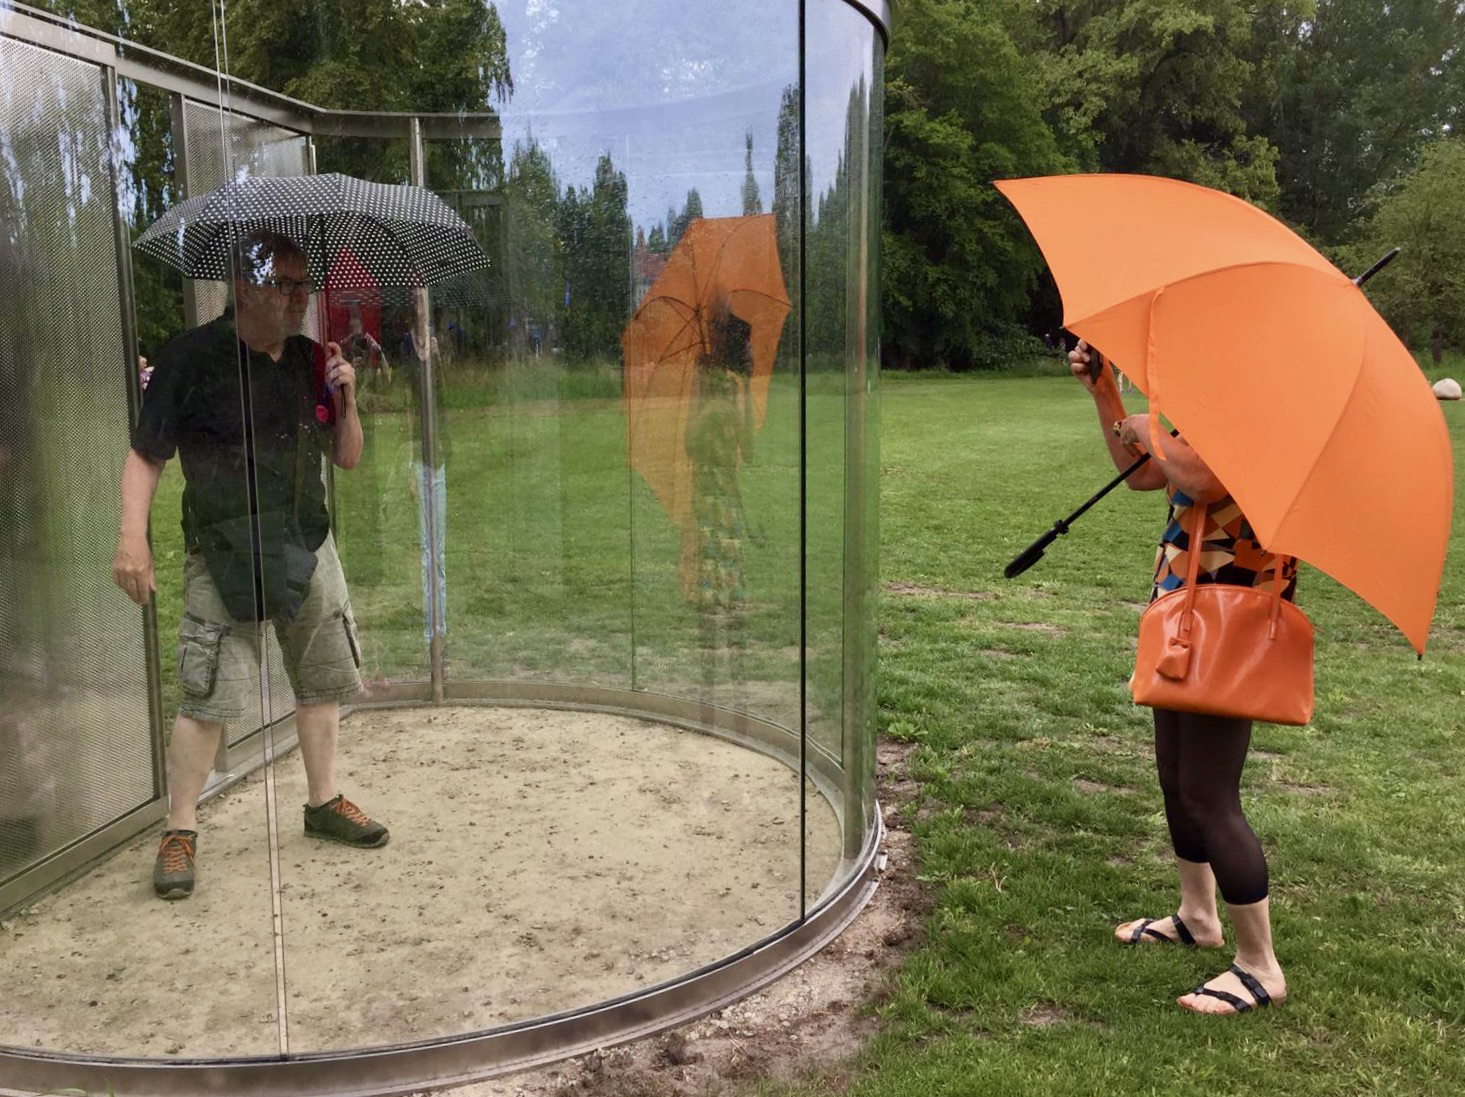
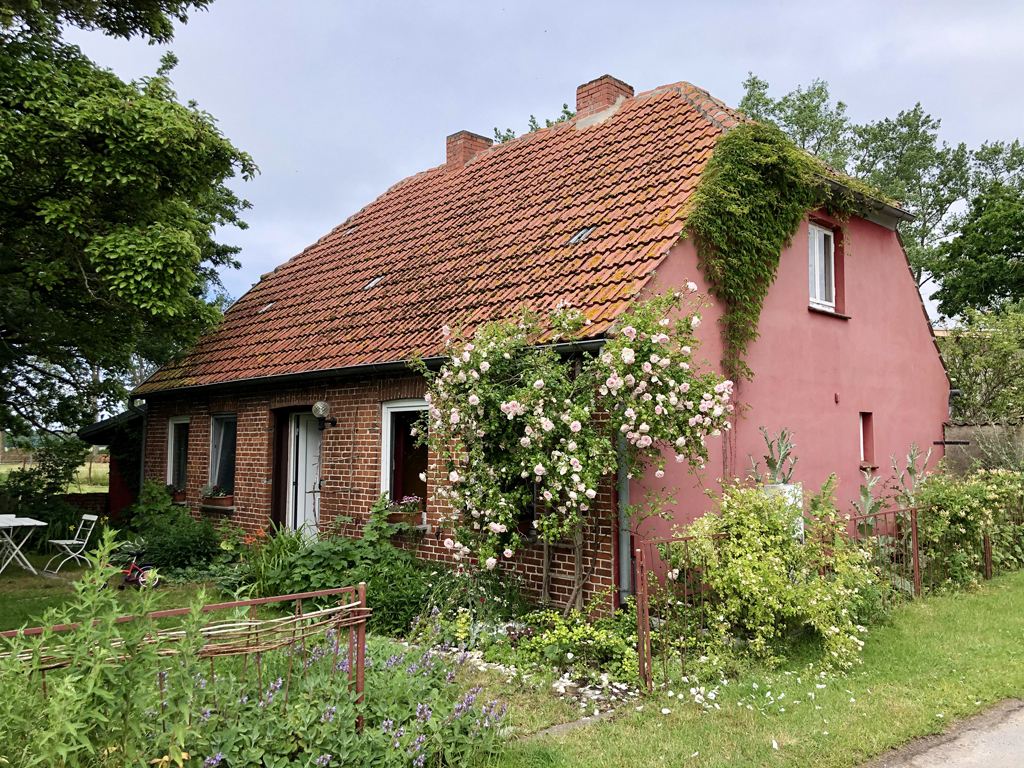
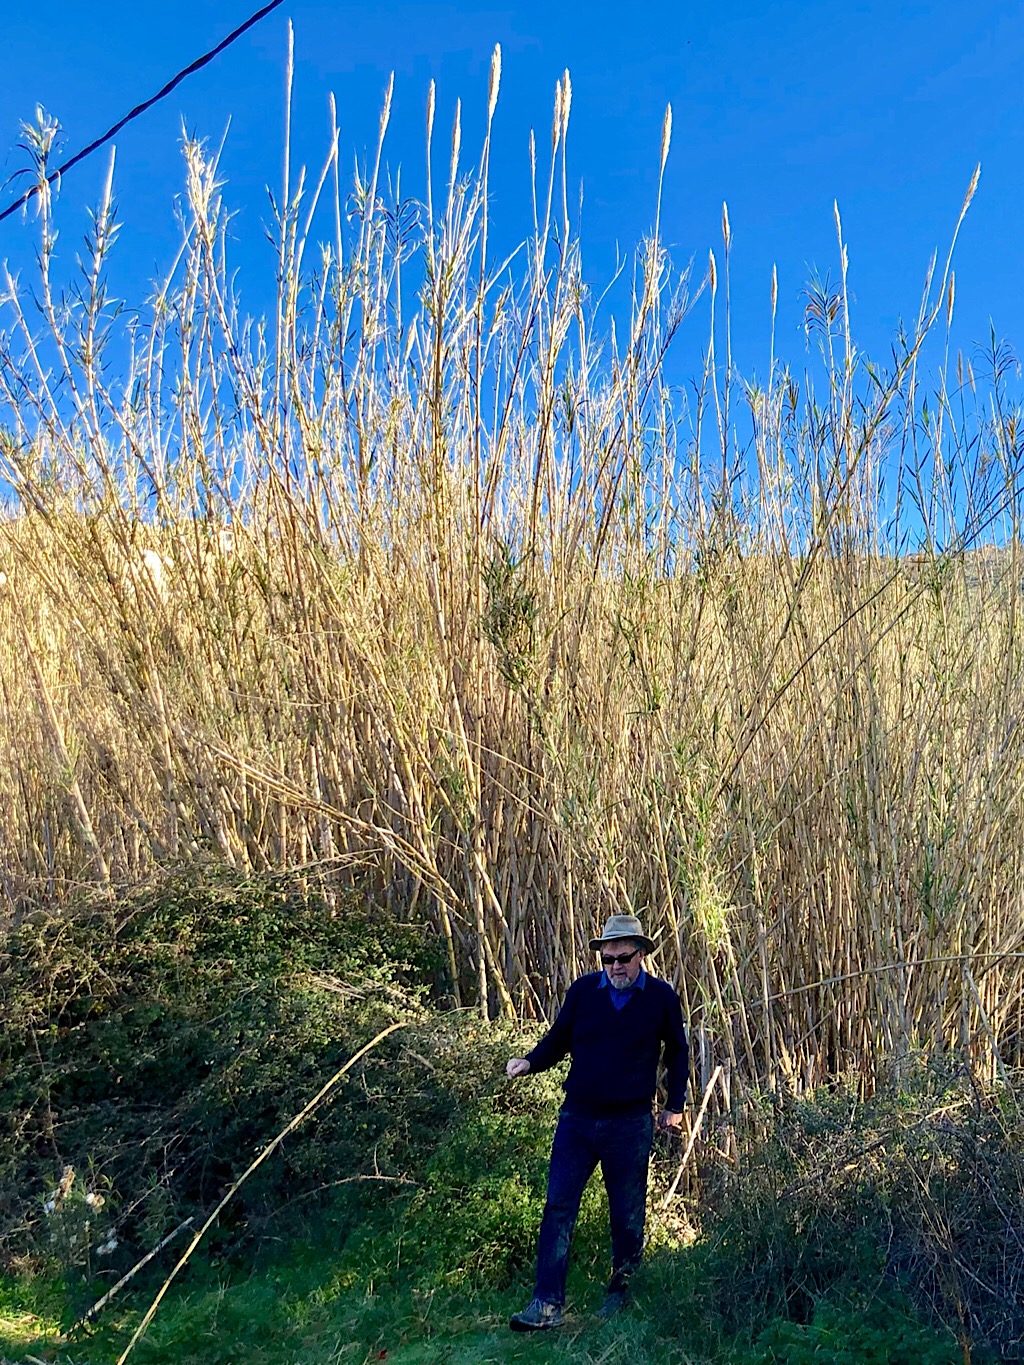
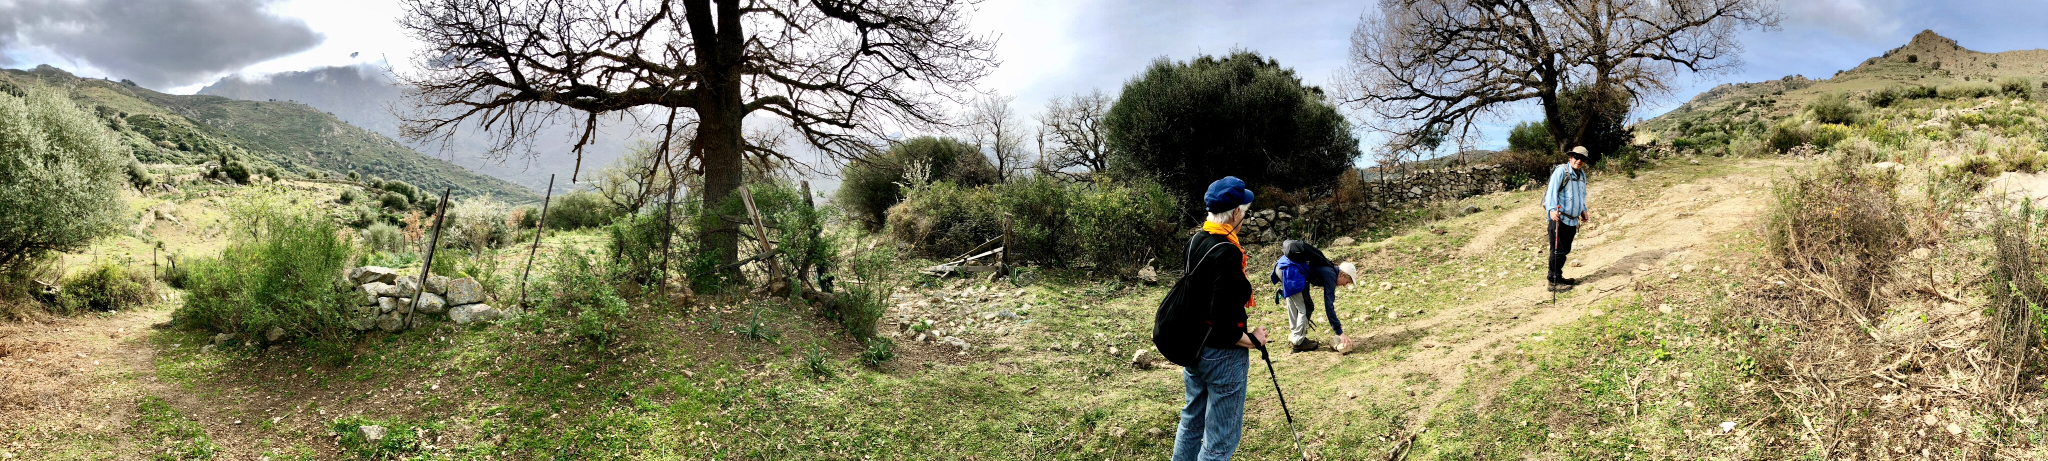
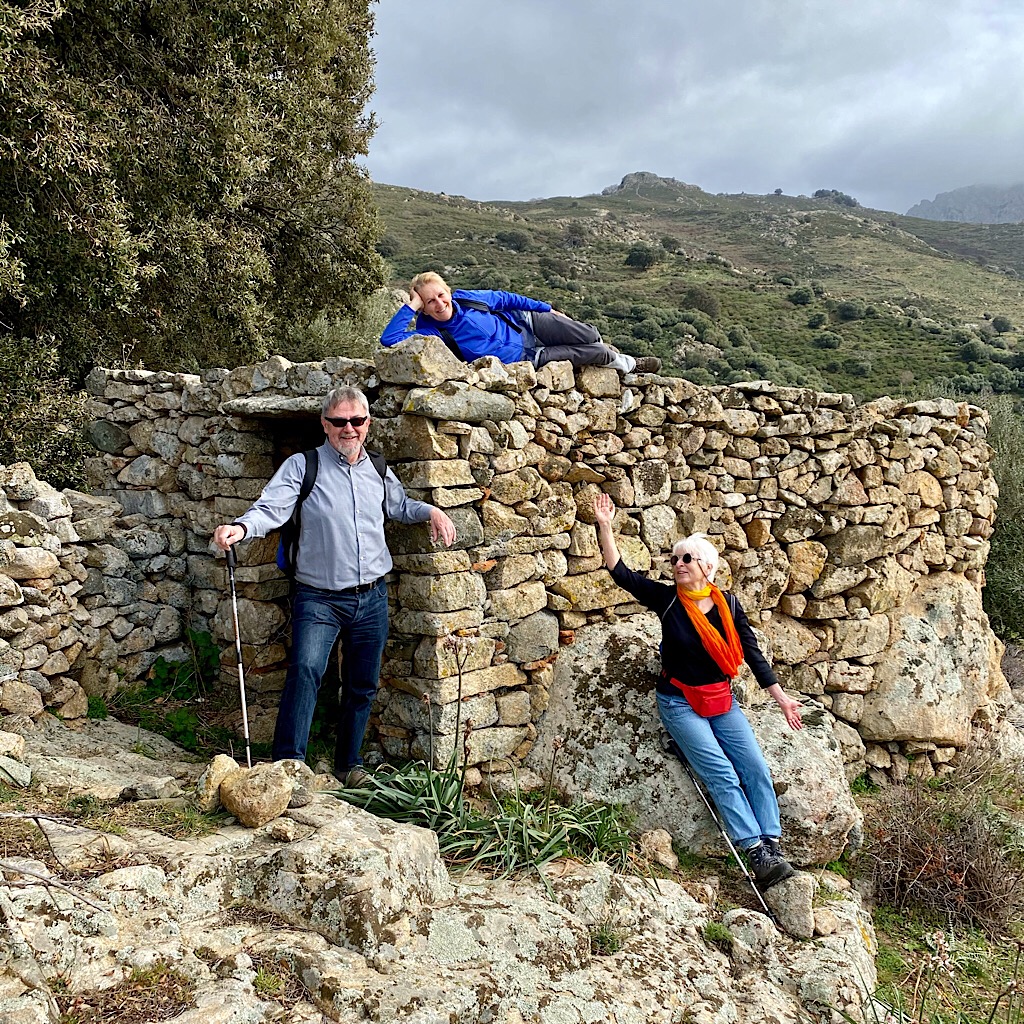
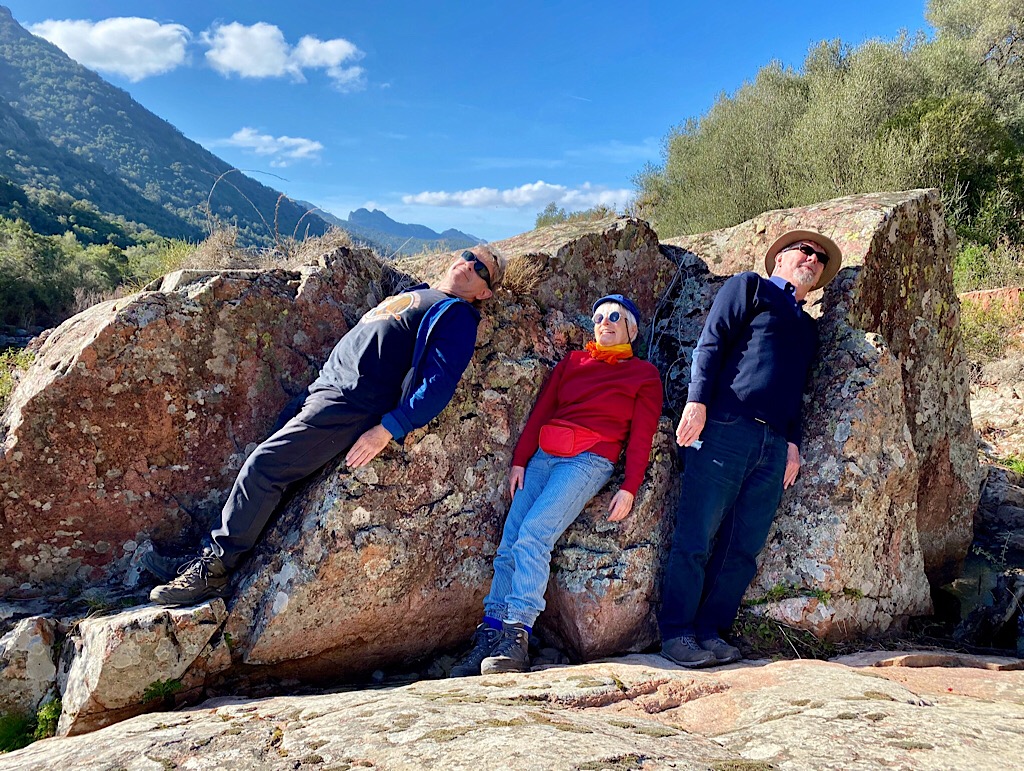
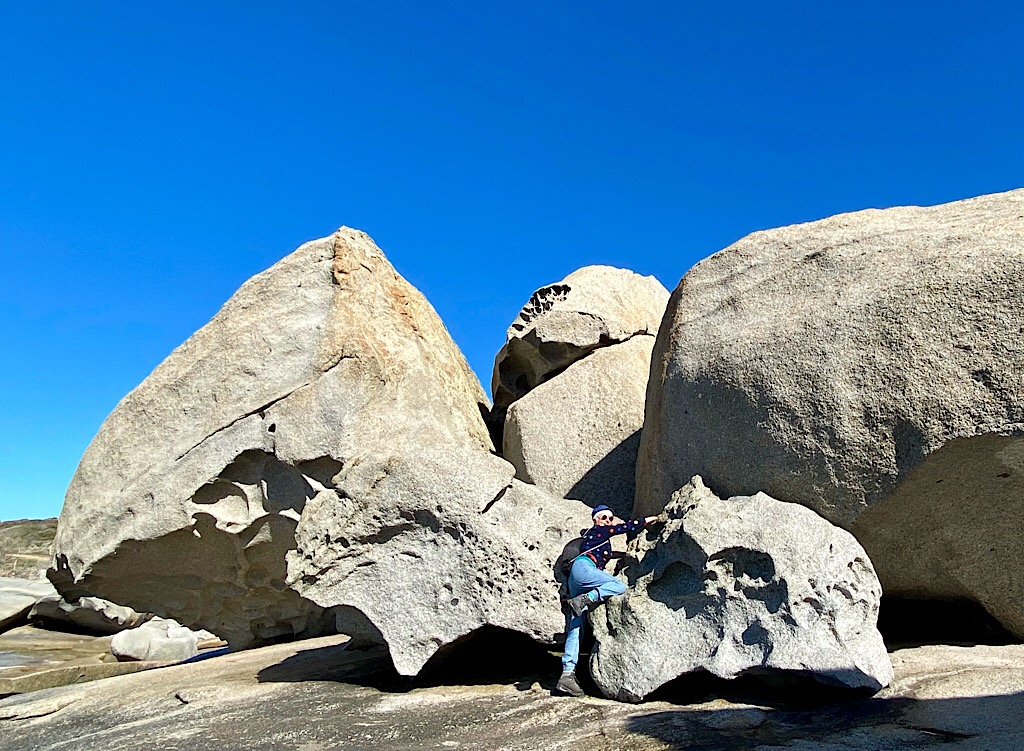
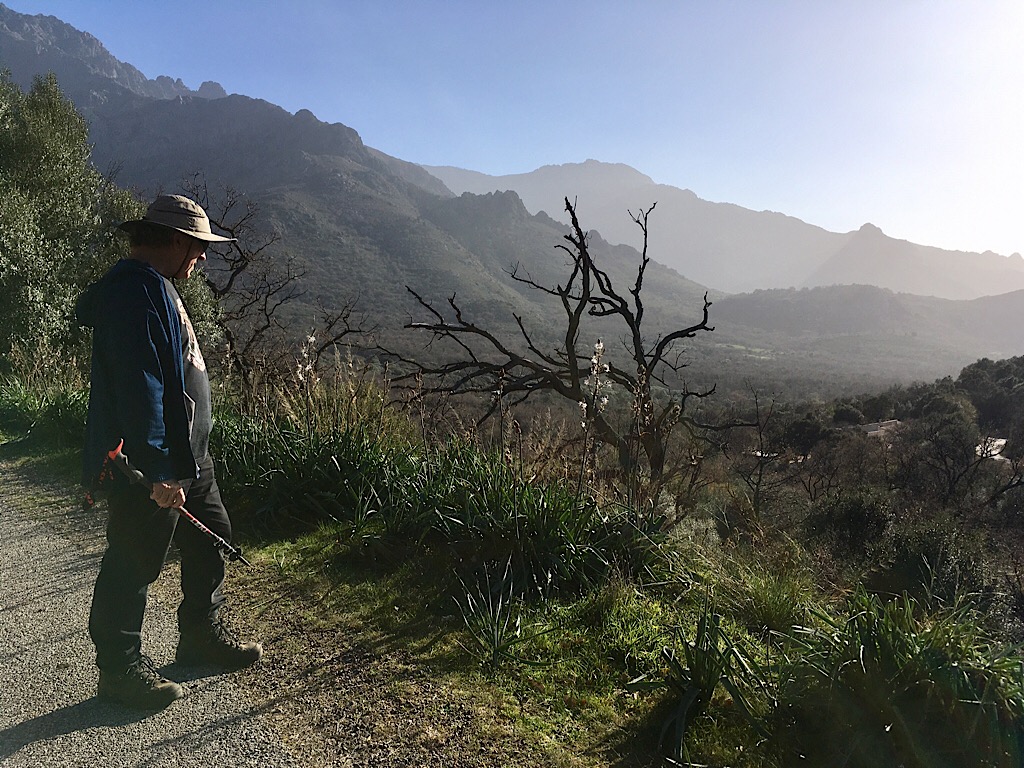
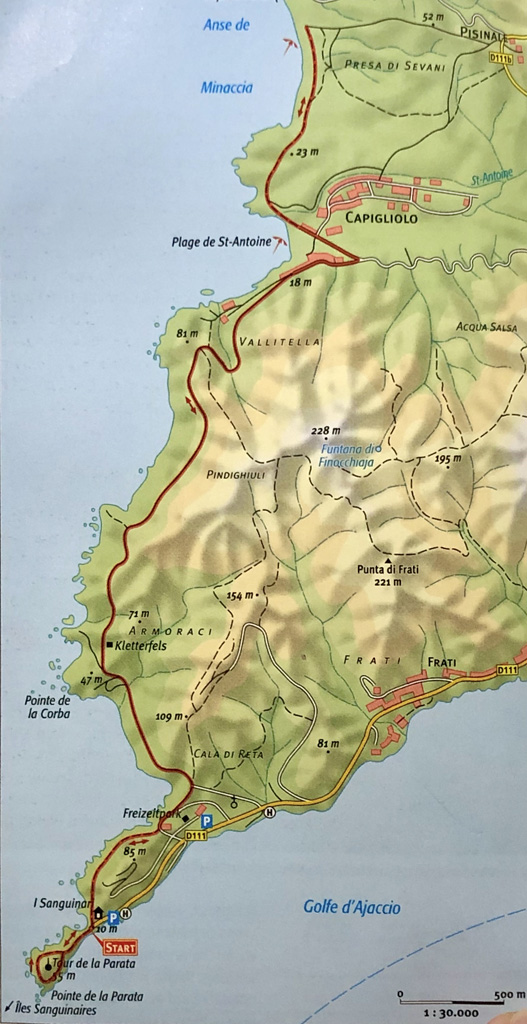
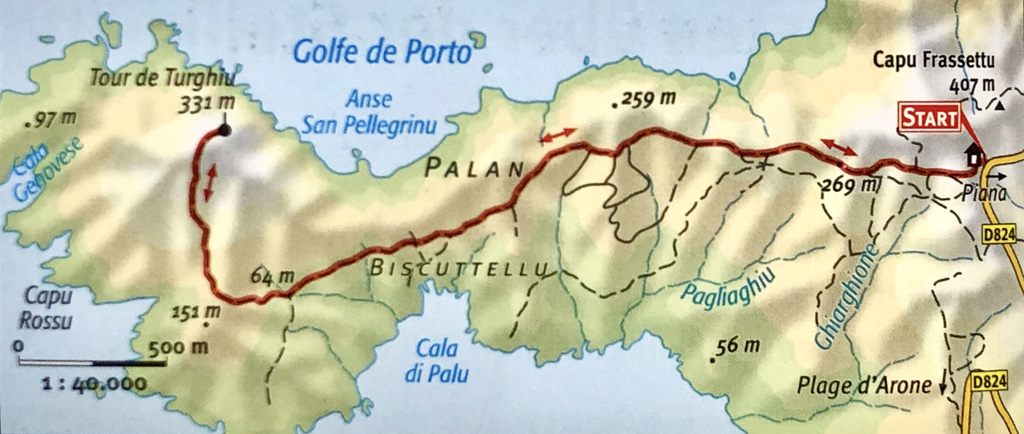
Bits of the village not yet done up.


Drive to Ajaccio 1.5 h

Ajaccio apartment https://www.booking.com €500 cash deposit required.

Evening walk along new EU-sponsored footpath (narrowing the road!).

Sunday 9 Feb – Piana


Walk 13 – 7 km 3 h

The walk goes to the tower on the hill at the end.

The link for the guys with a drone Youtube channel


Picnic looking down into Cala di Palu.


Corsican colours


Friar‘s Cowl


Corsican steps


Kim thinking lofty thoughts


The view from our balcony – Residence de la Tour Piana

Saturday 8 Feb – Piana


The sun rose over the mountains at quarter past eight.

Calvi beach

Stock up at Spar Supermarket – Route de Calenzana, 20260 Calvi

Drive to Piana 2 h

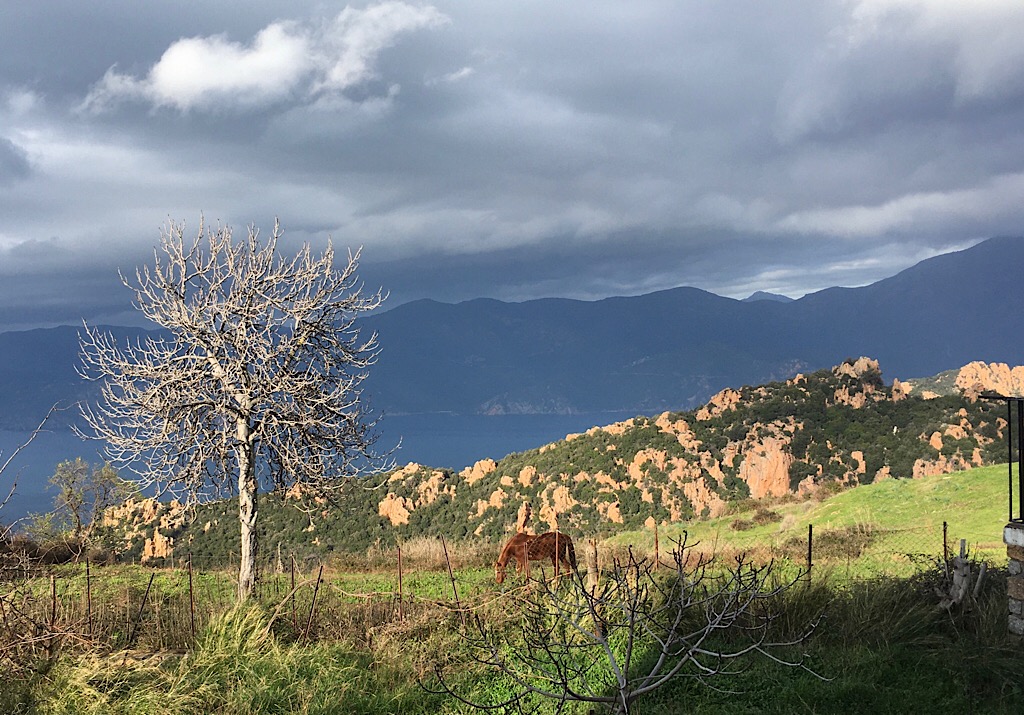
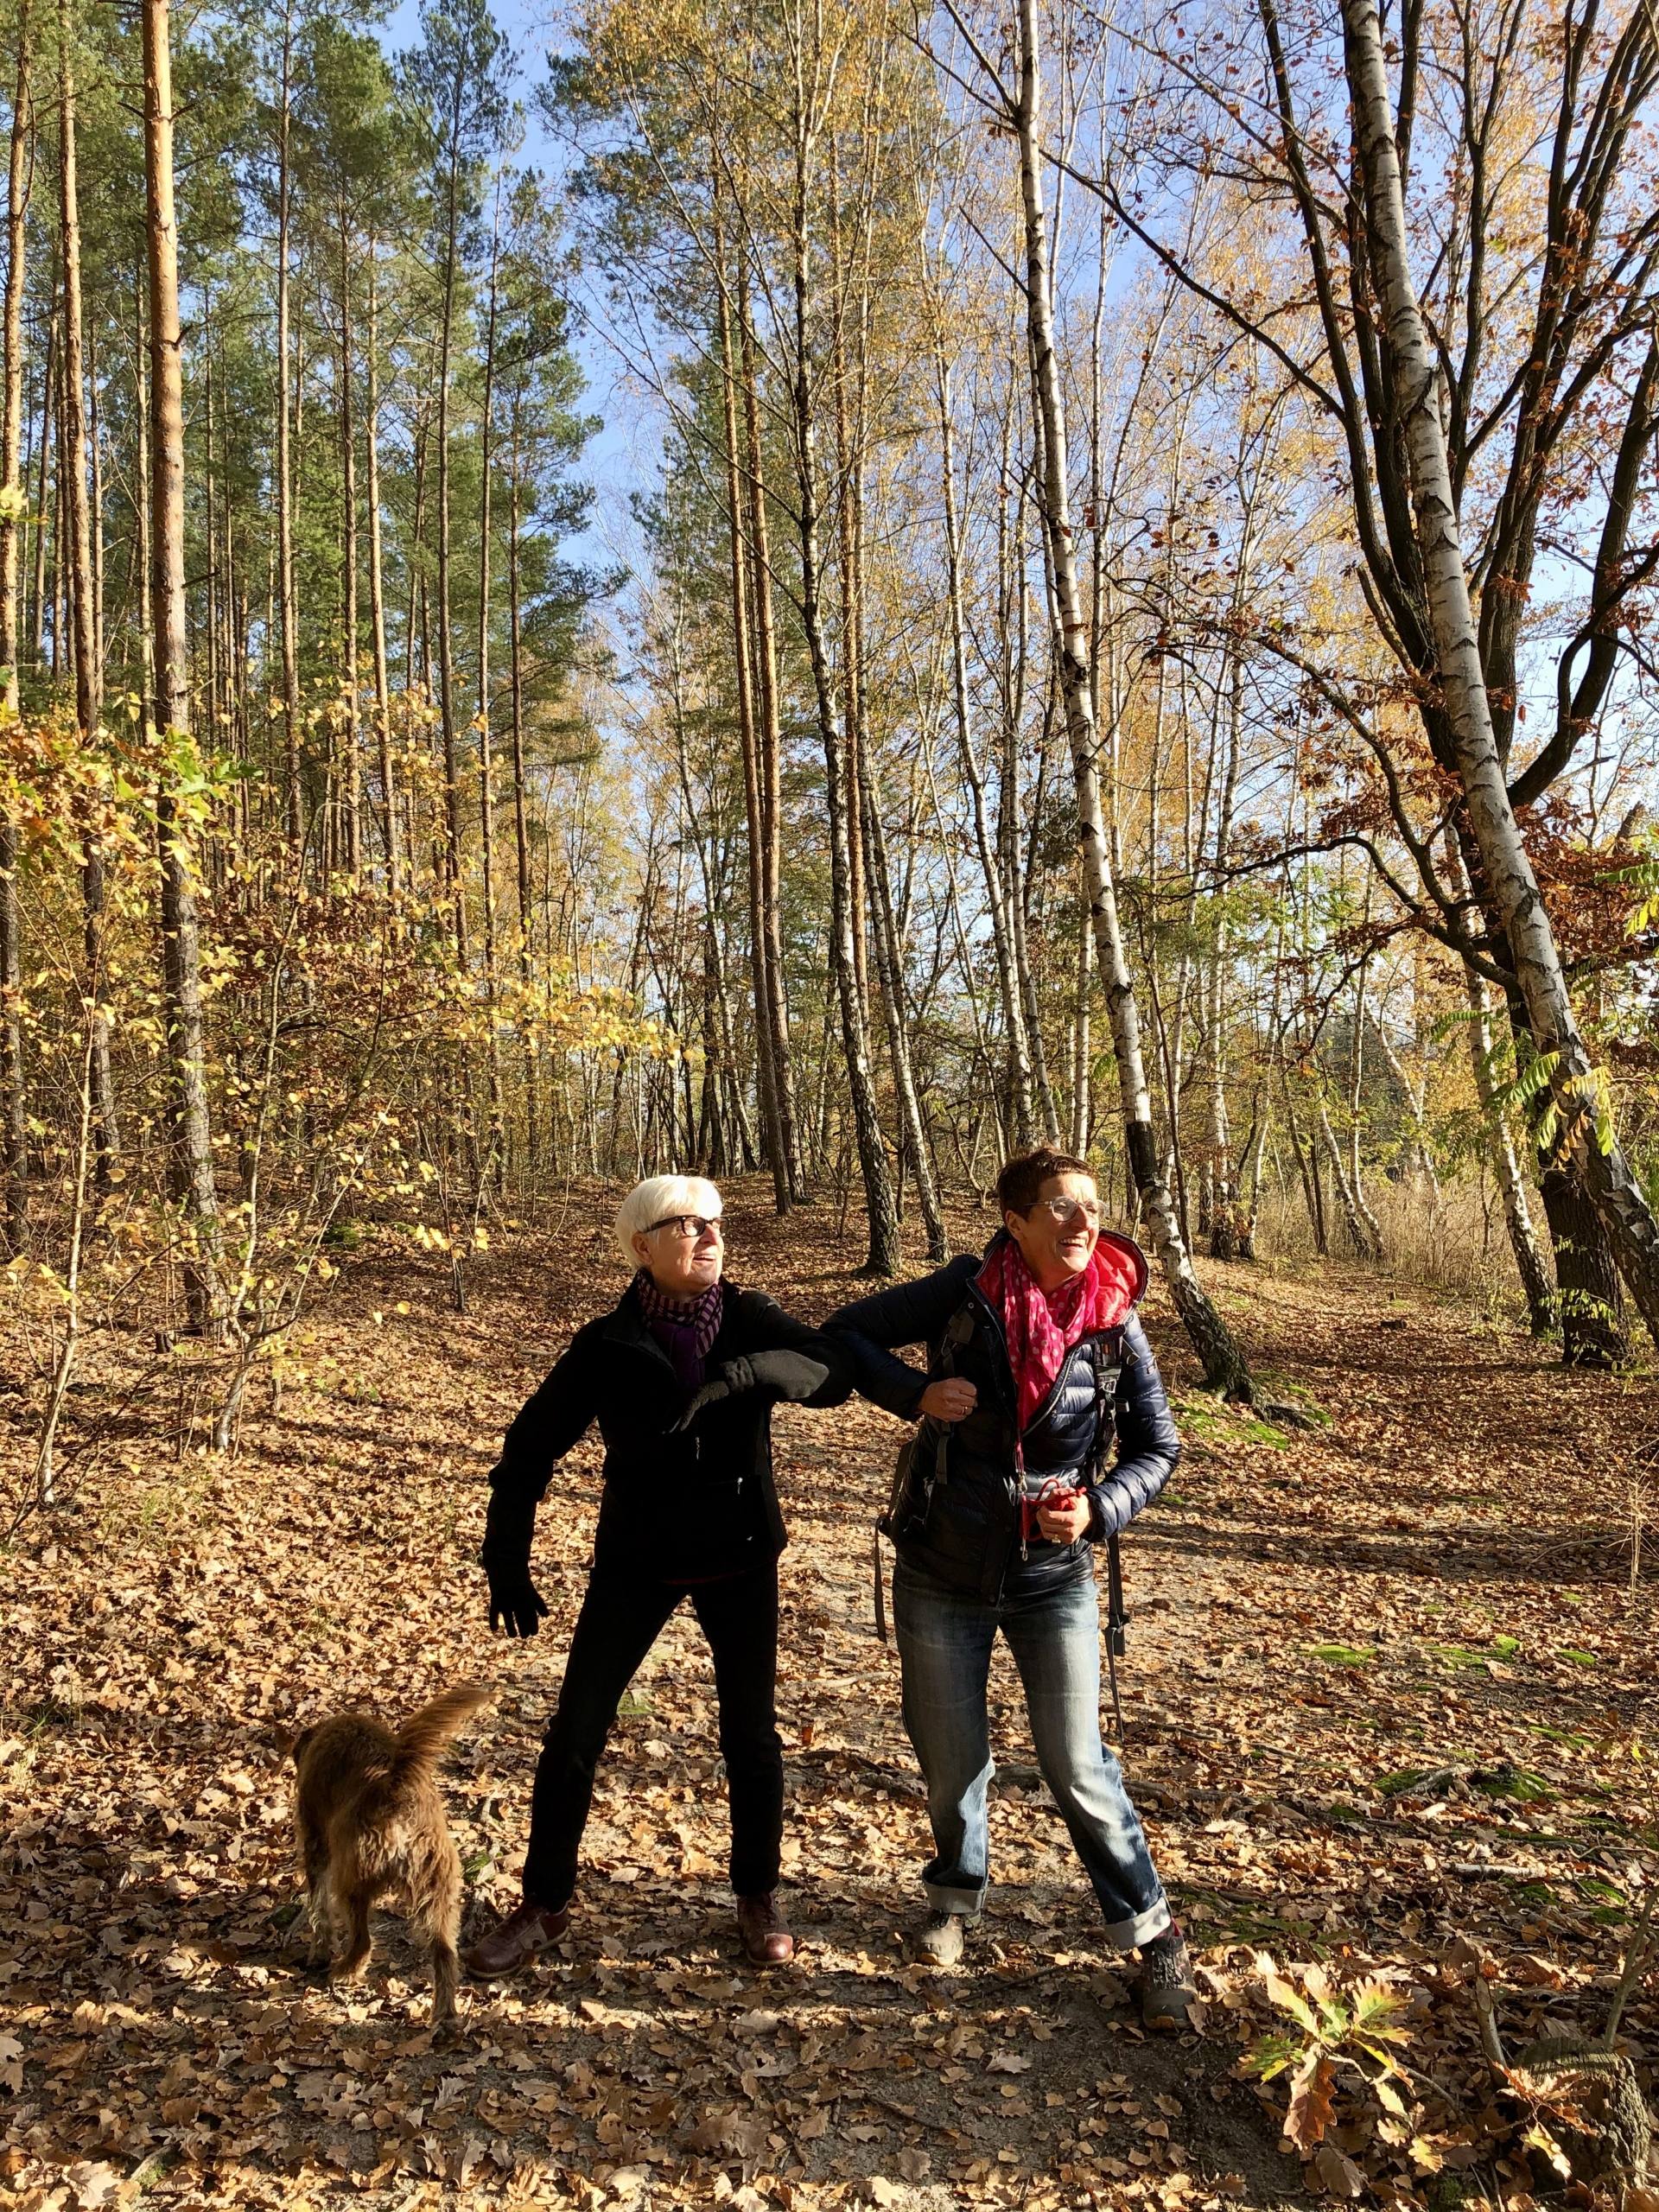
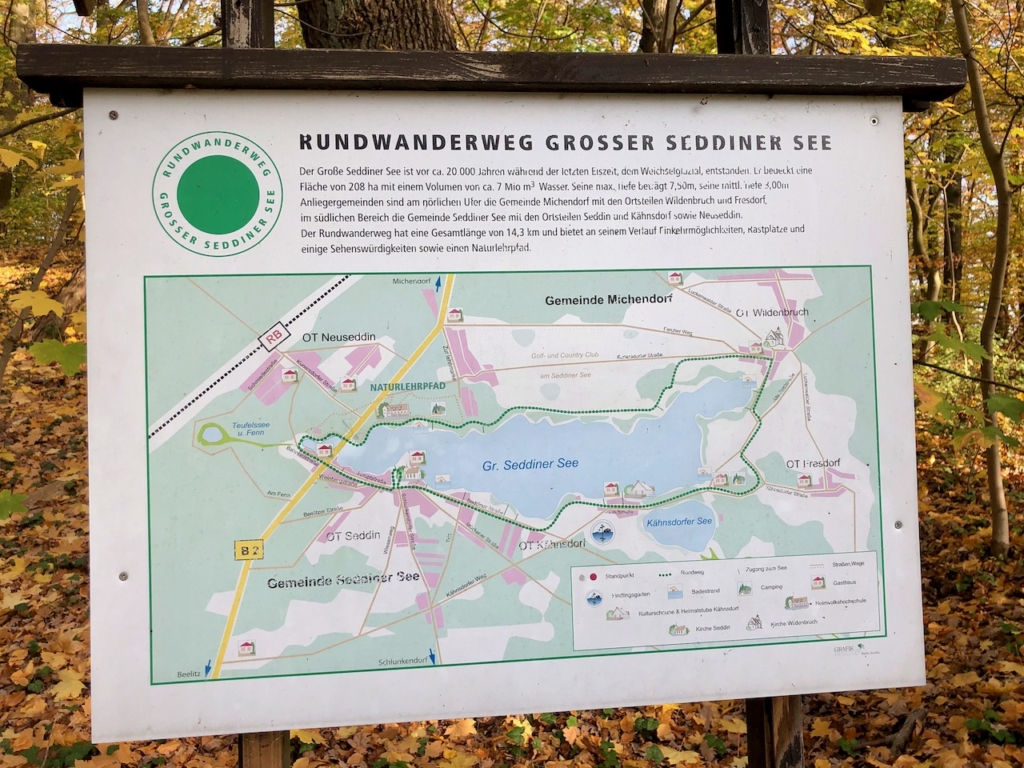
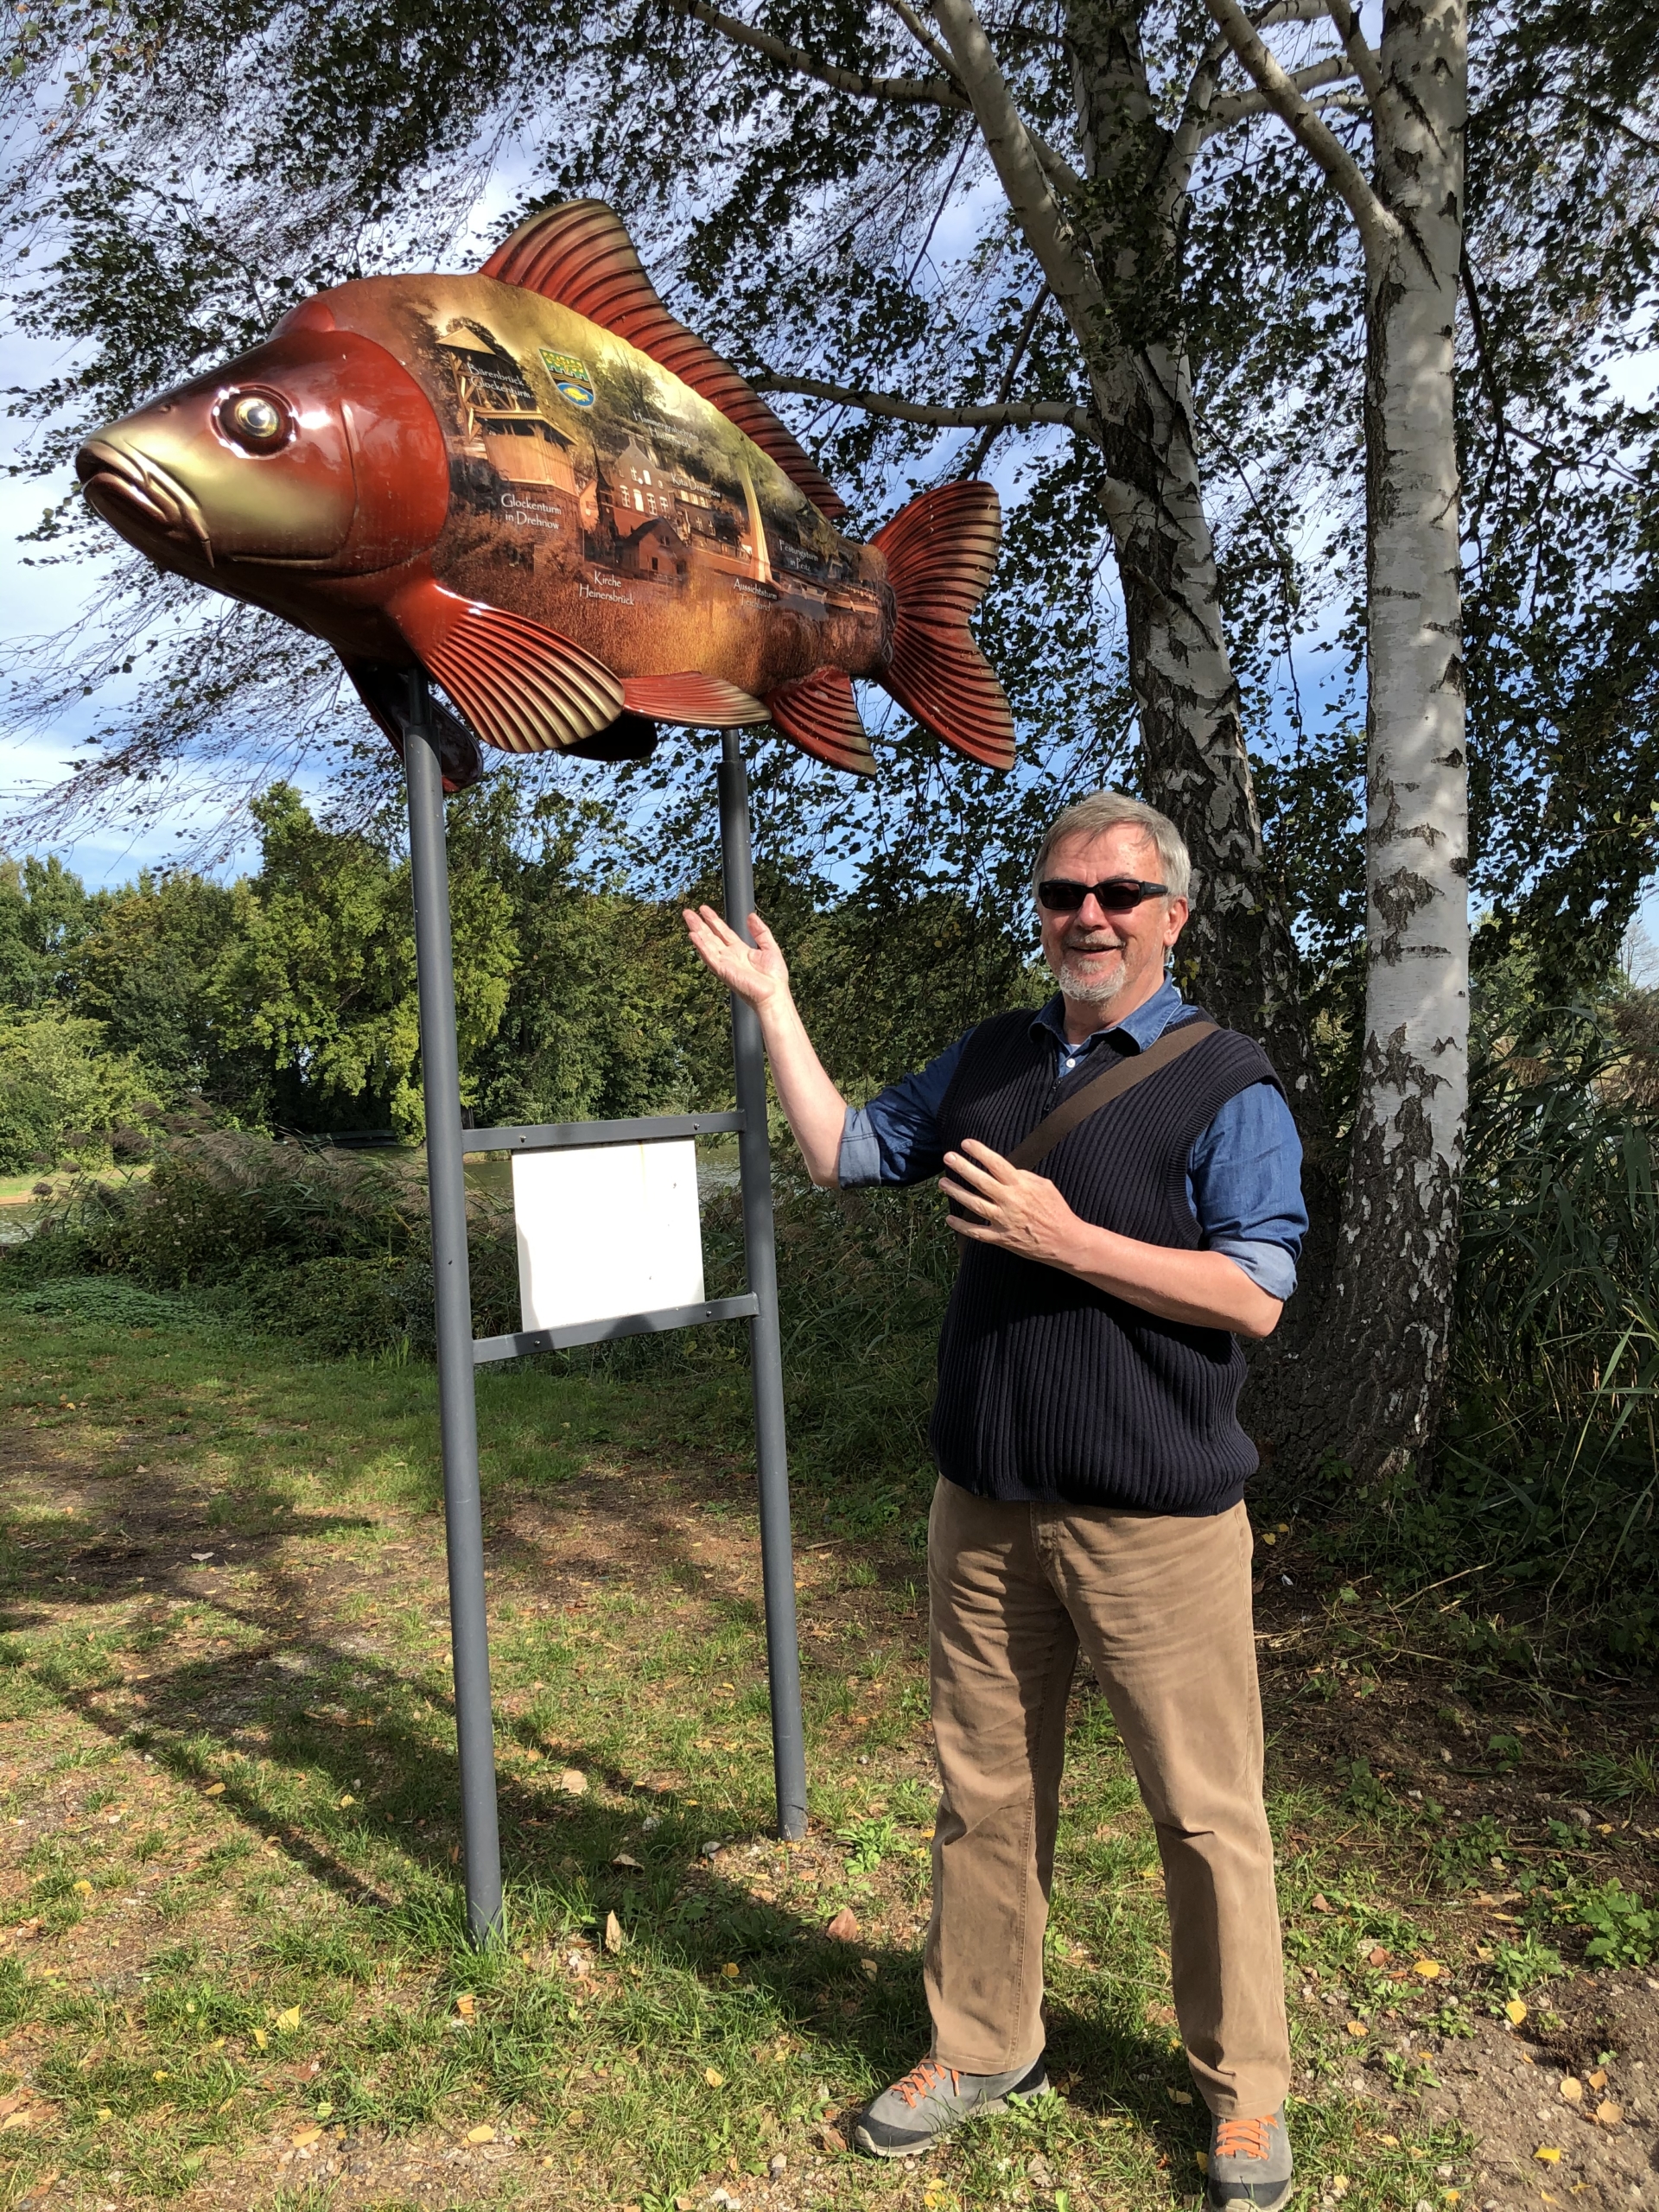
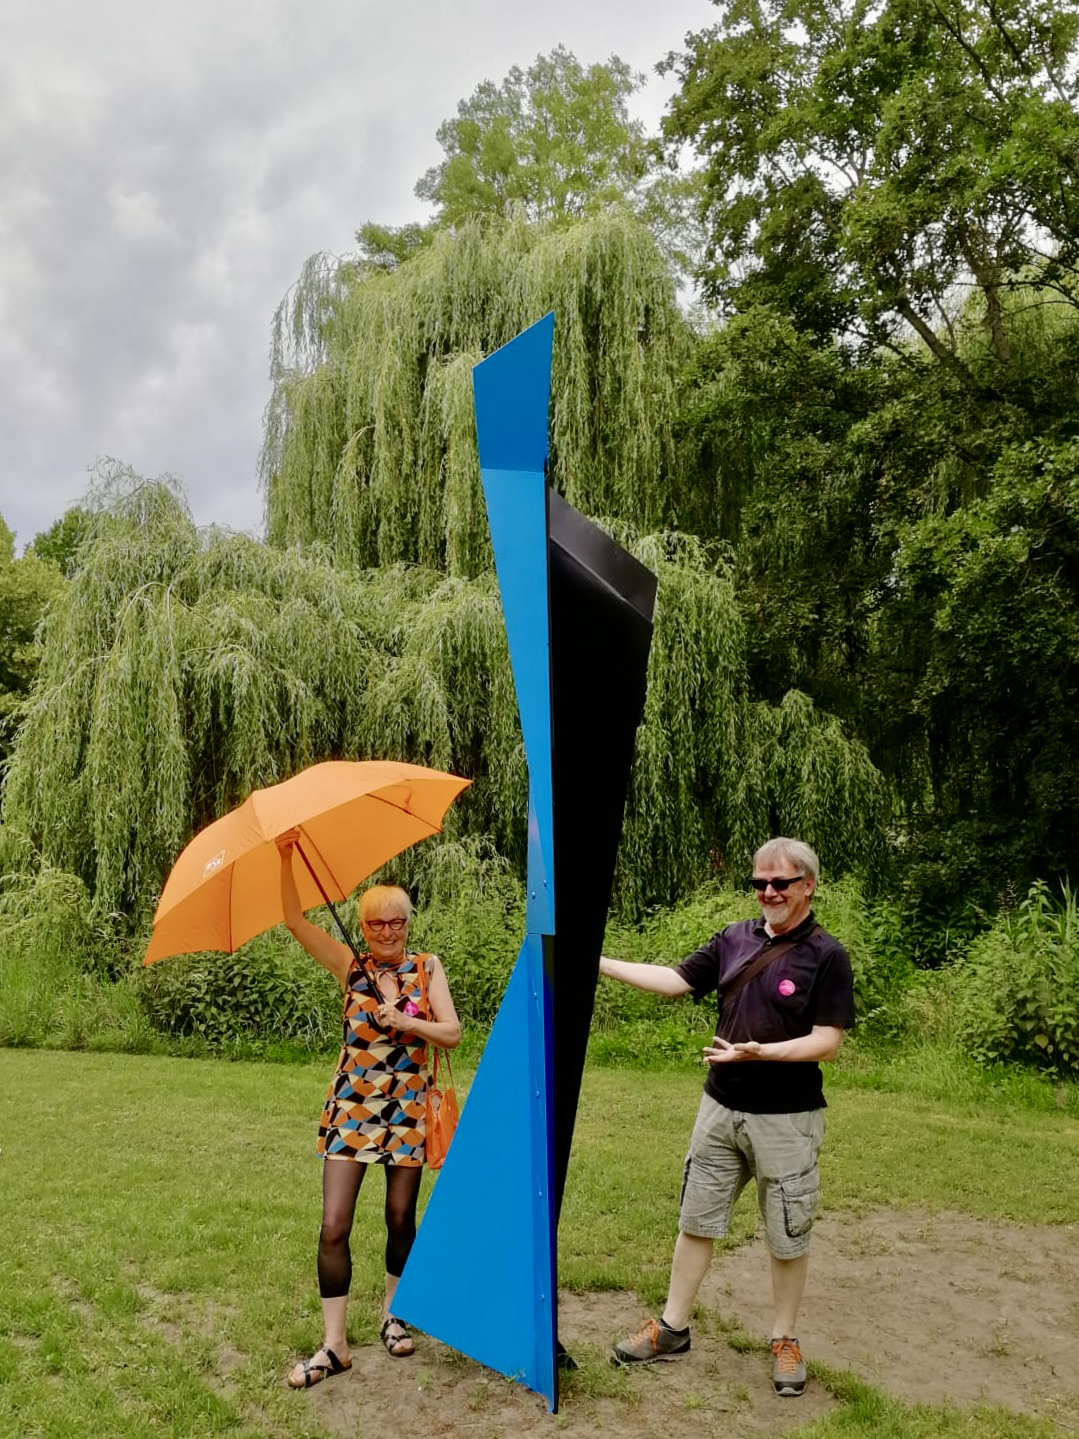
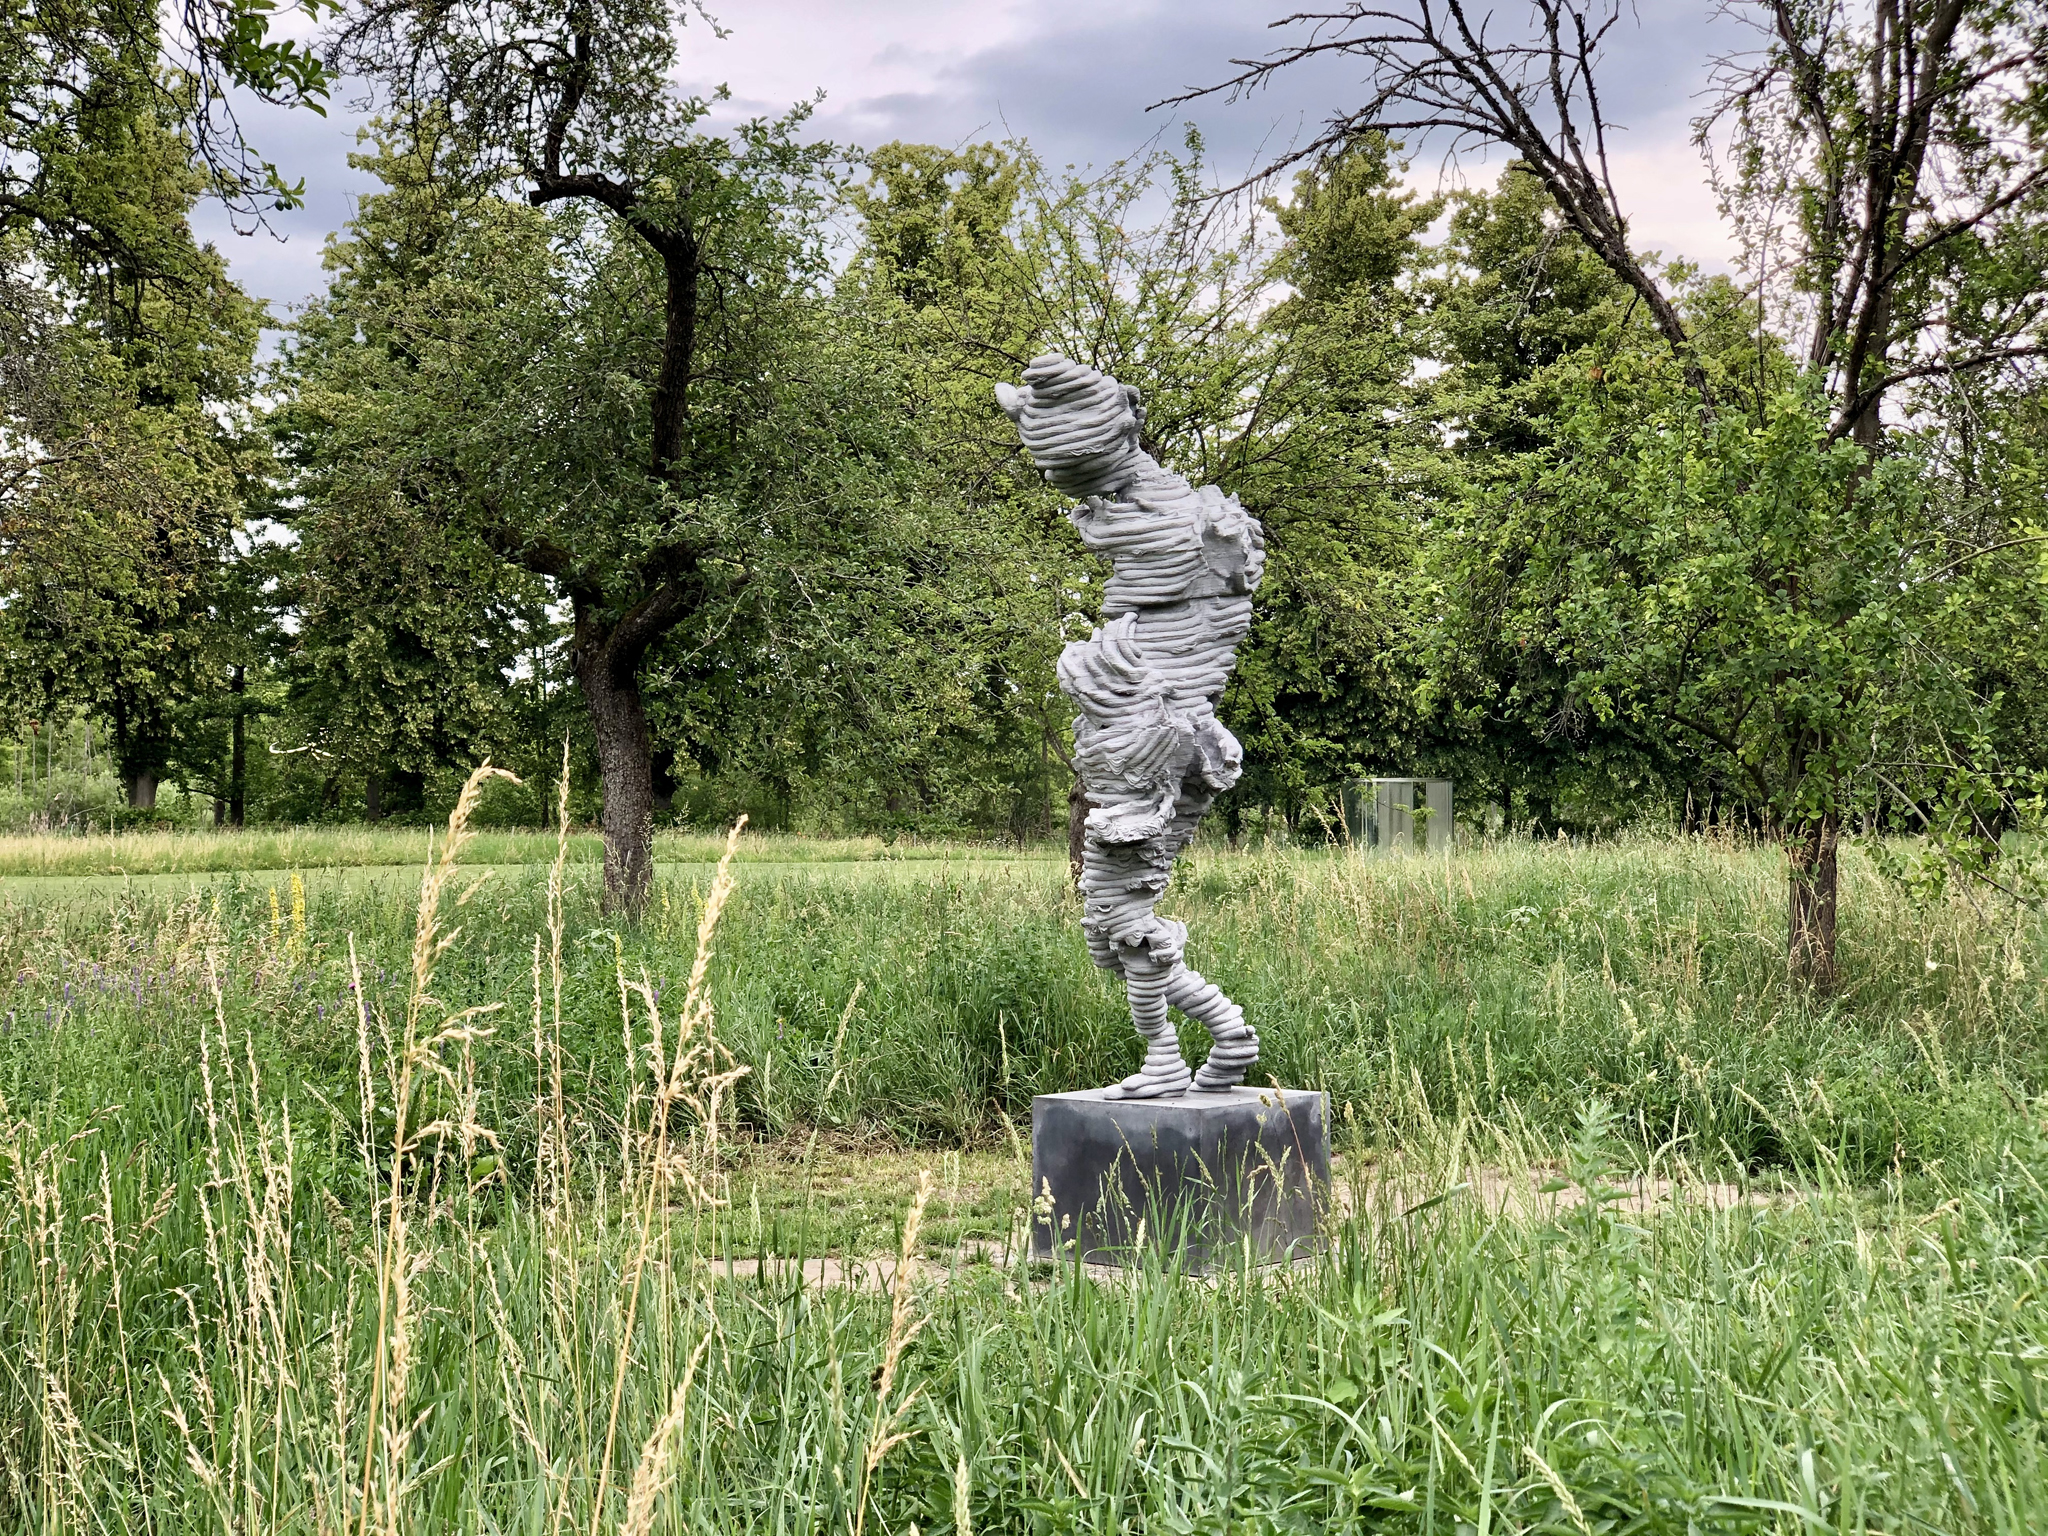
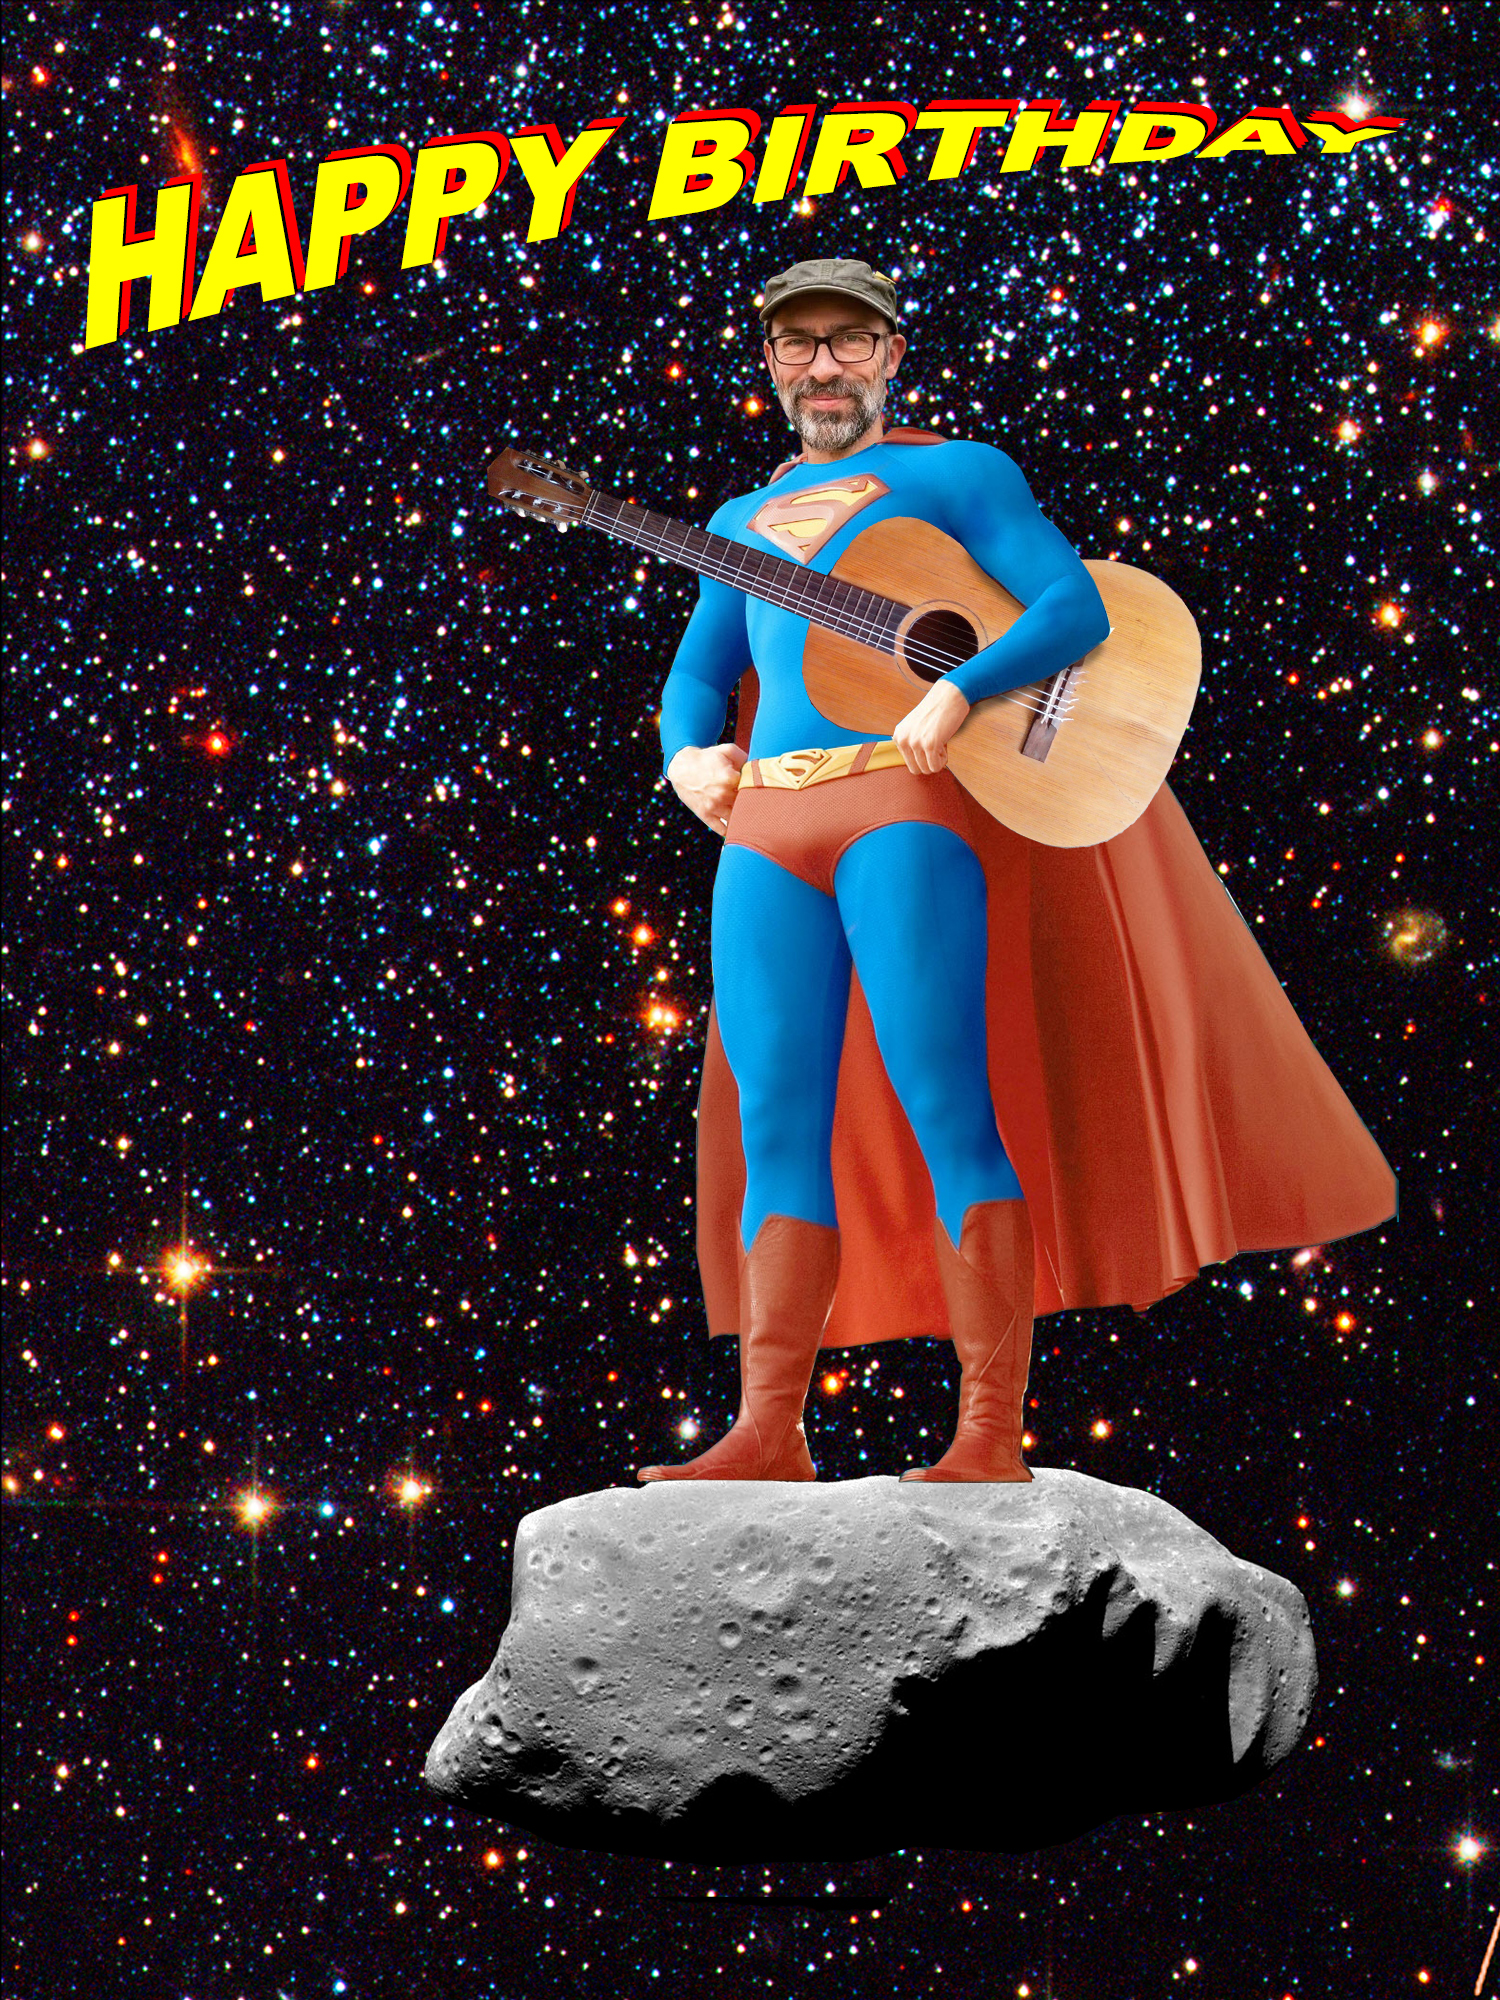
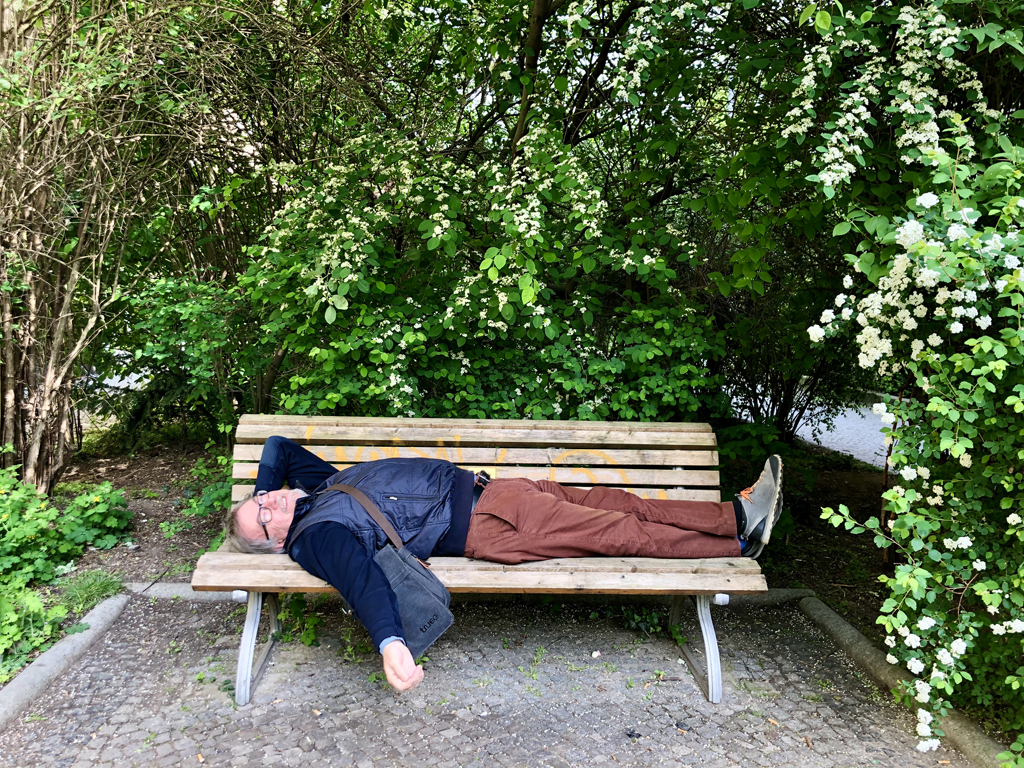
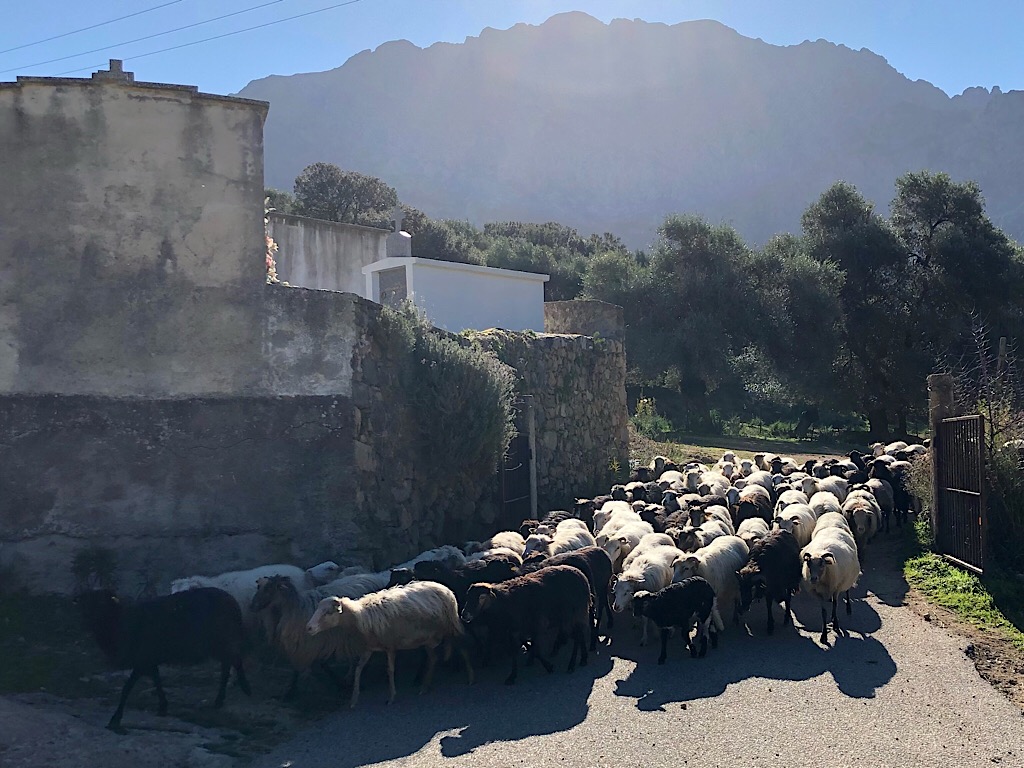
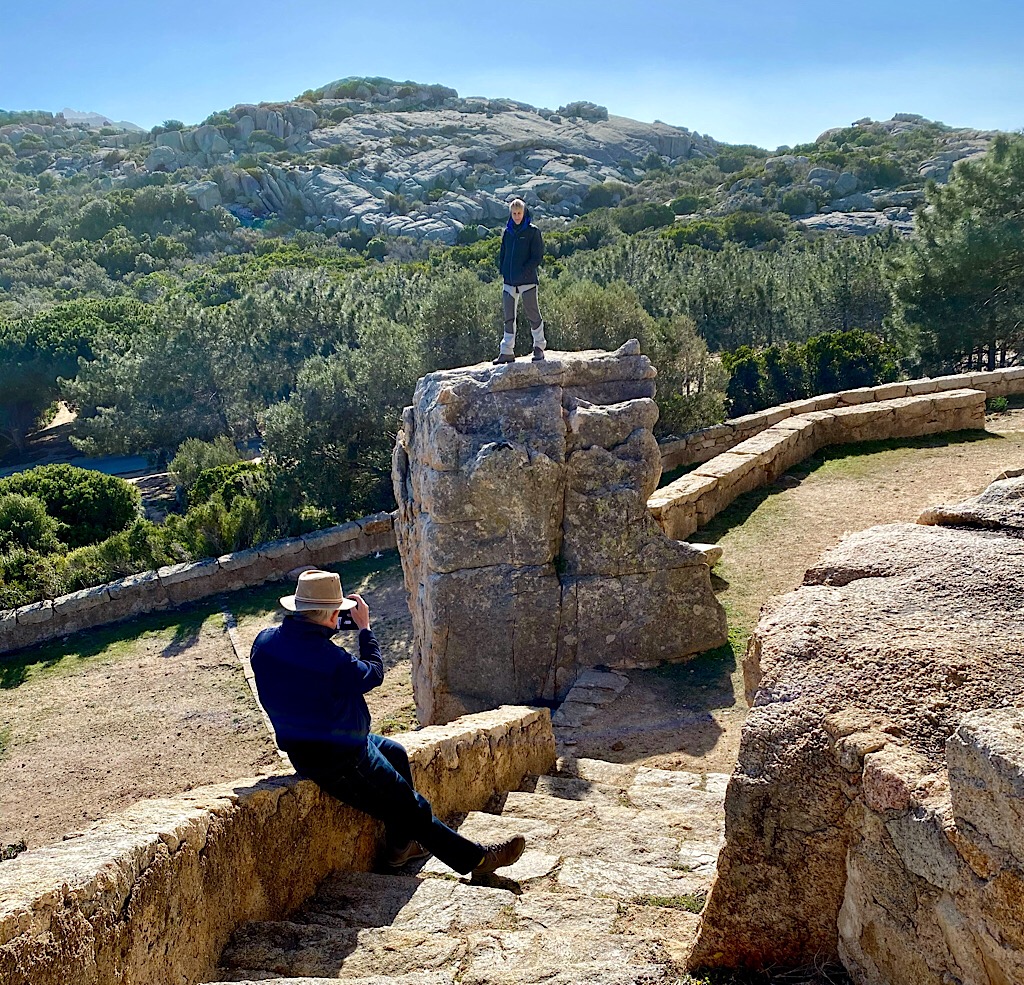
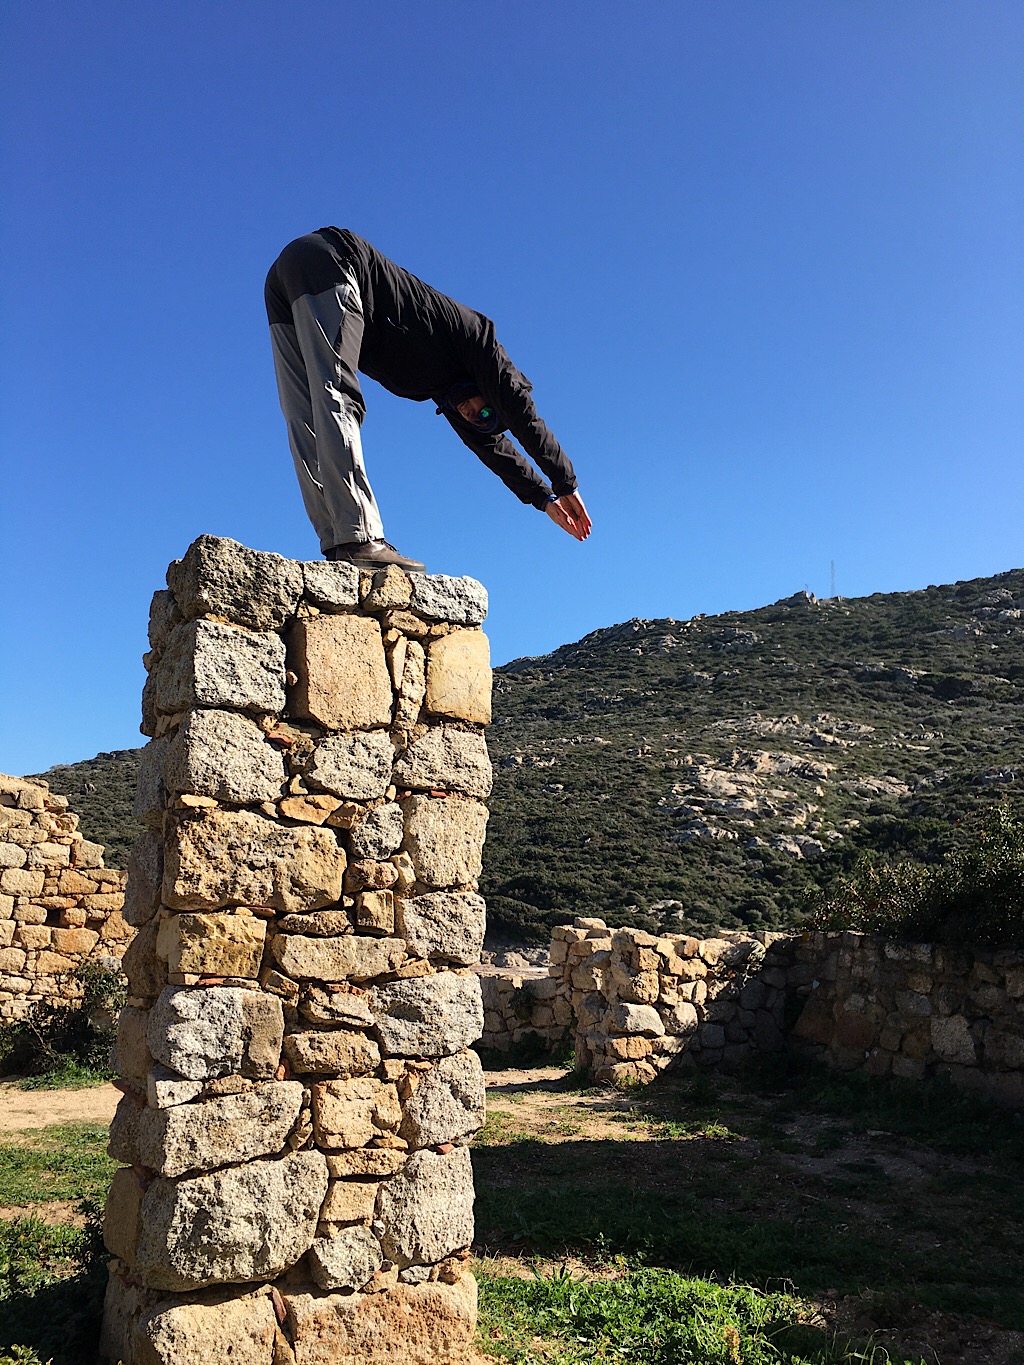
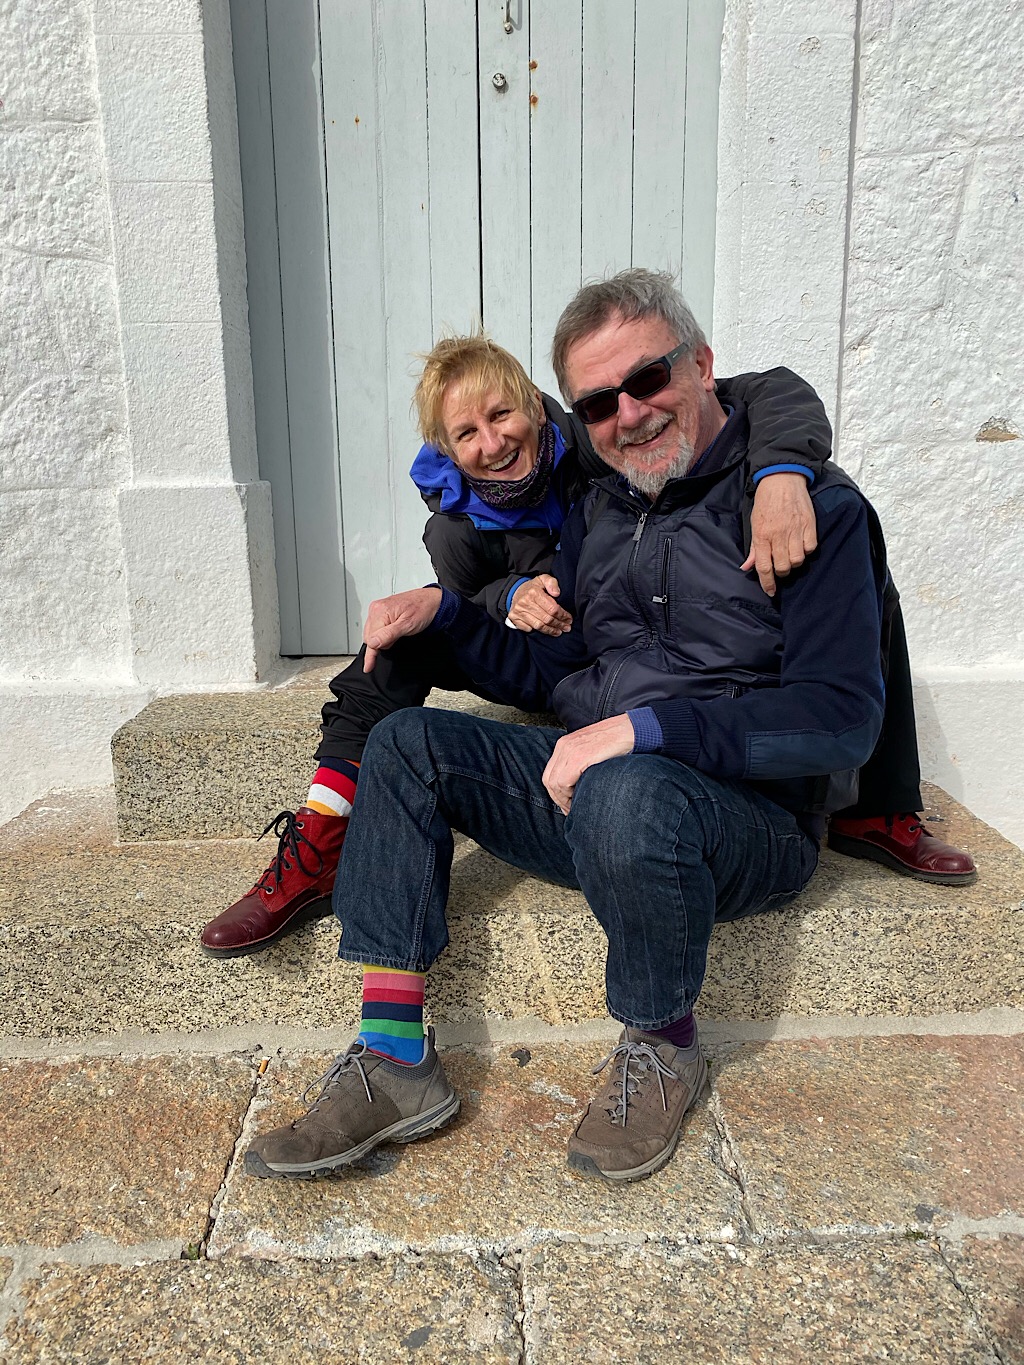
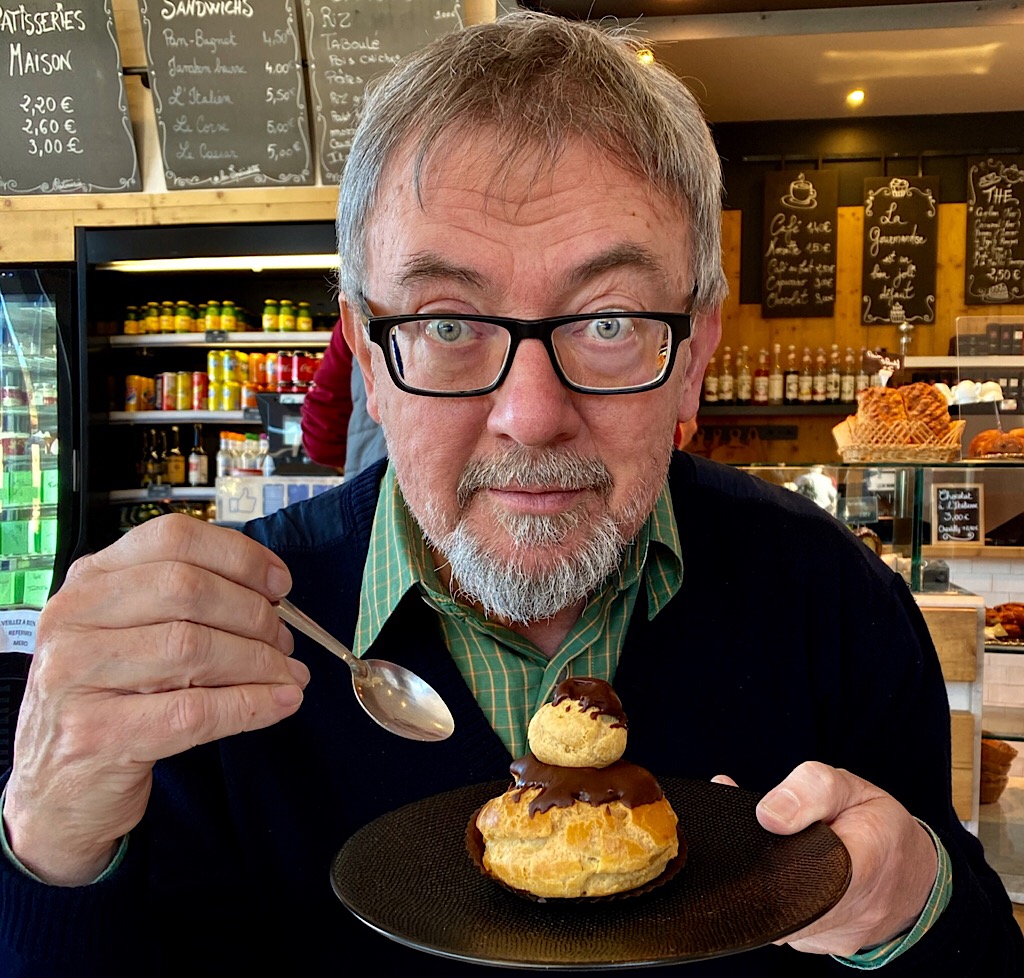
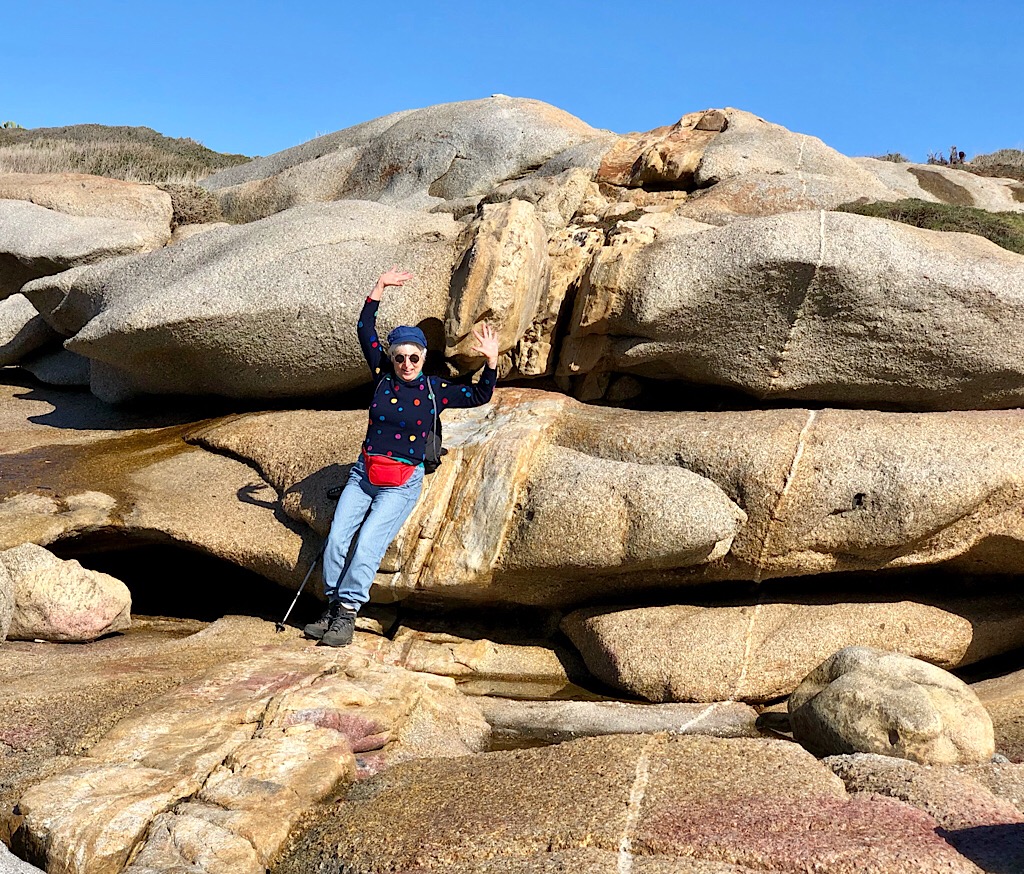
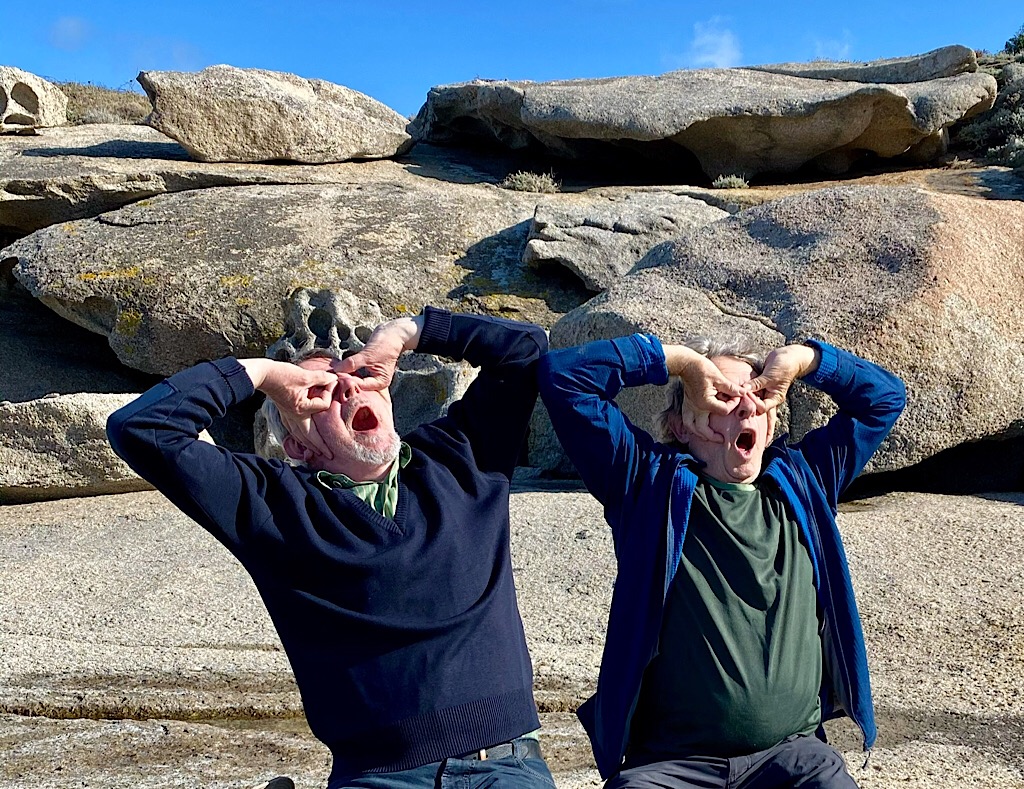
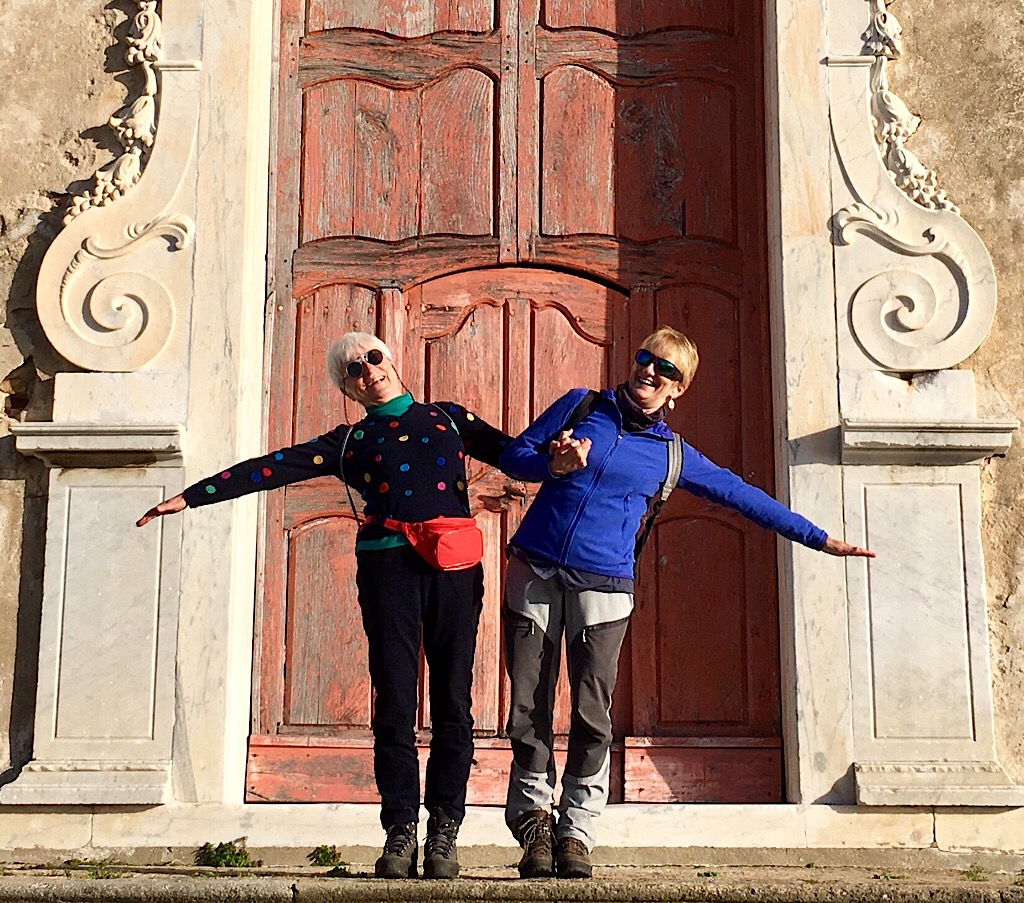
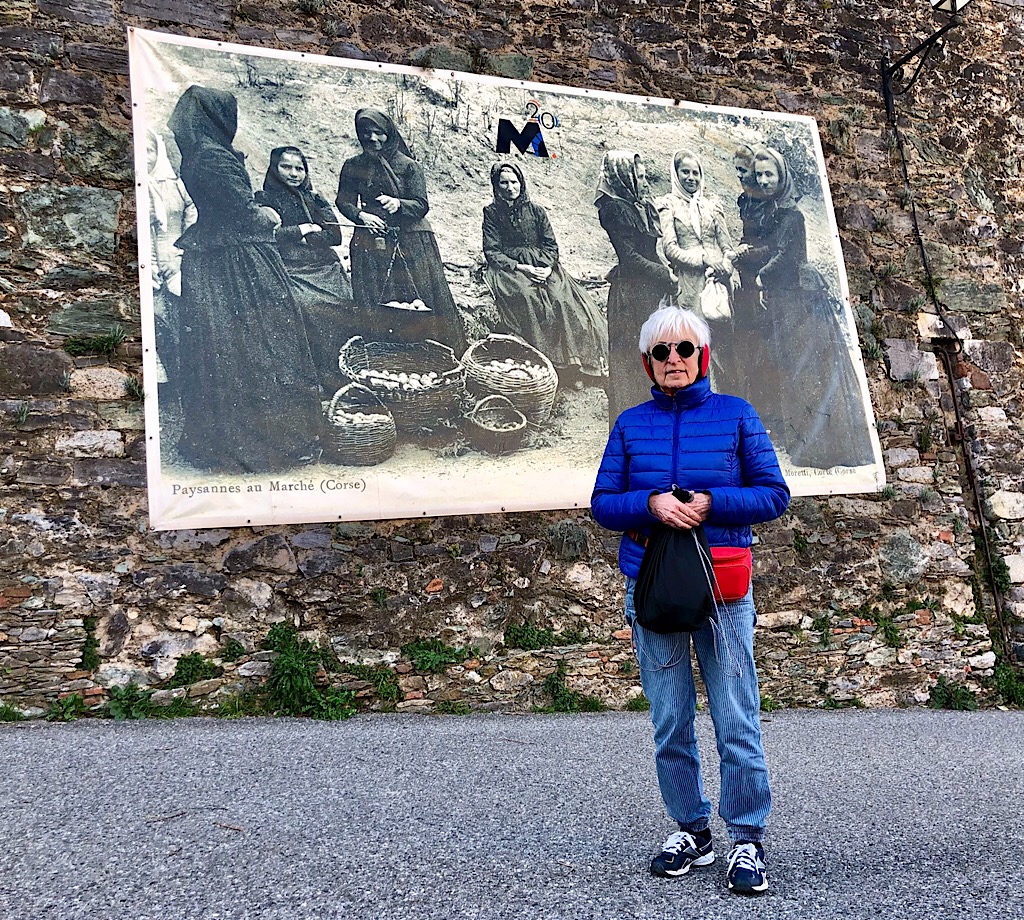
Look who we bumped into on top of a hill!


This fellow wasn‘t very talkative.

Les calanches de Piana porto korsika unesco

Résidence de la Tour, Piana https://www.booking.com