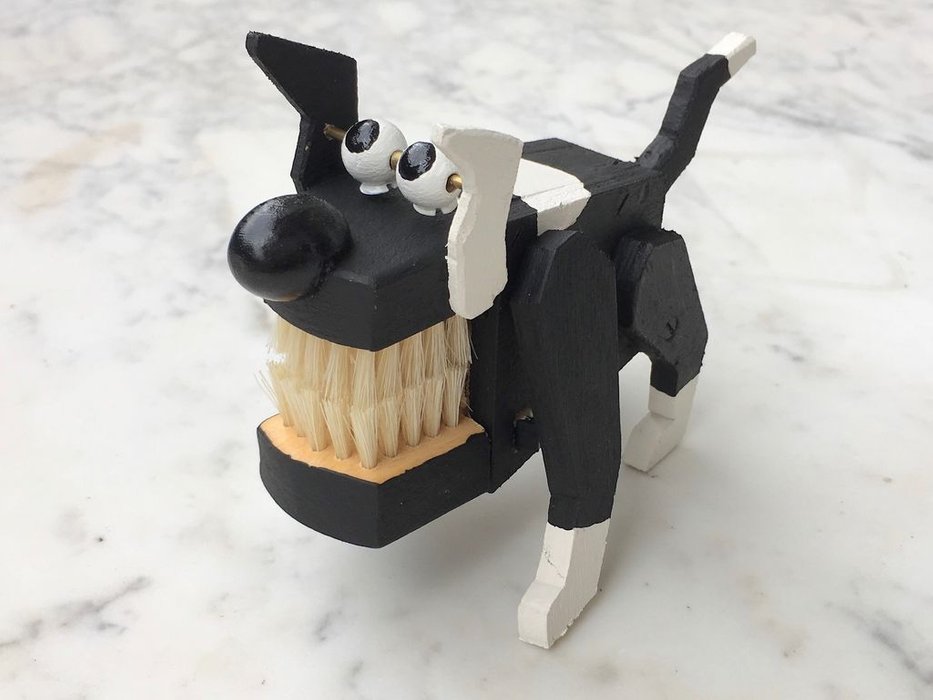
What’s the brief?
What can you make, that doesn’t have a fixed base, but can still do tricks? Man’s best friend of course! For simplicity’s sake, the design has to be reduced to just those things that make a dog a dog. If you like them, their essence is a shiny nose, appealing eyes, a wagging tail and a smile. If you don’t, it all comes down to the teeth. With four legs, one can be used to wag the tail and another to work the smile. The nicer the smile, the less there will be to worry about with the teeth.
What do you need?
My dentist says that you must always brush your teeth for a nice smile, so a brush is vital.
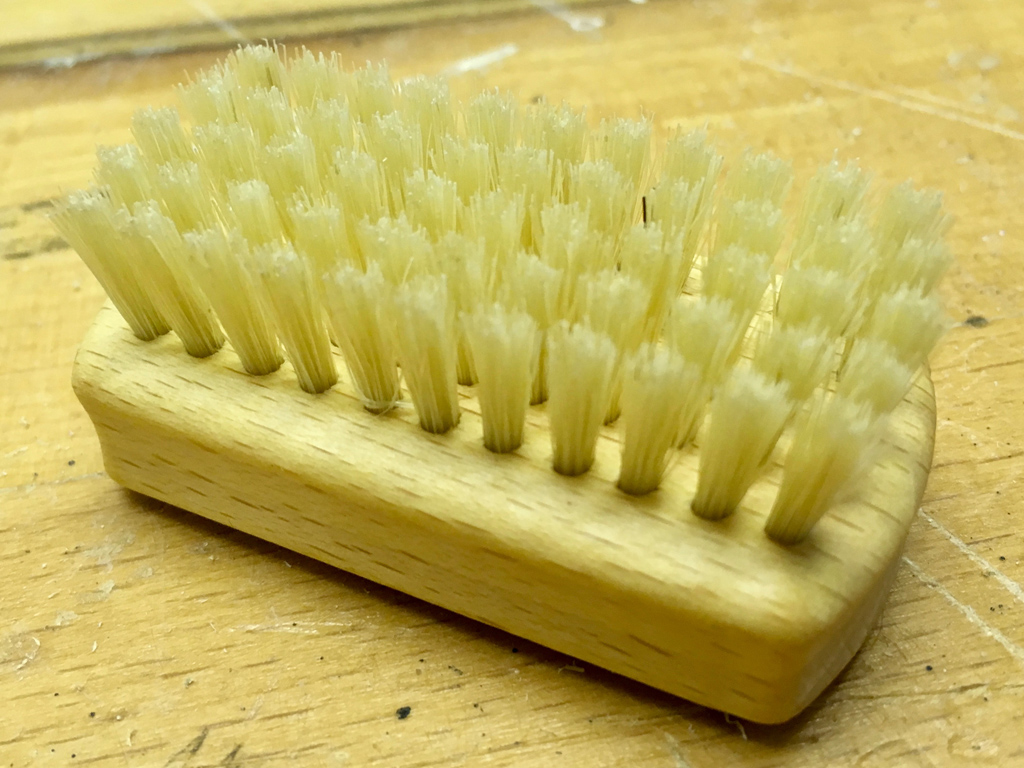
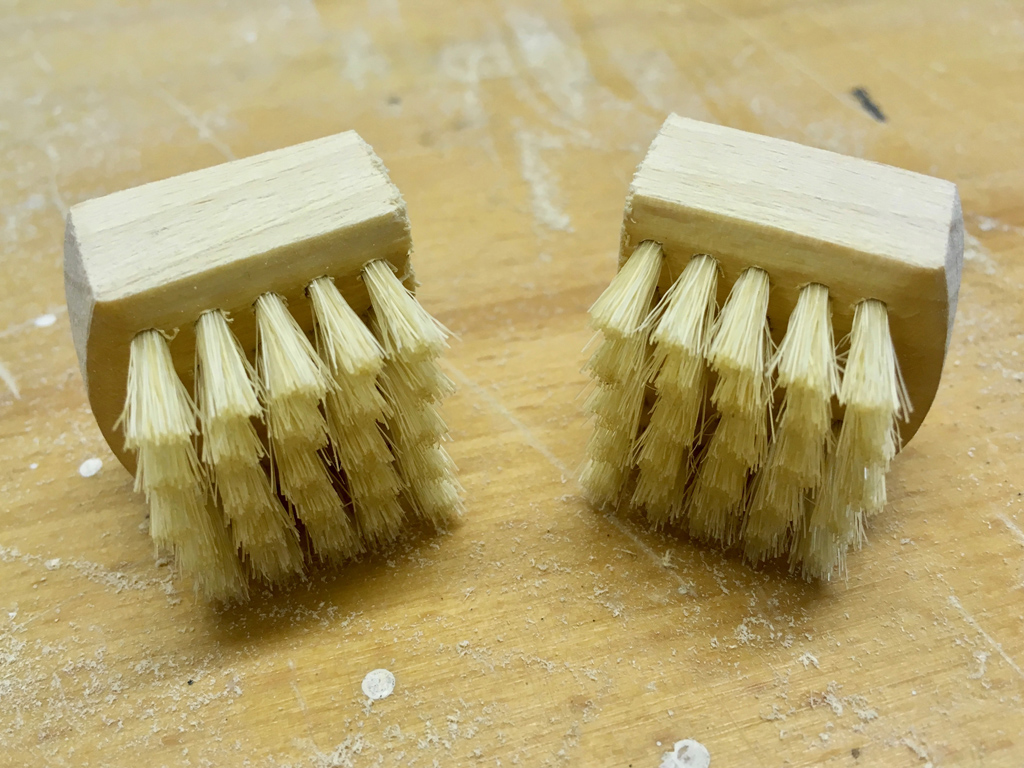
Sand the varnish off of the brush and cut it into two equal halves and an appealing smile is guaranteed and no one will be worried about the teeth!
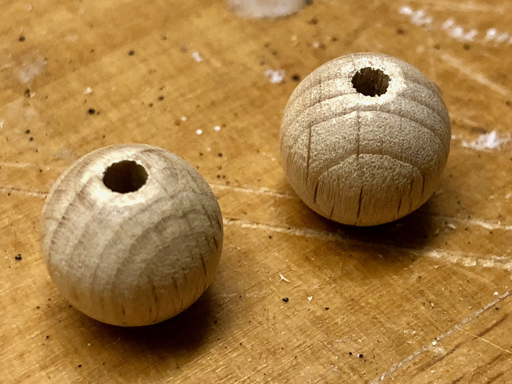
Eyeballs without brass screw heads
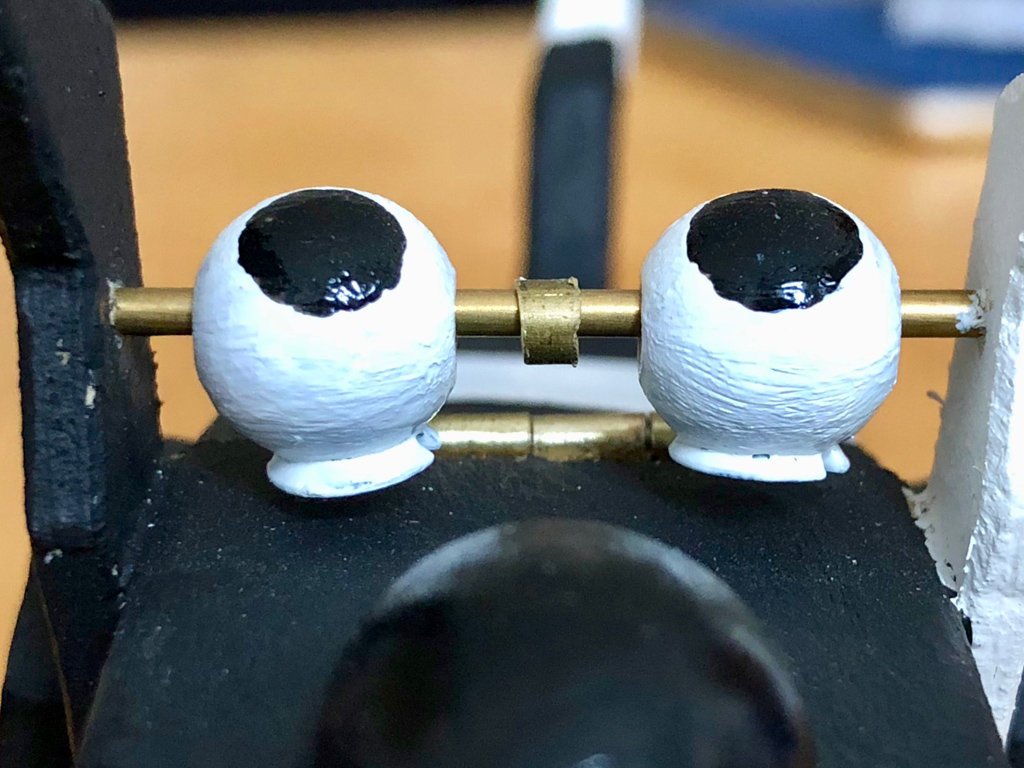
Bright eyes complement the perfect smile, and by gluing cut-off brass screw heads into two 10 mm beechwood balls, the painted eyes always look appealingly up at you, however you tilt the body. Intelligent eyes must never be too close together, so there is a small piece of brass tube between the eyes sliding on the brass rod glued between the ears. As the smile is so nice, no one notices the brass rod.
Nose
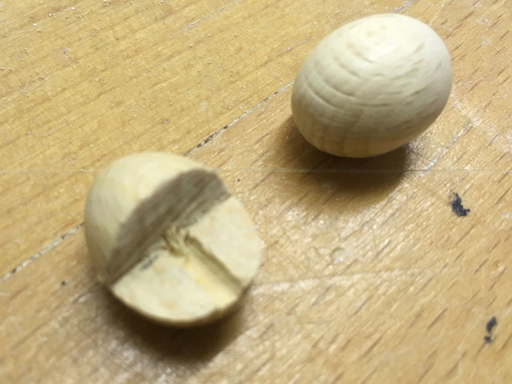
A 20 mm long beechwood egg just needs one quarter to be cut away so that it fits nicely in place and high gloss black paint gives it that healthy shine.
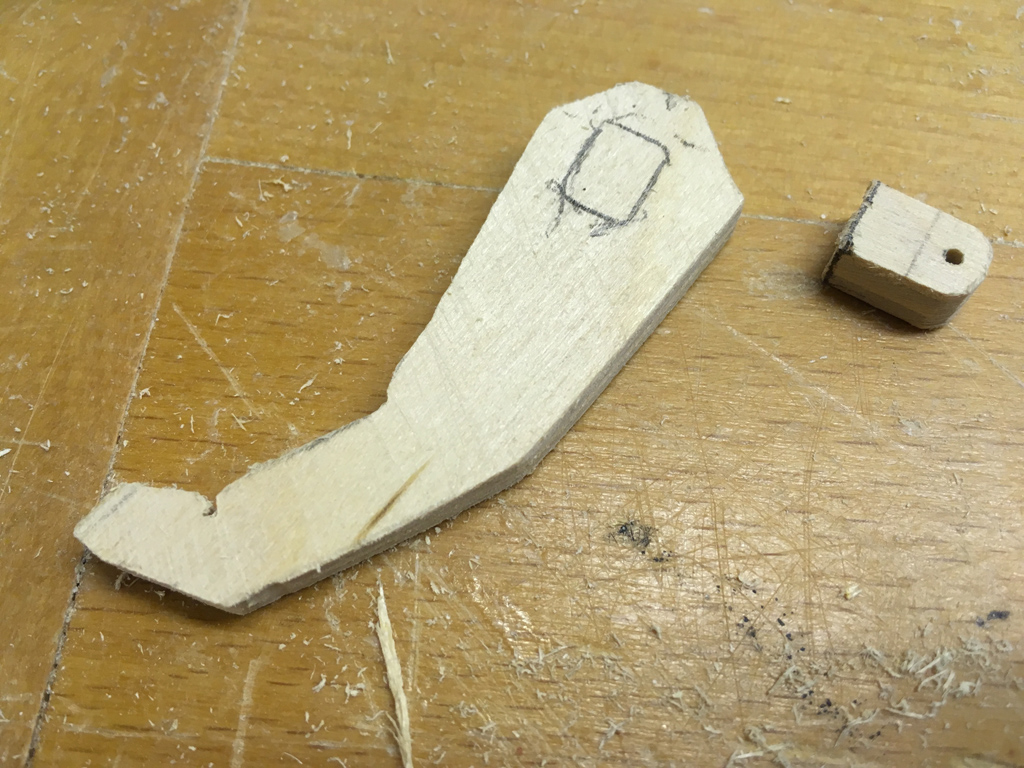
6 mm thick plywood serves very nicely for the dogsbody and its legs, cut with a scroll saw. The back legs are a little smaller than the front legs, which are hinged so that you can press them to work the dog’s tail and jaw.
The tricky bit
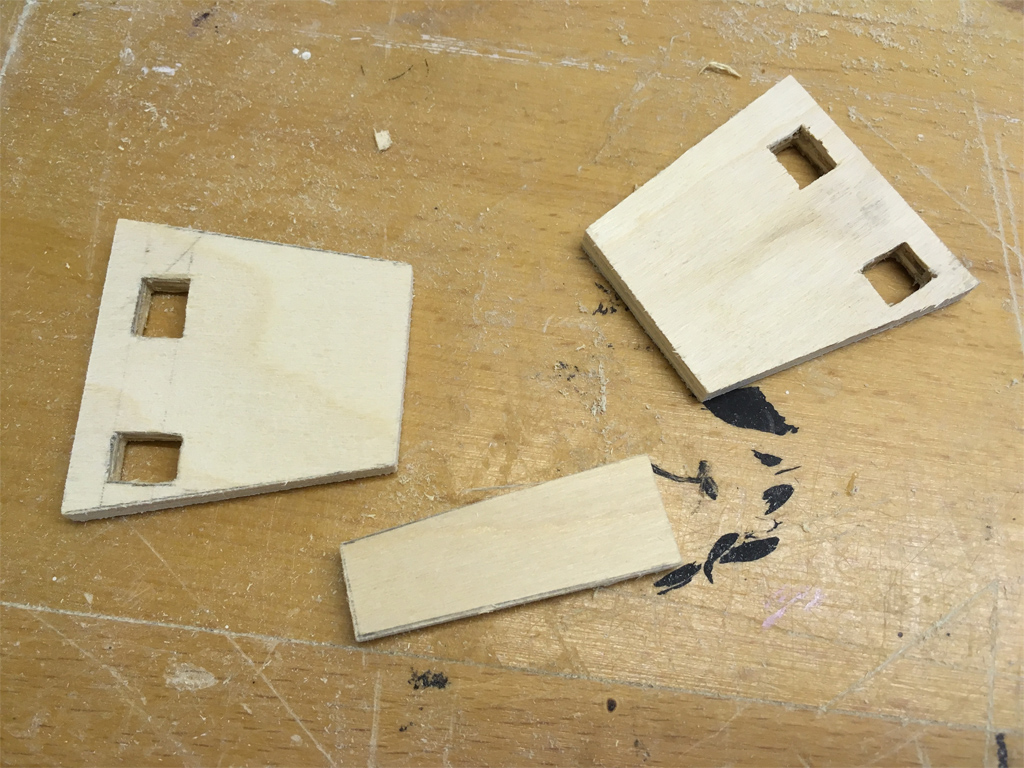
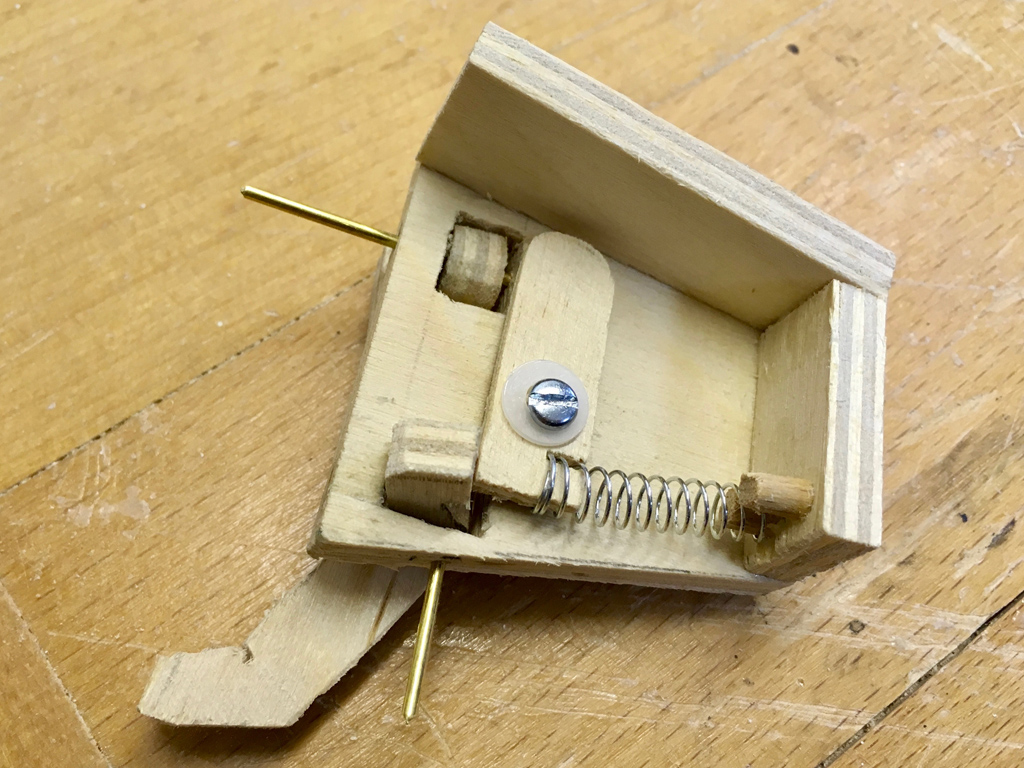
Each side has two rectangular cutouts. The top cutout is to hinge the leg, pivoted on a brass rod inserted from the front. The bottom cutout takes a crank, hinged on a brass rod inserted from the bottom. When you squeeze the dog’s leg against its body, the crank is pushed in, and its action then pushes the top jaw open via a sprung lever. Tricky huh? Here’s a picture and there’s a video underneath, showing it in action, which hopefully makes it easier to understand.
Interesting things about brushes
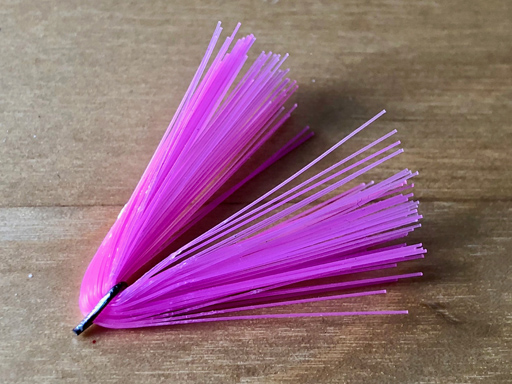
One tuft held by a small piece of wire
Each tuft in a brush is just pushed in with exactly the right number of bristles to fit snugly. To remove a tuft just grab it with a pair of pliers and pull, just like a dentist! This is how I made space in the dog’s upper jaw for the slot needed to take the loop on the end of the brass rod.
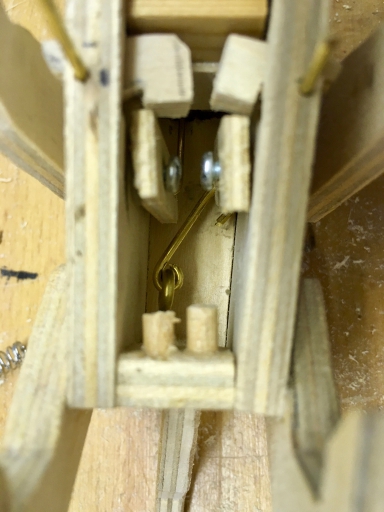
The link to wag the tail
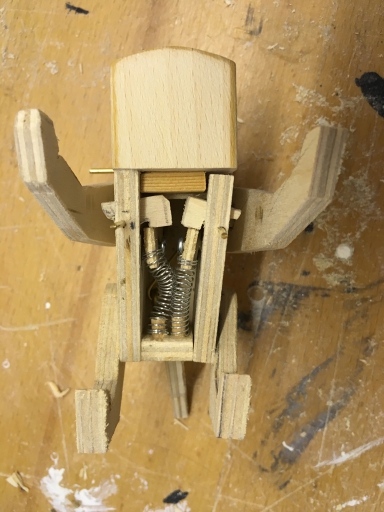
The return springs fitted
The end of my tale
I had to experiment a little to get the tail to wag nicely and to look OK when it’s not wagging, so its hinge is not exactly central. As you can see from the pictures not much is particularly square, but hey it’s a dog right, and here he is in his finished glory – Mechanical Mutt.
Mechanical Mutt – The video

Kim Booth – Bearded, bespectacled British bloke, born in the best bit of Birmingham, he blithely beavered to become a Bachelor in electronics, before boxing his bespoke belongings and boarding his bike to brave the borders, breaking out for beautiful Berlin. Belatedly, being both bilingual but bereft of business, he breezily became a broadband bandit, translating buckets of balderdash into Brummie British and by the by, builds bulldogs with bite.
